Note
Access to this page requires authorization. You can try signing in or changing directories.
Access to this page requires authorization. You can try changing directories.
In this quickstart, you set up continuous end-to-end testing with Playwright Workspaces to validate that your web app runs correctly across different browsers and operating systems with every code commit and troubleshoot tests easily using the service dashboard. Learn how to add your Playwright tests to a continuous integration (CI) workflow, such as GitHub Actions, Azure Pipelines, or other CI platforms.
After you complete this quickstart, you have a CI workflow that runs your Playwright test suite at scale and helps you troubleshoot tests easily with Playwright Workspaces.
Important
Playwright Workspaces is currently in preview. For legal terms that apply to Azure features that are in beta, in preview, or otherwise not yet released into general availability, see the Supplemental Terms of Use for Microsoft Azure Previews.
Prerequisites
An Azure account with an active subscription. If you don't have an Azure subscription, create a free account before you begin.
A Playwright workspace. Complete the quickstart: run Playwright tests at scale and create a workspace.
- A GitHub account. If you don't have a GitHub account, you can create one for free.
- A GitHub repository that contains your Playwright test specifications and GitHub Actions workflow. To create a repository, see Creating a new repository.
- A GitHub Actions workflow. If you need help with getting started with GitHub Actions, see create your first workflow
- Set up authentication from GitHub Actions to Azure. See Use GitHub Actions to connect to Azure.
Get the service region endpoint URL
In the service configuration, you have to provide the region-specific service endpoint. The endpoint depends on the Azure region you selected when creating the workspace.
To get the service endpoint URL and store it as a CI workflow secret, perform the following steps:
Sign in to the Azure portal with your Azure account and navigate to your workspace.
Select the Get Started page.
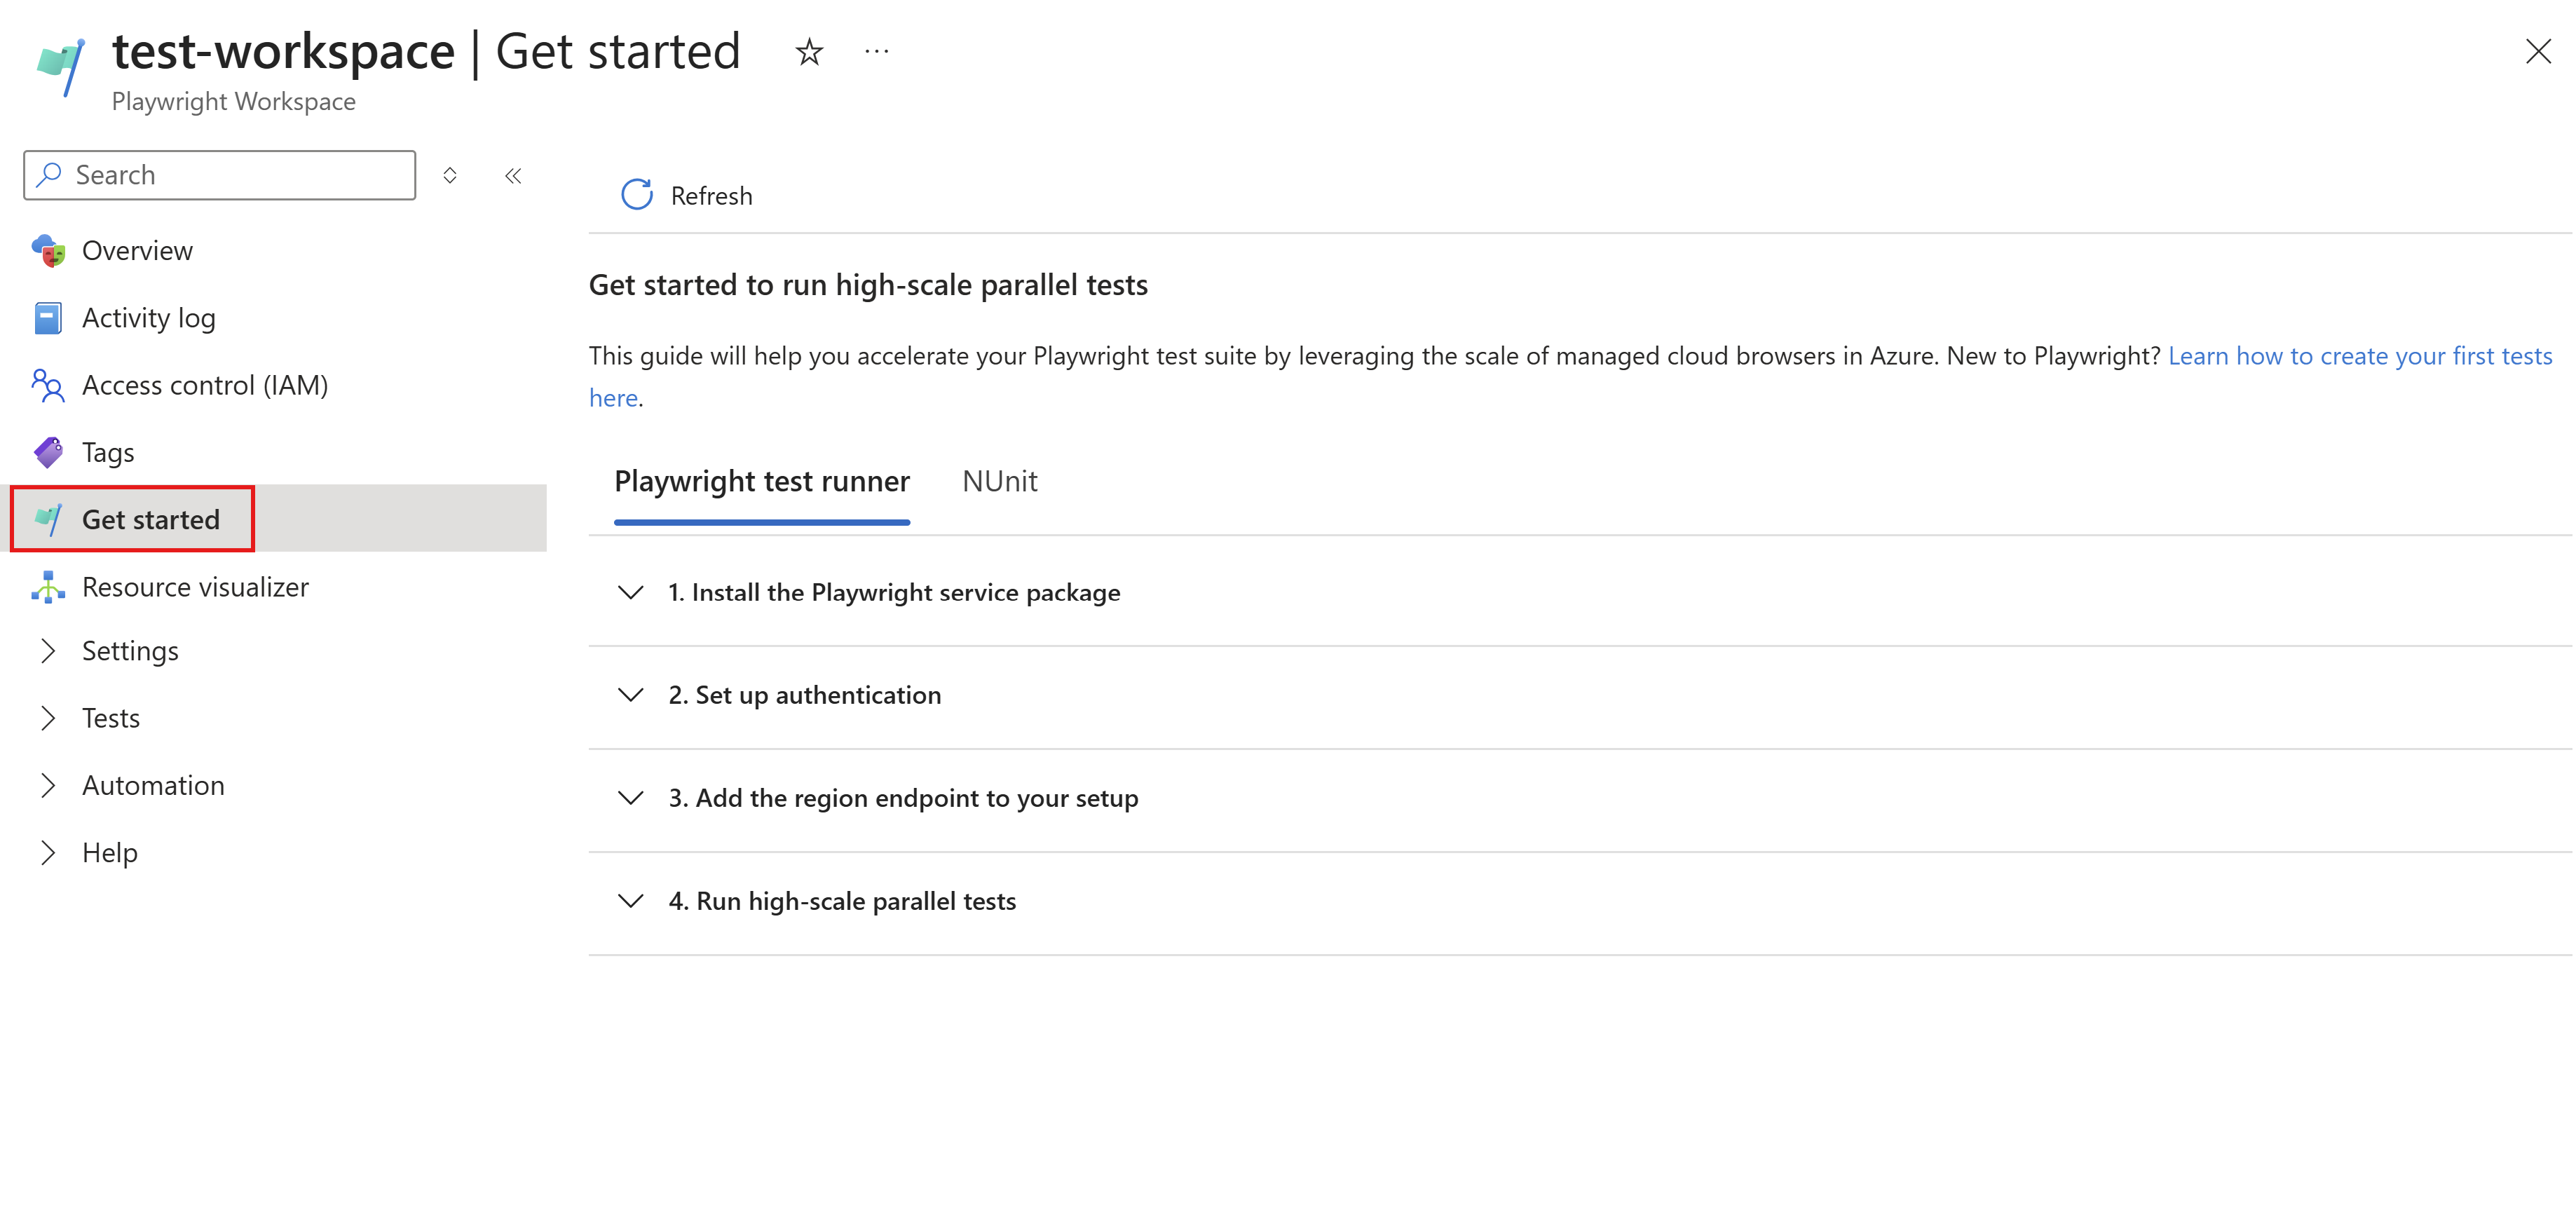
In Add region endpoint in your setup, copy the service endpoint URL.
The endpoint URL matches the Azure region that you selected when creating the workspace.
Store the service endpoint URL in a CI workflow secret:
Secret name Value PLAYWRIGHT_SERVICE_URL Paste the endpoint URL you copied previously.

Add service configuration file
If you don't have Playwright tests configured to run with the service, add a service configuration file to your repository. In the next step, you then specify this service configuration file on the Playwright CLI.
Create a new file
playwright.service.config.tsalongside theplaywright.config.tsfile.Optionally, use the
playwright.service.config.tsfile in the sample repository.Add the following content to it:
import { defineConfig } from '@playwright/test';
import { getServiceConfig, ServiceOS } from '@azure/playwright';
import { DefaultAzureCredential } from '@azure/identity';
import config from './playwright.config';

/* Learn more about service configuration at https://aka.ms/mpt/config */
export default defineConfig(
  config,
  getServiceConfig(config, {
    exposeNetwork: '<loopback>',
    timeout: 3 * 60 * 1000, // 3 minutes
    os: ServiceOS.LINUX,
    credential: new DefaultAzureCredential(),
  })
);
By default, the service configuration enables you to accelerate build pipelines by running tests in parallel using cloud-hosted browsers.
Save and commit the file to your source code repository.
Update package.json file
Update the package.json file in your repository to add details about Playwright Workspaces package in devDependencies section.
"devDependencies": {
    "@azure/playwright": "beta"
}
Install service package
In your project, install Playwright Workspaces package.
dotnet add package Azure.Developer.Playwright.NUnit --prerelease
This command updates your project's csproj file by adding the service package details to the ItemGroup section. Remember to commit these changes.
  <ItemGroup>
    <PackageReference Include="Azure.Developer.Playwright.NUnit" Version="1.0.0-beta.2" />
  </ItemGroup>
Set up service configuration
- Create a new file
PlaywrightServiceNUnitSetup.csin the root directory of your project. This file facilitates authentication of your client with the service. - Add the following content to it:
using Azure.Developer.Playwright.NUnit;
using Azure.Identity;
using System.Runtime.InteropServices;
using System;

namespace PlaywrightService.SampleTests; // Remember to change this as per your project namespace

[SetUpFixture]
public class PlaywrightServiceNUnitSetup : PlaywrightServiceBrowserNUnit
{
    public PlaywrightServiceNUnitSetup() : base(
        credential: new DefaultAzureCredential(),
    )
    {
        // no-op
    }
}
- Save and commit the file to your source code repository.
Set up authentication
The CI machine running Playwright tests must authenticate with Playwright Workspaces service to get the browsers to run the tests.
The service offers two authentication methods: Microsoft Entra ID and Access Tokens. We strongly recommend using Microsoft Entra ID to authenticate your pipelines.
Set up authentication using Microsoft Entra ID
If you're using GitHub Actions, you can connect to the service using GitHub OpenID Connect. Follow the steps to set up the integration:
Prerequisites
Option 1: Microsoft Entra application
Create a Microsoft Entra application with a service principal by Azure portal, Azure CLI, or Azure PowerShell.
Copy the values for Client ID, Subscription ID, and Directory (tenant) ID to use later in your GitHub Actions workflow.
Assign the
OwnerorContributorrole to the service principal created in the previous step. These roles must be assigned on the Playwright workspace. For more details, see how to manage access.Configure a federated identity credential on a Microsoft Entra application to trust tokens issued by GitHub Actions to your GitHub repository.
Option 2: User-assigned managed identity
Copy the values for Client ID, Subscription ID, and Directory (tenant) ID to use later in your GitHub Actions workflow.
Assign the
OwnerorContributorrole to the user-assigned managed identity created in the previous step. These roles must be assigned on the Playwright workspace. For more details, see how to manage access.Configure a federated identity credential on a user-assigned managed identity to trust tokens issued by GitHub Actions to your GitHub repository.
Create GitHub secrets
- Add the values you got in the previous step as secrets to your GitHub repository. See set up GitHub Action Secret. These variables are used in the GitHub Action workflow in subsequent steps.
| GitHub Secret | Source (Microsoft Entra Application or Managed Identity) |
|---|---|
AZURE_CLIENT_ID |
Client ID |
AZURE_SUBSCRIPTION_ID |
Subscription ID |
AZURE_TENANT_ID |
Directory (Tenant) ID |
Note
For enhanced security, it is strongly recommended to use GitHub Secrets to store sensitive values rather than including them directly in your workflow file.
Set up authentication using access tokens
Caution
We strongly recommend using Microsoft Entra ID for authentication to the service. If you're using access tokens, see How to manage access tokens
You can generate an access token from your Playwright workspace and use it in your setup. However, we strongly recommend Microsoft Entra ID for authentication due to its enhanced security. Access tokens, while convenient, function like long-lived passwords and are more susceptible to being compromised.
Authentication using access tokens is disabled by default. To use, Enable access-token based authentication.
Store the access token in a CI workflow secret and use it in the GitHub Actions workflow or Azure Pipeline yaml file.
| Secret name | Value |
|---|---|
| PLAYWRIGHT_SERVICE_ACCESS_TOKEN | Paste the value of Access Token you created previously. |
Update the workflow definition
Update the CI workflow definition to run your Playwright tests with the Playwright CLI. Pass the service configuration file as an input parameter for the Playwright CLI. You configure your environment by specifying environment variables.
Open the CI workflow definition.
Add the following steps to run your Playwright tests in Playwright Workspaces.
The following steps describe the workflow changes for GitHub Actions or Azure Pipelines. Similarly, you can run your Playwright tests by using the Playwright CLI in other CI platforms.
  # This step is to sign-in to Azure to run tests from GitHub Action workflow.
  # Choose how to set up authentication to Azure from GitHub Actions. This is one example.
  name: Playwright Tests (Playwright Workspaces)
  on:
    push:
      branches: [main, master]
    pull_request:
      branches: [main, master]

  permissions: # Required when using Microsoft Entra ID to authenticate
    id-token: write
    contents: read

  jobs:
    test:
      timeout-minutes: 60
      runs-on: ubuntu-latest
      steps:
        - uses: actions/checkout@v4

        - name: Login to Azure with AzPowershell (enableAzPSSession true)
          uses: azure/login@v2
          with:
            client-id: ${{ secrets.AZURE_CLIENT_ID }} # GitHub Open ID connect values copied in previous steps
            tenant-id: ${{ secrets.AZURE_TENANT_ID }}
            subscription-id: ${{ secrets.AZURE_SUBSCRIPTION_ID }}
            enable-AzPSSession: true

        - name: Install dependencies
          working-directory: path/to/playwright/folder # update accordingly
          run: npm ci

        - name: Run Playwright tests
          working-directory: path/to/playwright/folder # update accordingly
          env:
            # Regional endpoint for Playwright Workspaces
            PLAYWRIGHT_SERVICE_URL: ${{ secrets.PLAYWRIGHT_SERVICE_URL }}
            # PLAYWRIGHT_SERVICE_ACCESS_TOKEN: ${{ secrets.PLAYWRIGHT_SERVICE_ACCESS_TOKEN }} # Not recommended, use Microsoft Entra ID authentication.
          run: npx playwright test -c playwright.service.config.ts --workers=20

        - name: Upload Playwright report
          uses: actions/upload-artifact@v3
          if: always()
          with:
            name: playwright-report
            path: path/to/playwright/folder/playwright-report/ # update accordingly
            retention-days: 10
Update the CI workflow definition to run your Playwright tests with the Playwright NUnit CLI. You configure your environment by specifying environment variables.
Open the CI workflow definition.
Add the following steps to run your Playwright tests in Playwright Workspaces.
The following steps describe the workflow changes for GitHub Actions or Azure Pipelines. Similarly, you can run your Playwright tests by using the Playwright CLI in other CI platforms.
on:
  push:
    branches: [ main, master ]
  pull_request:
    branches: [ main, master ]
permissions: # Required when using AuthType as EntraId
  id-token: write
  contents: read
jobs:
  test:
    timeout-minutes: 60
    runs-on: ubuntu-latest
      steps:
      - uses: actions/checkout@v4
    # This step is to sign-in to Azure to run tests from GitHub Action workflow.
    # Choose how to set up authentication to Azure from GitHub Actions. This is one example.

      - name: Login to Azure with AzPowershell (enableAzPSSession true)
        uses: azure/login@v2
        with:
          client-id: ${{ secrets.AZURE_CLIENT_ID }} # GitHub Open ID connect values copied in previous steps
          tenant-id: ${{ secrets.AZURE_TENANT_ID }}
          subscription-id: ${{ secrets.AZURE_SUBSCRIPTION_ID }}
          enable-AzPSSession: true

      - name: Setup .NET
        uses: actions/setup-dotnet@v4
        with:
          dotnet-version: 8.0.x

      - name: Restore dependencies
        run: dotnet restore
        working-directory: path/to/playwright/folder # update accordingly

      - name: Build
        run: dotnet build --no-restore
        working-directory: path/to/playwright/folder # update accordingly

      - name: Run Playwright tests
          working-directory: path/to/playwright/folder # update accordingly
        env:
          # Regional endpoint for Playwright Workspaces
          PLAYWRIGHT_SERVICE_URL: ${{ secrets.PLAYWRIGHT_SERVICE_URL }}
          # PLAYWRIGHT_SERVICE_ACCESS_TOKEN: ${{ secrets.PLAYWRIGHT_SERVICE_ACCESS_TOKEN }} # Not recommended, use Microsoft Entra ID authentication.
        run: dotnet test -- NUnit.NumberOfTestWorkers=20

      - name: Upload Playwright report
        uses: actions/upload-artifact@v3
        if: always()
        with:
          name: playwright-report
          path: path/to/playwright/folder/playwright-report/ # update accordingly
          retention-days: 10
Save and commit your changes.
When the CI workflow is triggered, your Playwright tests run in your Playwright workspace on cloud-hosted browsers, across 20 parallel workers. The results are published to the service and can be viewed in the Azure portal.
Caution
With Playwright Workspaces, you get charged based on the number of total test minutes consumed. If you're a first-time user or getting started with a free trial, you might start with running a single test at scale instead of your full test suite to avoid exhausting your free test minutes.
After you validate that the test runs successfully, you can gradually increase the test load by running more tests with the service.
You can run a single test with the service by using the following command-line:
npx playwright test {name-of-file.spec.ts} --config=playwright.service.config.ts
View test runs and results
Playwright can collect rich test artifacts like logs, traces, and screenshots on every test run. To learn how to view test artifacts within your CI pipeline, see Playwright documentation.
Related content
You've successfully set up a continuous end-to-end testing workflow to run your Playwright tests at scale on cloud-hosted browsers.