Important
如果你要创建一个 AD FS 场并使用 SQL Server 来存储配置数据,可以使用 SQL Server 2008 或更高版本。
如果要使用 SQL Server 作为 AD FS 配置数据库,则可以使用 SQL Server 复制为 AD FS 场设置异地冗余。 异地冗余在两个地理上相隔很远的站点之间复制数据,以便应用程序可以从一个站点切换到另一个站点。 这样一来,如果一个站点发生故障,仍可以在第二个站点上获取所有配置数据。 有关详细信息,请参阅使用 SQL Server 的联合服务器场中的“SQL Server 异地冗余”部分。
Prerequisites
安装并配置 SQL 服务器场。 有关详细信息,请参阅 https://technet.microsoft.com/evalcenter/hh225126.aspx。 在初始 SQL Server 上,确保 SQL Server 代理服务正在运行并设置为自动启动。
为异地冗余创建第二个(副本)SQL Server
安装 SQL Server(有关详细信息,请参阅 https://technet.microsoft.com/evalcenter/hh225126.aspx)。 将生成的 CreateDB.sql 和 SetPermissions.sql 脚本文件复制到副本 SQL Server。
确保 SQL Server 代理服务正在运行并设置为自动启动
Run Export-AdfsDeploymentSQLScript on the primary AD FS node to create CreateDB.sql and SetPermissions.sql files. 例如:
PS:\>Export-AdfsDeploymentSQLScript -DestinationFolder . –ServiceAccountName CONTOSO\gmsa1$.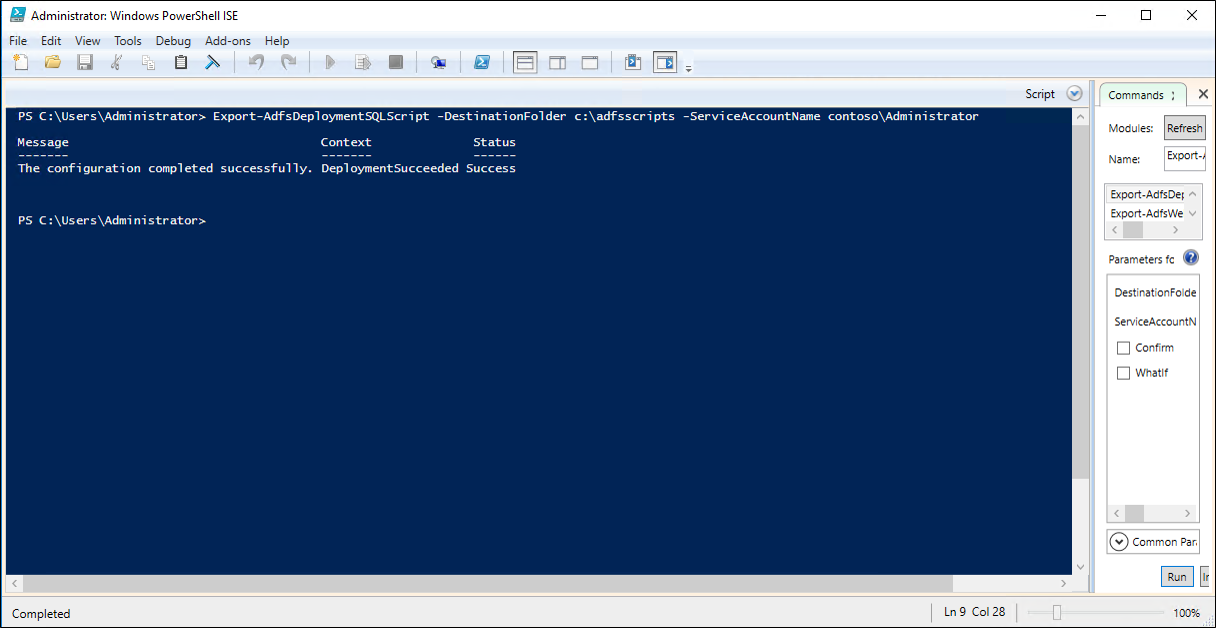
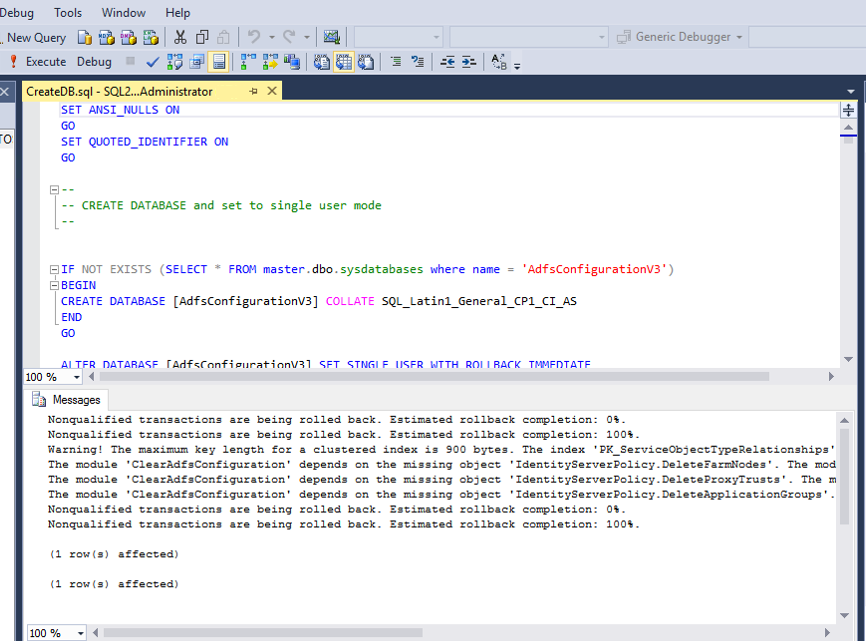
将脚本复制到辅助服务器。 在 SQL Management Studio 中打开 CreateDB.sql 脚本,然后单击“执行”。
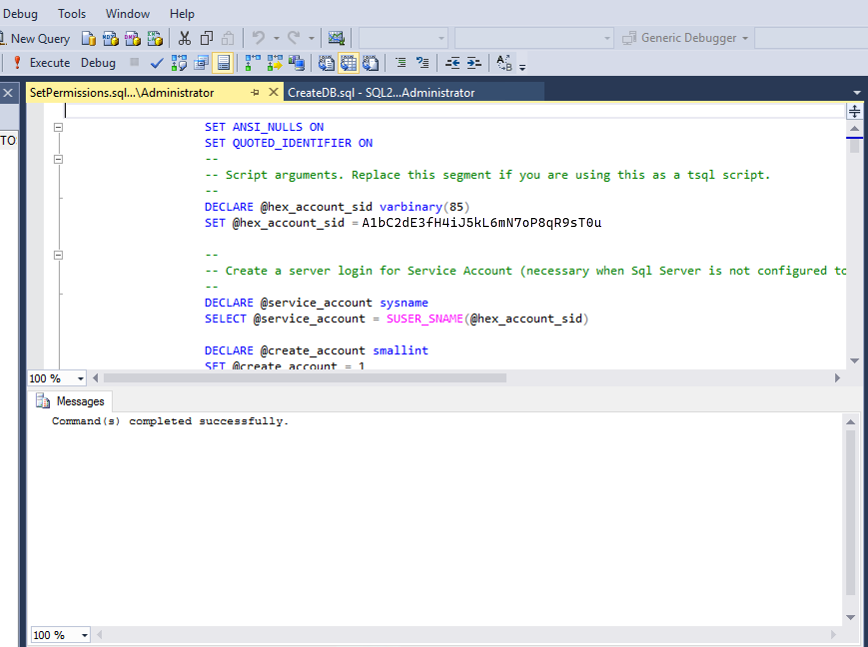
在 SQL Management Studio 中打开 SetPermissions.sql 脚本,然后单击“执行”。
Note
还可以从命令行使用以下命令。
c:\>sqlcmd –i CreateDB.sql
c:\>sqlcmd –i SetPermissions.sql
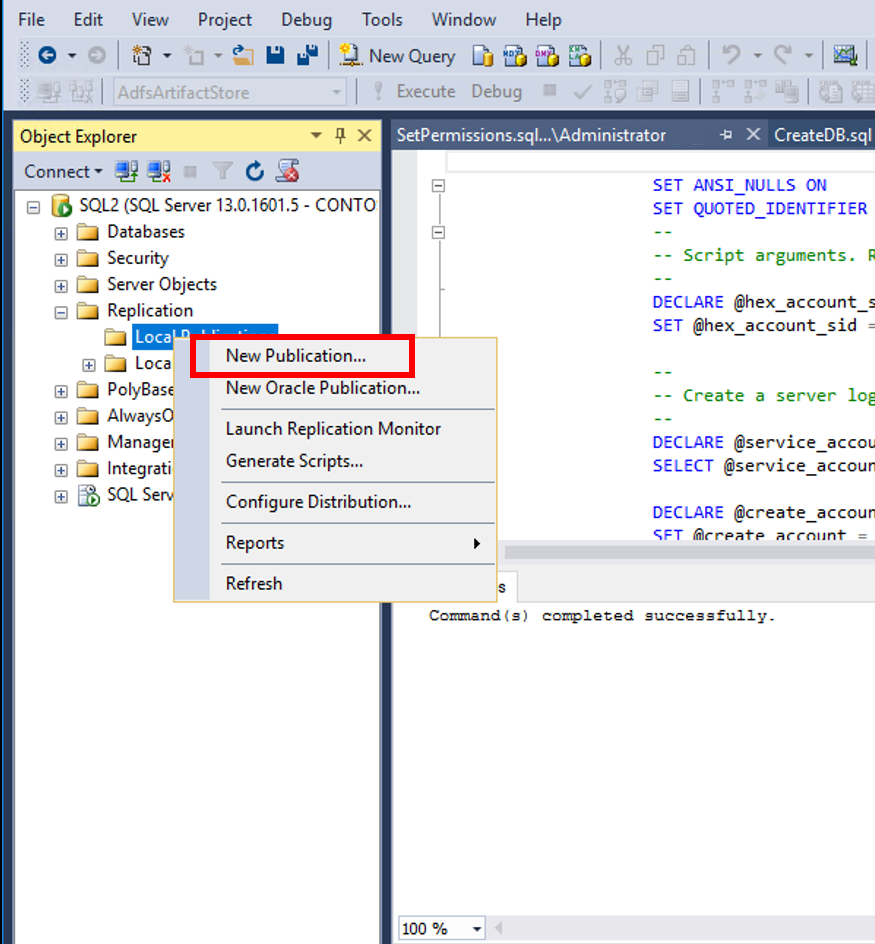
在初始 SQL Server 上创建发布服务器设置
From the SQL Server Management studio, under Replication, right click Local Publications and choose New Publication...
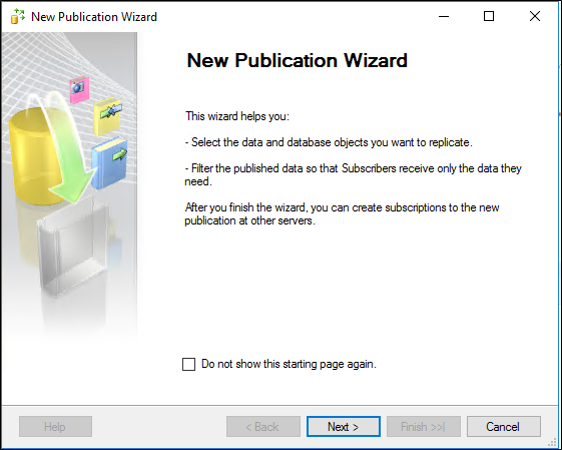
On the New Publication Wizard screen click Next.
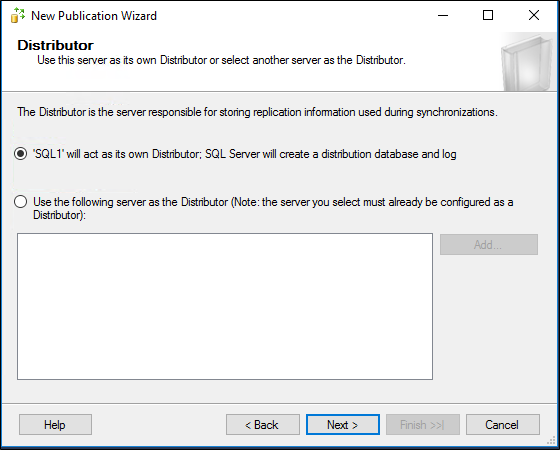
On Distributor page, choose local server as distributor and click Next.
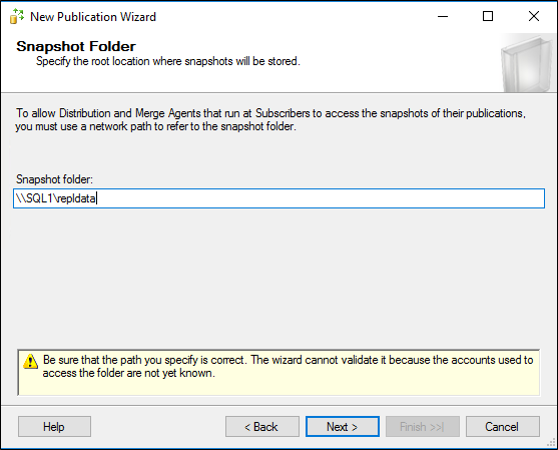
On the Snapshot folder page, enter \\SQL1\repldata in place of default folder. (注意:你可能必须自行创建此共享)。
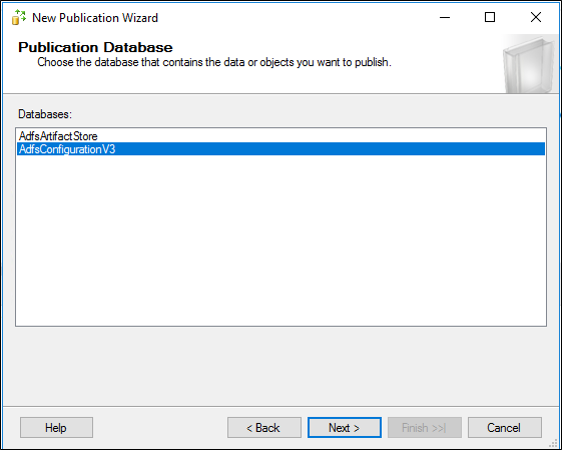
Choose AdfsConfigurationV3 as the publication database and click Next.
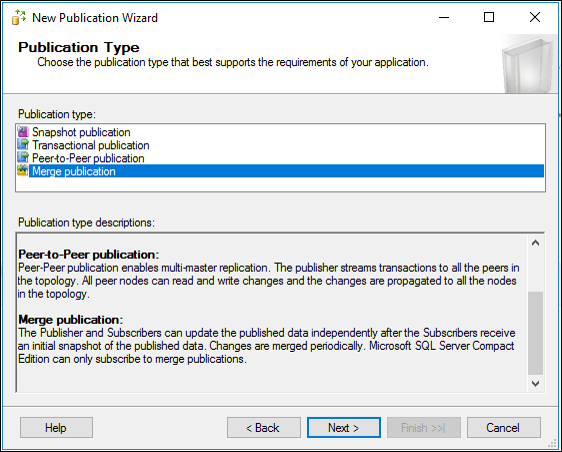
On Publication Type, choose Merge publication and click Next.
On Subscriber Types, choose SQL Server 2008 or later and click Next.

On the Articles page select Tables node to select all tables, then un-check SyncProperties table (this one should not be replicated)
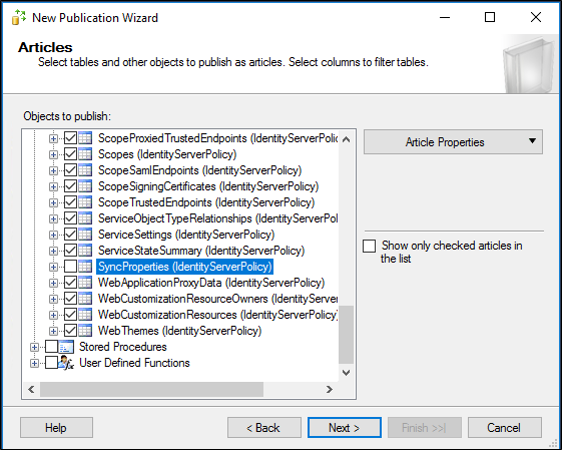
On the Articles page, select User Defined Functions node to select all User Defined Functions and click Next..

On the Article issues page click Next.

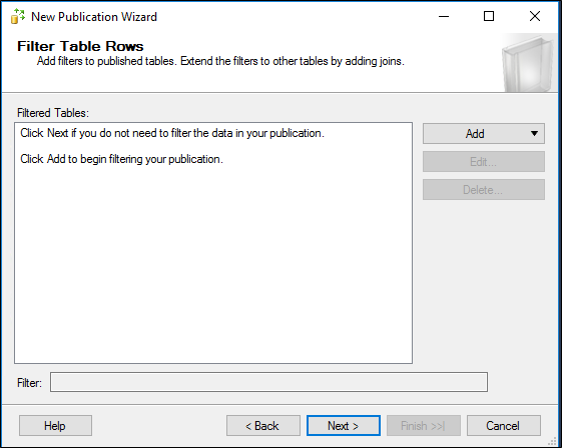
在“筛选表行”页上,单击“下一步”。
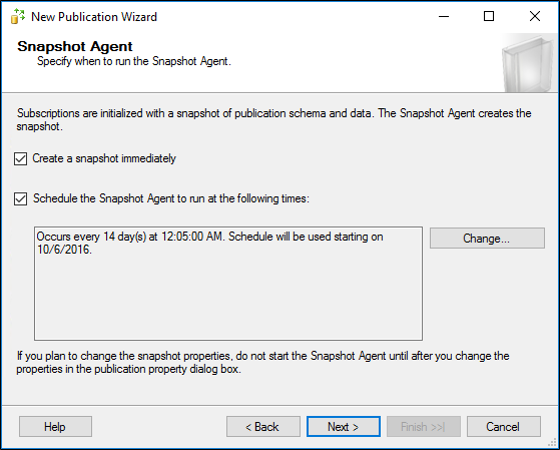
On the Snapshot Agent page, choose defaults of Immediate and 14 days, click Next.
可能需要为 SQL 代理创建域帐户。 使用为域帐户 CONTOSO\sqlagent 配置 SQL 登录名中的步骤为此新 AD 用户创建 SQL 登录名并分配特定的权限。On the Agent Security page, click Security Settings and enter the username/password of a domain account (not a GMSA) created for the SQL agent and click OK. Click Next.

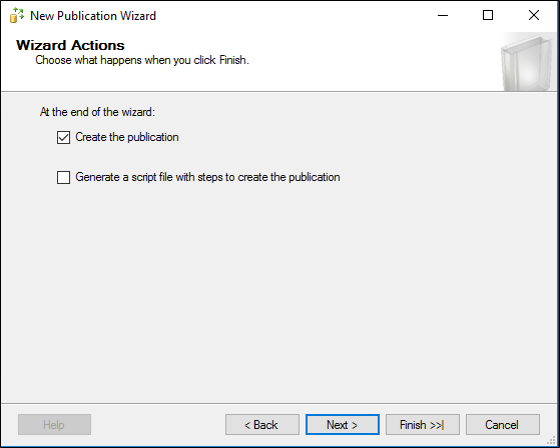
On the Wizard Actions page, click Next.
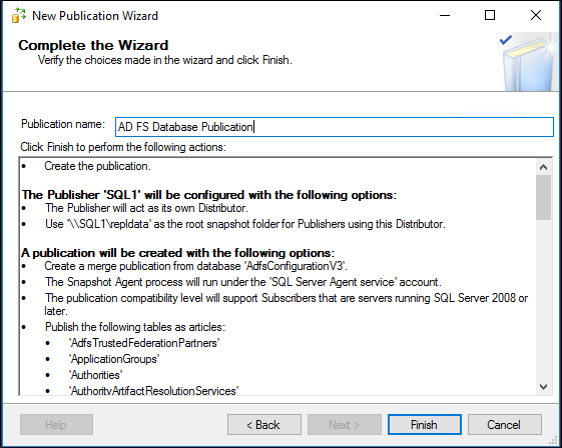
在完成向导页上,为您的发布输入一个名称,然后单击完成。
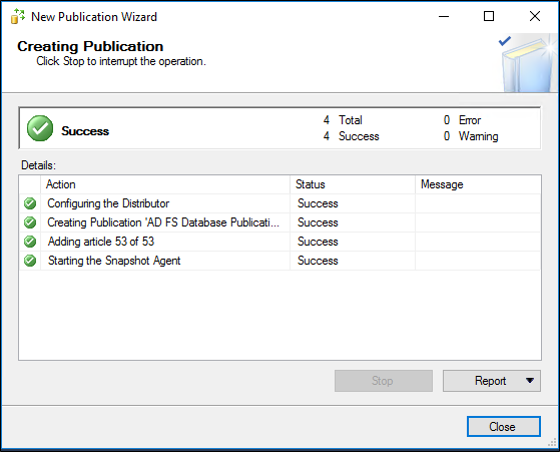
创建发布后,应会看到成功状态。 Click Close.
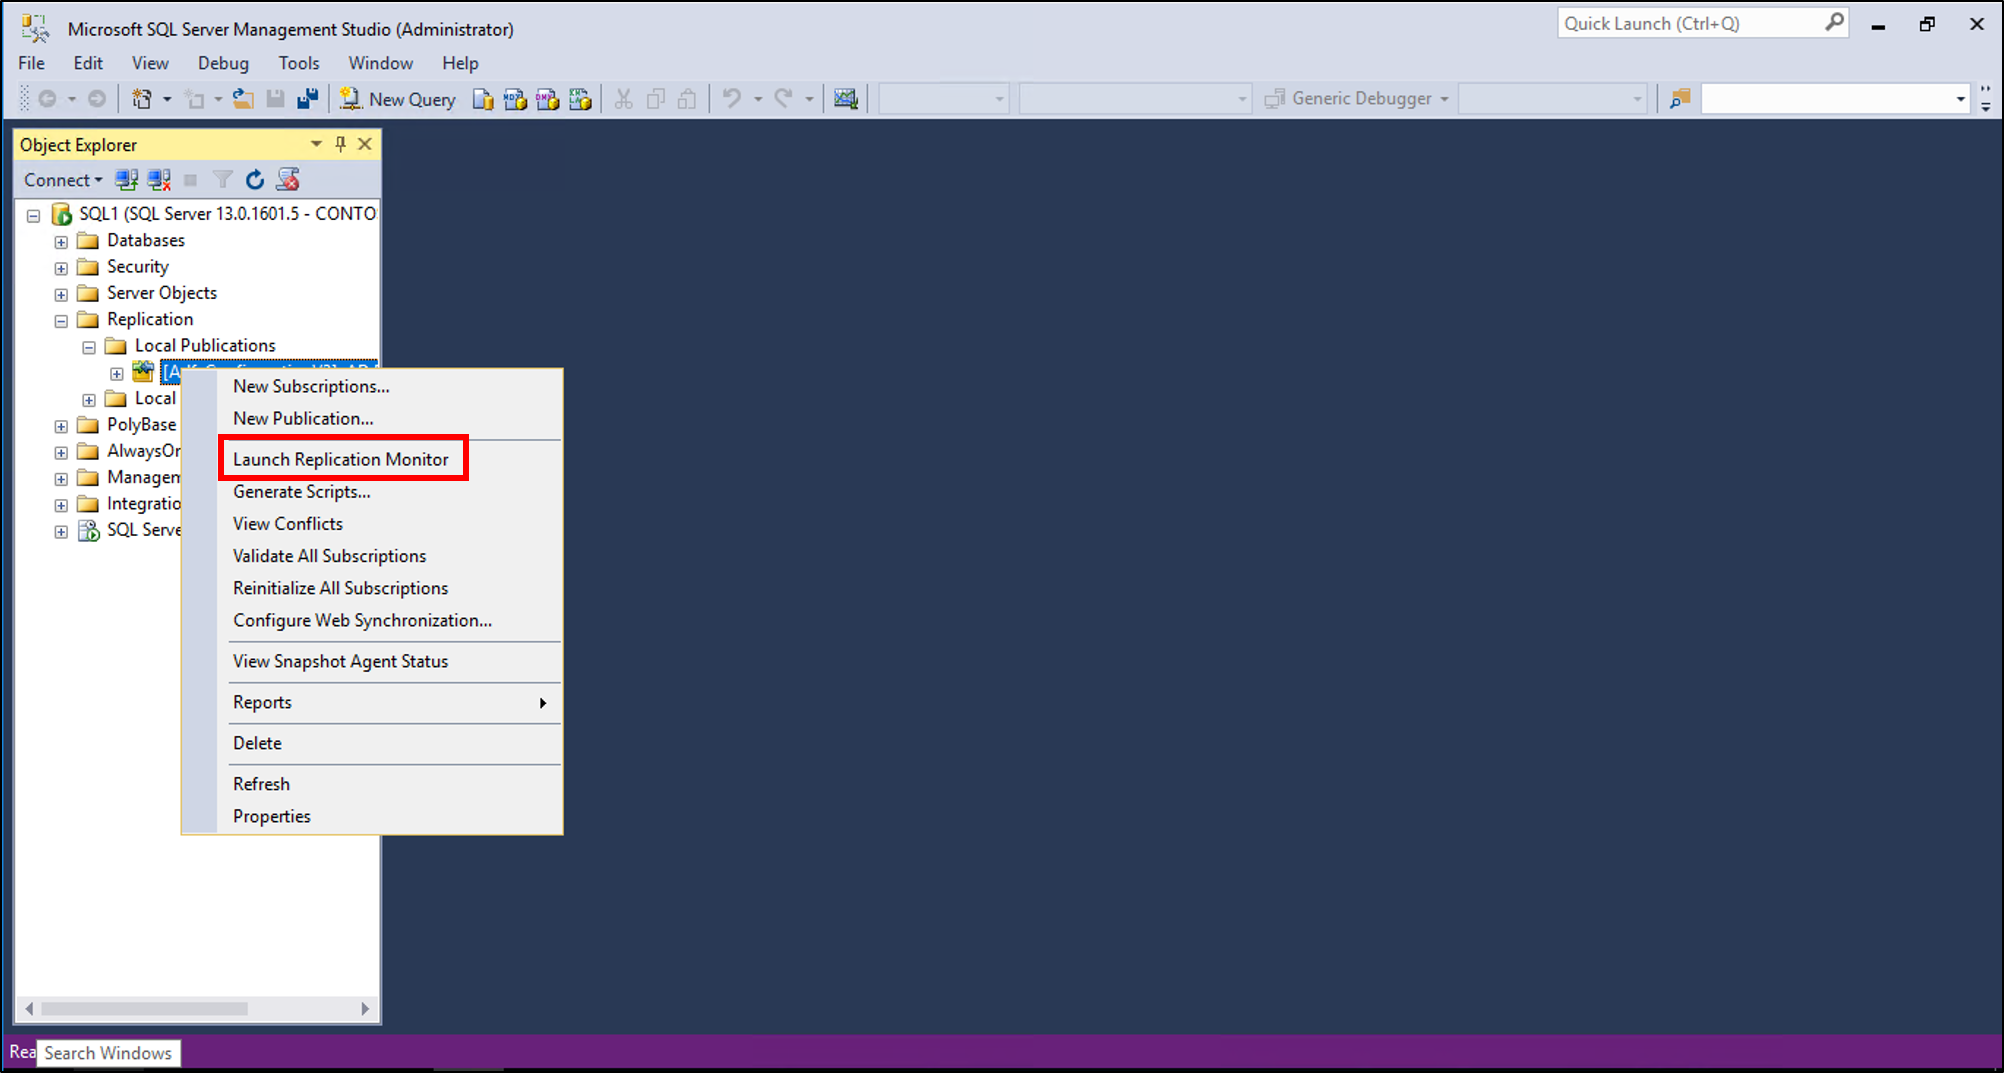
返回 SQL Server Management Studio,右键单击新的发布,然后单击“启动复制监视器”。
在副本 SQL Server 上创建订阅设置
确保已按如上所述在初始 SQL Server 上创建发布者设置,然后完成以下过程:
On the replica SQL Server, from SQL Server Management studio, under Replication, right click Local Subscriptions and choose New Subscription....

在“新建订阅向导”页上,单击“下一步”。

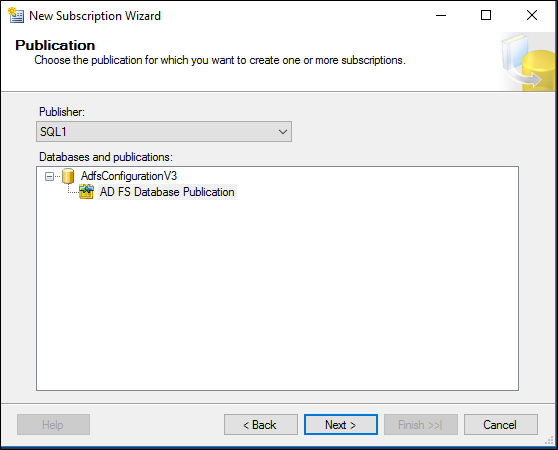
On the Publication page, select the publisher from the drop-down. Expand AdfsConfigurationV3 and select the name of the publication created above and click Next.
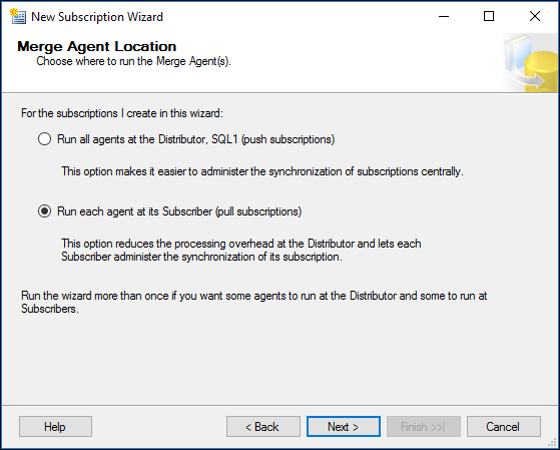
在合并代理位置页上,选择在其订阅服务器上运行每个代理(拉取订阅)(默认设置),然后单击下一步。
此选项连同下面的“订阅类型”共同决定了冲突解决逻辑。 有关详细信息,请参阅检测并解决合并复制冲突。On the Subscribers page, select AdfsConfigurationV3 as the subscriber database and click Next.

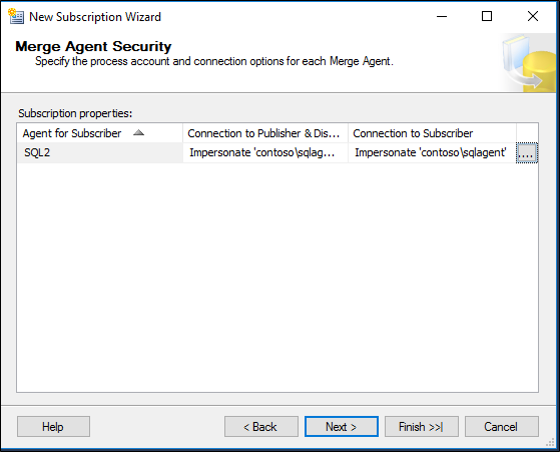
在“合并代理安全性”页上,单击“...”并使用省略号图标框输入为 SQL 代理创建的域帐户(不是 GMSA)的用户名和密码,然后单击“下一步”。
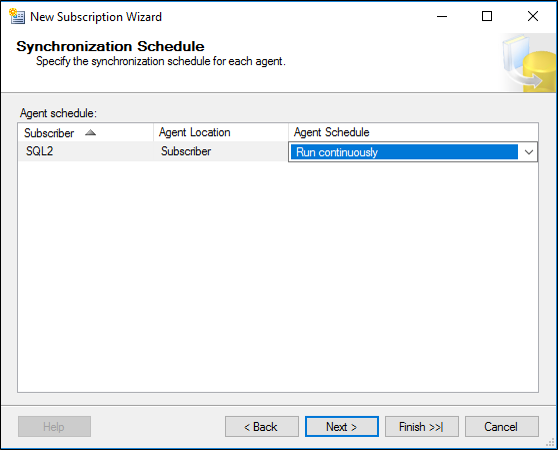
On Synchronization Schedule, choose Run Continuously and click Next.
On Initialize Subscriptions, click Next.

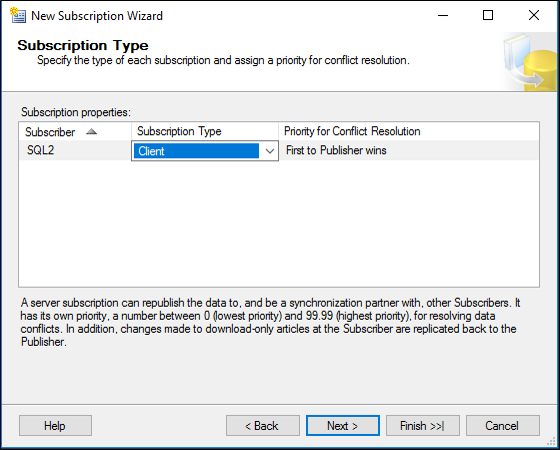
On Subscription Type, choose Client and click Next.
Implications of this are documented here and here. 本质上,我们采用简单的“第一个发布者获胜”的冲突解决方式,并且不需要重新发布给其他订阅者。
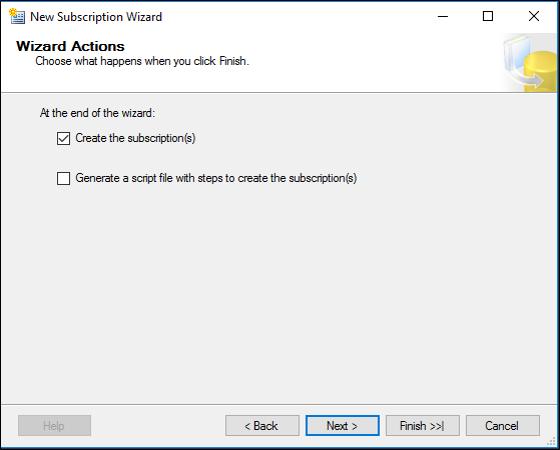
On the Wizard Actions page, ensure Create the subscription is checked and click Next.
在“完成向导”页上,单击“完成”。

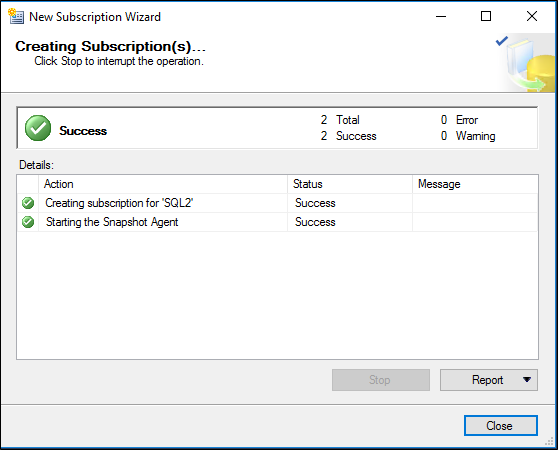
订阅完成创建过程后,应会看到成功消息。 Click Close.
验证初始化和复制过程
On the primary SQL server, right-click the Replication node and click Launch Replication Monitor.
In Replication Monitor, click the publication.
On the All Subscriptions tab, right click and View Details.
You should be able to see many entries under Actions for the initial replication.
此外,可以在“SQL Server 代理\作业”节点下查看计划了哪些作业来执行发布/订阅操作。 只会显示本地作业,因此在故障排除时请务必检查发布服务器和订阅服务器。 Right-click a job and select View History to view execution history and results.
为域帐户 CONTOSO\sqlagent 配置 SQL 登录名
Create a new login on the primary and replica SQL Server called CONTOSO\sqlagent (the name of the new domain user created and configured on the Agent Security page in the procedures above.)
In SQL Server, right-click the login you created, and select Properties, then under the User Mapping tab, map this login to AdfsConfiguration and AdfsArtifact databases with public and db_genevaservice roles. 另外,将此登录名映射到分发数据库,并为 distribution 表和 adfsconfiguration 表添加 db_owner 角色。 在主要和副本 SQL Server 上,都可以执行此操作。 有关详细信息,请参阅 复制代理安全模式。
为相应的域帐户授予对配置为分发服务器的共享的读写权限。 确保对共享权限和本地文件权限都设置读写权限。
将 AD FS 节点配置为指向 SQL Server 副本群集
设置异地冗余后,可以通过 AD FS 配置向导 UI 或 Windows PowerShell,使用标准的 AD FS“加入”场功能,将 AD FS 场节点配置为指向副本 SQL Server 场。
如果使用 AD FS 配置向导 UI,请选择“将联合服务器添加到联合服务器场”。 Do NOT select Create the first federation server in a federation server farm.
If you use Windows PowerShell, run Add-AdfsFarmNode. Do NOT run Install-AdfsFarm.
When prompted, provide the host and instance name of the replica SQL Server, NOT the initial SQL server.