Note
Access to this page requires authorization. You can try signing in or changing directories.
Access to this page requires authorization. You can try changing directories.
To build Power Automate flows that are as efficient and accurate as possible, make sure that they process only the data they need to. This practice helps optimize their performance and reduces the risk of errors or inconsistencies. This article provides guidance on how to limit the data your flows process, focusing on triggers and actions.
Aside from considerations of performance and accuracy, eliminating unneeded data from your flows is also important for staying within throughput limits. Throughput limits are the maximum amount of data that can be read from or written to the run history of a cloud flow in a specific time period. They vary by performance profile, but in all cases, if a cloud flow exceeds the limit, its activity is slowed until it falls below the threshold. If the activity remains above the limit for 14 days, the flow is turned off. Learn more in Limits of automated, scheduled, and instant flows.
You can limit the data that's processed at both the trigger and action levels.
Limit data at the trigger level
When you're working with data in Dataverse, use OData expressions at the trigger level to filter the data based on specific criteria, such as "city eq 'New York'" in the following example.

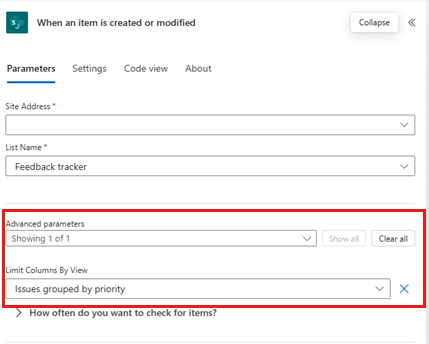
Data sources like SharePoint allow you to specify views at the trigger level to select only relevant columns and records. In the trigger settings, select the view that contains the columns and filtered data your flow needs. In the following example, the "Issues grouped by priority" view controls what columns and records the flow can work with.
Limit data at the action level
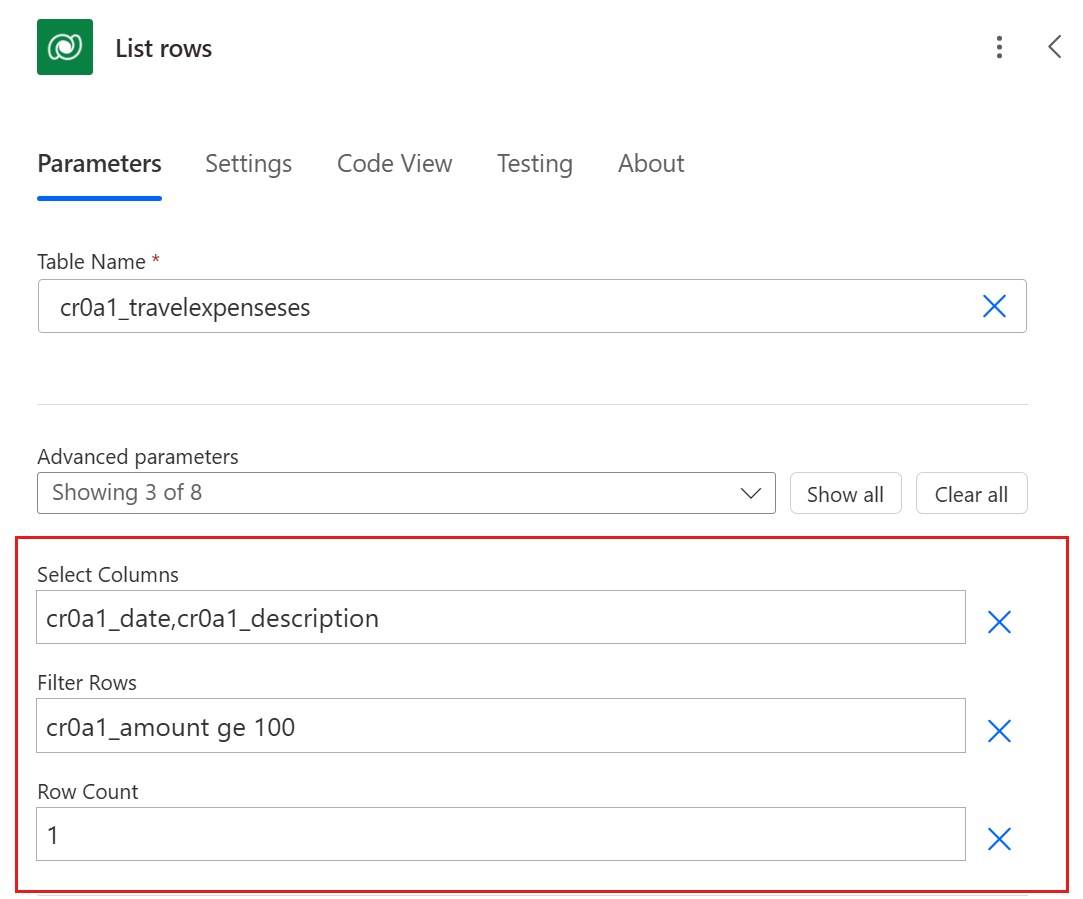
When you're working with data in Dataverse, use the following options alone or in combination at the action level to limit the data that's processed in your cloud flows:
Select columns: Specify the columns to retrieve from the Dataverse table. For example, if you only need the Name and Email columns, exclude all other columns from the query.
Filter rows: Use OData filter expressions to define criteria that the data must meet to be included. For example, you can filter rows where the Status is Active or where the CreatedDate is within the last 30 days.
Row count: Limit the number of records that the action returns, especially when you're dealing with large datasets. For example, set a row count of 100 to ensure that only the first 100 records that meet your criteria are processed.
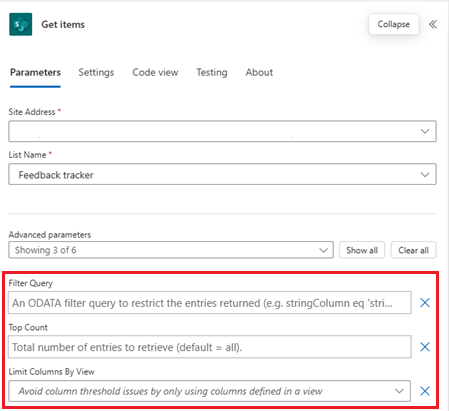
Data sources like SharePoint offer similar options:
Filter query: Use OData filter queries to specify conditions that the data must meet to be included. For example, you can filter rows where the Status is Active or where the CreatedDate is within the last 30 days.
Top count: Limit the number of records that the action returns, especially when you're dealing with large datasets. For example, set a top count of 100 to ensure that only the first 100 records that meet your criteria are processed.
Limit columns by view: Return only the columns that are defined in a specific view.