Note
Access to this page requires authorization. You can try signing in or changing directories.
Access to this page requires authorization. You can try changing directories.
[This article is prerelease documentation and is subject to change.]
Important
- This is a preview feature.
- Preview features aren’t meant for production use and might have restricted functionality. These features are subject to supplemental terms of use, and are available before an official release so that customers can get early access and provide feedback.
Before you configure the agents, ensure that prerequisites are configured in your Dynamics 365 Sales environment. Depending on the type of automation, you must configure the requirements as follows:
| Prerequisite | Applicable for | Description |
|---|---|---|
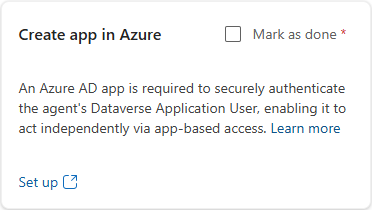
| Create application in Azure | Research and Engage | An Azure AD application is required to securely authenticate the agent’s Dataverse Application User, enabling it to act independently via app-based access. More information: Create application in Azure |
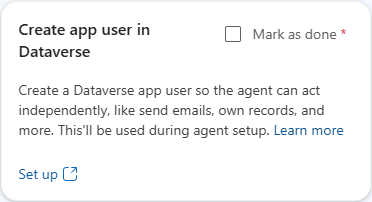
| Create an app user in Dataverse | Research and Engage | Create a Dataverse app user so the agent can act independently, like send emails, own records, and more. More information: Create an app user in Dataverse |
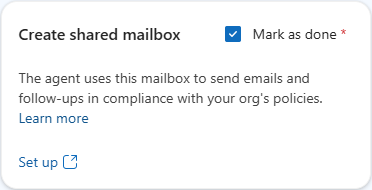
| Create a shared mailbox | Engage | The agent mailbox that will be used to send emails and follow-ups in compliance with your org’s policies. More information: Create a shared mailbox |
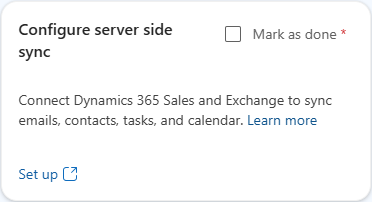
| Configuring server-side synchronization | Engage | Connect Dynamics 365 Sales and Exchange to sync emails, contacts, tasks, and calendar. More information: Configuring server-side synchronization |
Create application in Azure
Ensure that you have the Application Developer role in Microsoft Entra.
In the agent settings page, go to the Prerequisites section, and in the Create app in Azure section, select Set up.
In the Register an application page, enter a name, select the account type (usually Accounts in this organizational directory only), and if applicable, enter a relevant redirect URI.
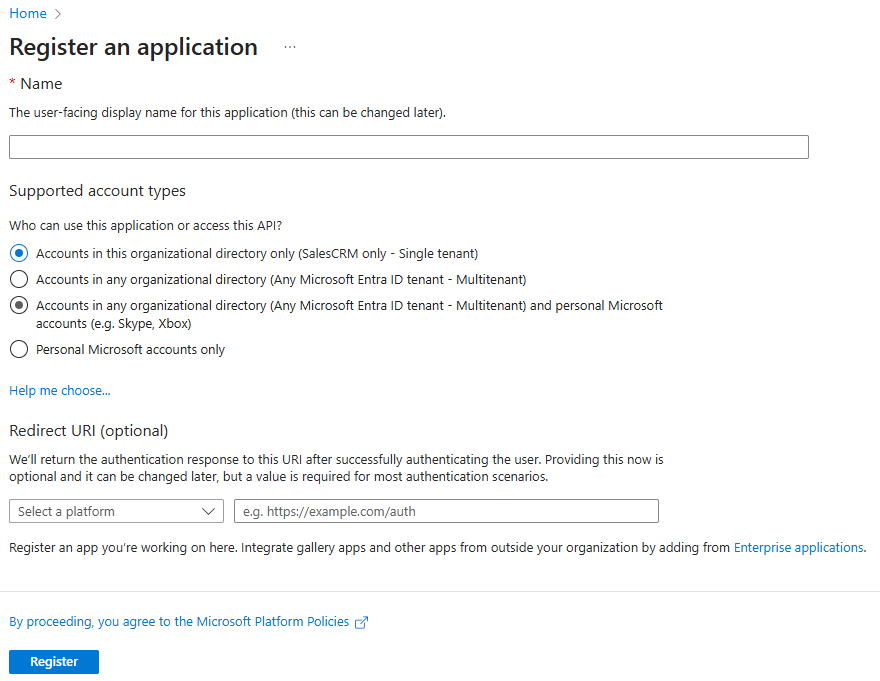
Note
You can also create the application in the Azure portal by going to Microsoft Entra ID > App registrations and then selecting New registration.
Select Register.
Your app is created, and details are displayed. Copy the created Application (client) ID to be used while creating app user in your Dynamics 365 organization.Go back to the agent settings page and select the Mark as done checkbox in the Create app in Azure section. You must select this checkbox to proceed with the agent configuration.
To learn more about app creation, see Quickstart: Register an app in Microsoft Entra ID.
Create a shared mailbox
Ensure that you have one of the following roles in Microsoft Office 365 admin portal&madsh; Office 365 Global Administrator, Exchange Administrator, or Exchange Recipient Administrator.
In the agent settings page, go to the Prerequisites section, and in the Create shared mailbox section, select Set up.
In the Exchange admin center, go to Recipients > Mailboxes and then select Add a shared mailbox.
In the Add a shared mailbox pane, enter the following information:
- Display name: Enter a name for the shared mailbox.
- Email address: Enter the email address.
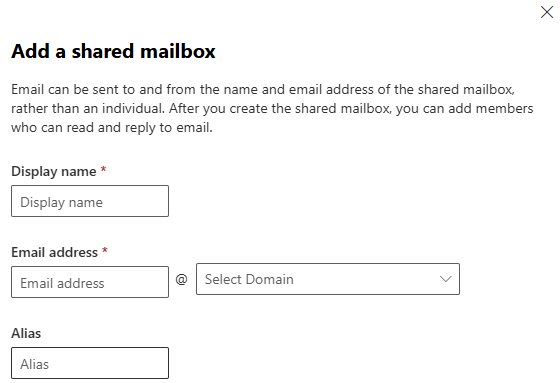
Select Create.
A shared mailbox is created. Now, you can create and add app users to this mailbox as described in the following section.Go back to the agent settings page and select the Mark as done checkbox in the Create shared mailbox section. You must select this checkbox to proceed with the agent configuration.
To learn more about shared mailboxes, see Shared mailboxes in Exchange Online.
Create an app user in Dataverse
Ensure that you have the System Administrator role for your Dynamics 365 organization.
In the agent settings page, go to the Prerequisites section, and in the Create an app user in Dataverse section, select Set up.
In Power Platform admin center, select the environment where you want to create the app user.
Go to Settings > Users + permissions > Application users and then select + New app user.
In the Create a new app user pane, select + Add an app and then add the application (Application client ID) that is registered in Azure.
Enter the business unit name, and enter the security role for the app user as AIsalesperson.
Select Save.
Go back to the agent settings page and select the Mark as done checkbox in the Create an app user in Dataverse section. You must select this checkbox to proceed with the agent configuration.
To learn more about app users, see Manage application users in the Power Platform admin center.
Configuring server-side synchronization
Ensure that you have the following roles:
- System Administrator for your Dynamics 365 organization.
- Office 365 Global Administrator or Exchange Administrator in Microsoft Office 365 admin portal.
In the agent settings page, go to the Prerequisites section, and in the Configure server side sync section, select Set up.
Note
You can also configure server-side synchronization in your Dynamics 365 organization by going to Advanced Settings > System > Email Configuration > Mailboxes.
Change the view to All Mailboxes and select the mailbox associated with the created application user.
Replace the email address with that of the shared mailbox and then select Approve Email.
Select Test & Enable Mailbox to verify that the server-side sync is established successfully for the email. When successful, the incoming and outgoing email status display Success under the Configuration Status section.
Go back to the agent settings page and select the Mark as done checkbox in the Create an app user in Dataverse section. You must select this checkbox to proceed with the agent configuration.
Next step
Configure general settings for the Sales Qualification Agent