Note
Access to this page requires authorization. You can try signing in or changing directories.
Access to this page requires authorization. You can try changing directories.
A Conversational Language Understanding (CLU) fine-tuning task is a workspace project where you customize a language model to identify user intent and extract key information (entities) from user input (utterances). In this workspace, you define the intents and entities relevant to your application, label sample user utterances accordingly, and use this labeled data to fine-tune the model. This process tailors the model to better understand the specific needs and nuances of your conversational application. In this guide, we walk you through configuring a fine-tuning workspace in the Azure AI Foundry or using the REST API.
Note
If you already have an Azure AI Language or multi-service resource—whether used on its own or through Language Studio—you can continue to use those existing Language resources within the Azure AI Foundry portal. For more information, see How to use Azure AI services in the Azure AI Foundry portal.
In Azure AI Foundry, you set up a fine-tuning task to serve as your workspace when customizing your CLU model. Previously, a fine-tuning task was referred to as a CLU project. You might encounter both terms used interchangeably in older CLU documentation.
Prerequisites
- An Azure subscription. If you don't have one, you can create one for free.
- Requisite permissions. Make sure the person establishing the account and project is assigned as the Azure AI Account Owner role at the subscription level. Alternatively, having either the Contributor or Cognitive Services Contributor role at the subscription scope also meets this requirement. For more information, see Role based access control (RBAC).
- An Azure AI Foundry multi-service resource. For more information, see Configure an Azure AI Foundry resource. Alternately, you can use an Azure AI Language resource.
- A Foundry project created in the Azure AI Foundry. For more information, see Create an AI Foundry project.
Note
We highly recommend that you use an Azure AI Foundry resource in the AI Foundry; however, you can also follow these instructions using a Language resource.
Create a CLU fine-tuning task project
To create a CLU fine-tuning task project, you first configure your environment and then create a fine-tuning task, which serves as your workspace for customizing your CLU model.
Navigate to the Azure AI Foundry.
If you aren't already signed in, the portal prompts you to do so with your Azure credentials.
Once signed in, you can create or access your existing projects within Azure AI Foundry.
If you're not already at your project for this task, select it.
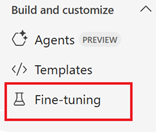
Select Fine-tuning from the left navigation panel.
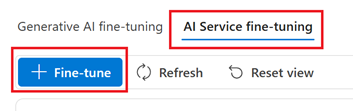
Select the AI Service fine-tuning tab and then + Fine-tune button.
From Create service fine-tuning window, choose the Conversational language understanding tab then select Next.

In Create CLU fine-tuning task window, complete the Name and Language fields. If you're planning to fine-tune a model using the free Standard Training mode, select English for the language field.
Navigate to the Azure AI Foundry.
If you aren't already signed in, the portal prompts you to do so with your Azure credentials.
Once signed in, you can create or access your existing projects within Azure AI Foundry.
If you're not already at your project for this task, select it.
Select Fine-tuning from the left navigation panel.
Select the AI Service fine-tuning tab and then + Fine-tune button.
From Create service fine-tuning window, choose the Conversational language understanding tab then select Next.
In Create CLU fine tuning task window, select your Connected service from the drop-down menu, then complete the Name and Language fields. If you're using the free Standard Training mode, select English for the language field.
Select the Create button. It can take a few minutes for the creating operation to complete.
Note
- Standard training enables faster training times and quicker iterations; however it's only available for English.
- Advanced training includes longer training durations and is supported for English, other languages, and multilingual projects.
- For more information, see Training modes.
Once the task creation is complete, select the task from the AI Service fine-tuning window to arrive at the Getting started with fine-tuning page.
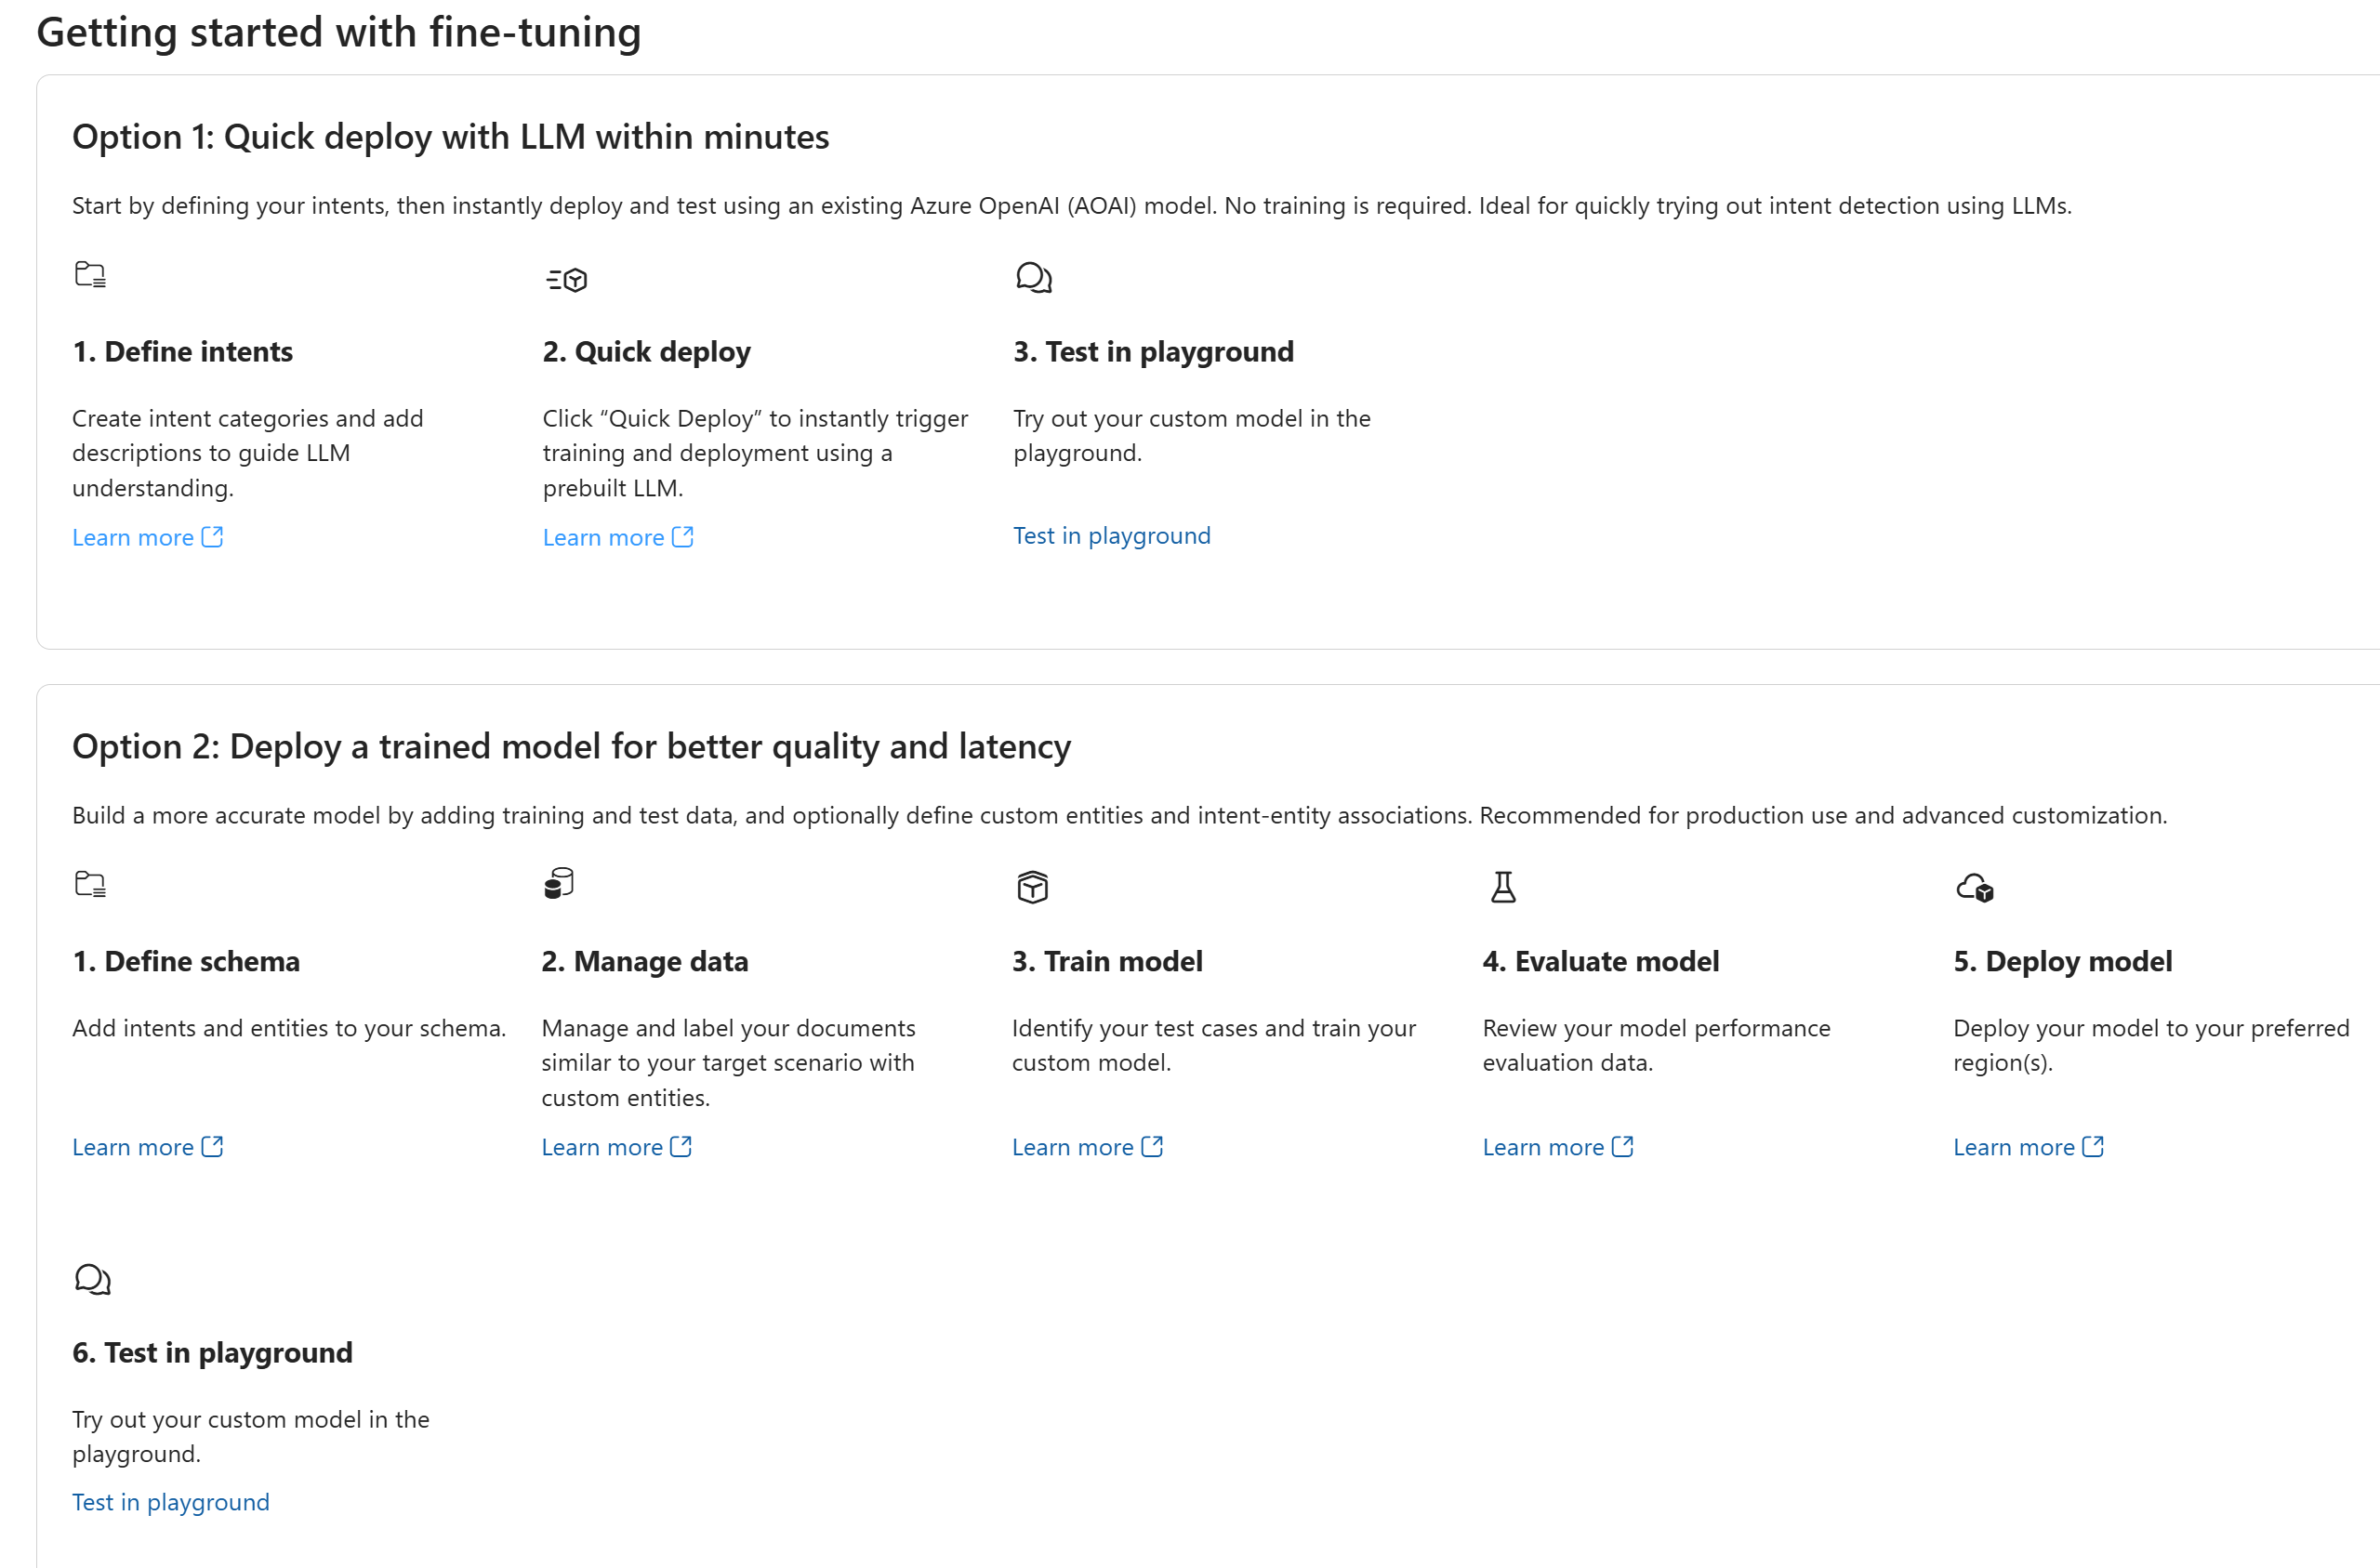

That's it! You can get started on your fine-tuning task project. For more information, see Next steps.
View and manage project details
You can retrieve up-to-date information about your projects, make any necessary changes, and oversee project management tasks efficiently through the Azure AI Foundry or REST API endpoints.
Your Azure AI Foundry project overview page displays information about your fine-tuning task project, including its name, subscription, resource group, and connected resources. You can also access the project's resources in the Azure portal by selecting Manage in Azure portal on the overview page.
On the project Home page, information about the project is found in the Project details section.
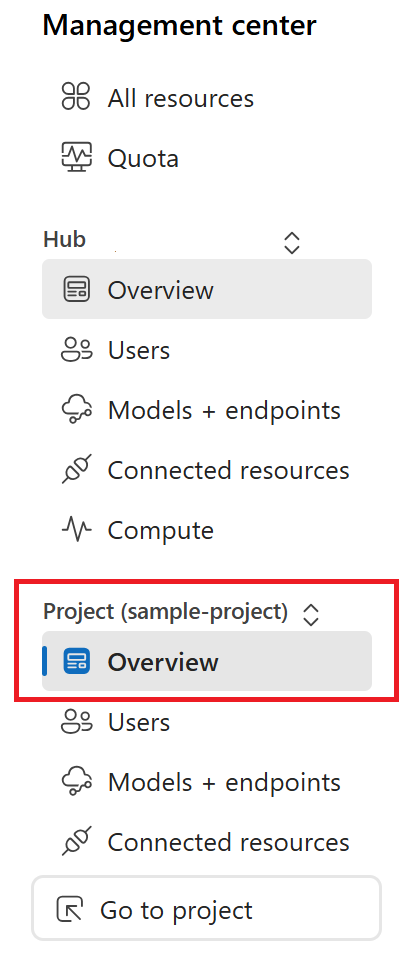
To view project settings, select Management center from the bottom of the left navigation pane, then select one of the following tabs:
- Overview to view project details.
- Users to manage users and roles.
- Models + endpoints to manage deployments of your models and services.
- Connected resources to manage connected resources for the project.
Import an existing Azure AI project
Importing the configuration file allows you to bring your existing settings directly into the platform, making it easier to set up and customize your service based on your predefined preferences.
To import an existing Azure AI services project with Azure AI Foundry, you need to create a connection to the Azure AI services resource within your Azure AI Foundry project. For more information, see Connect Azure AI Services projects to Azure AI Foundry
Export a fine-tuning project
Exporting your configuration file enables you to save the current state of your project's settings and structure, making it easy to back up or transfer your project as needed.
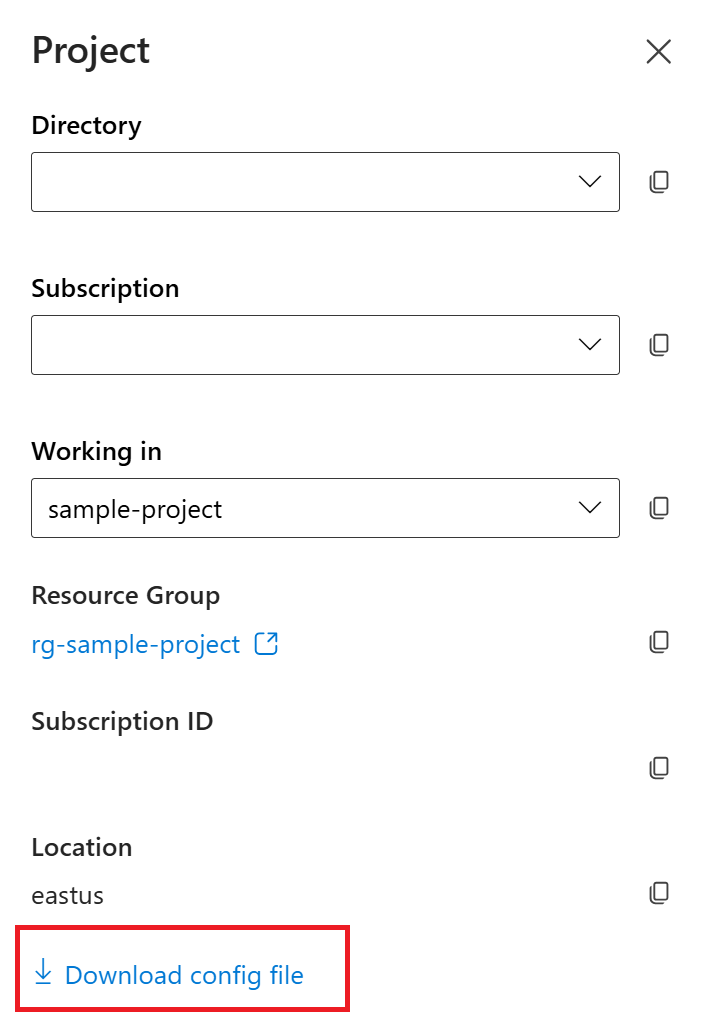
You can download an Azure Foundry fine fine-tuning task project as a config.json file:
Navigate to your project home page.
At the top of the page, select your project from the right page ribbon area.
Select Download config file.
Delete a project
Deleting a project ensures that it and all of its associated data are permanently removed from the system.
If you no longer need your project, you can delete it from the Azure AI Foundry.
Navigate to the Azure AI Foundry home page. Initiate the authentication process by signing in, unless you already completed this step and your session is active.
Select the project that you want to delete from the Keep building with Azure AI Foundry
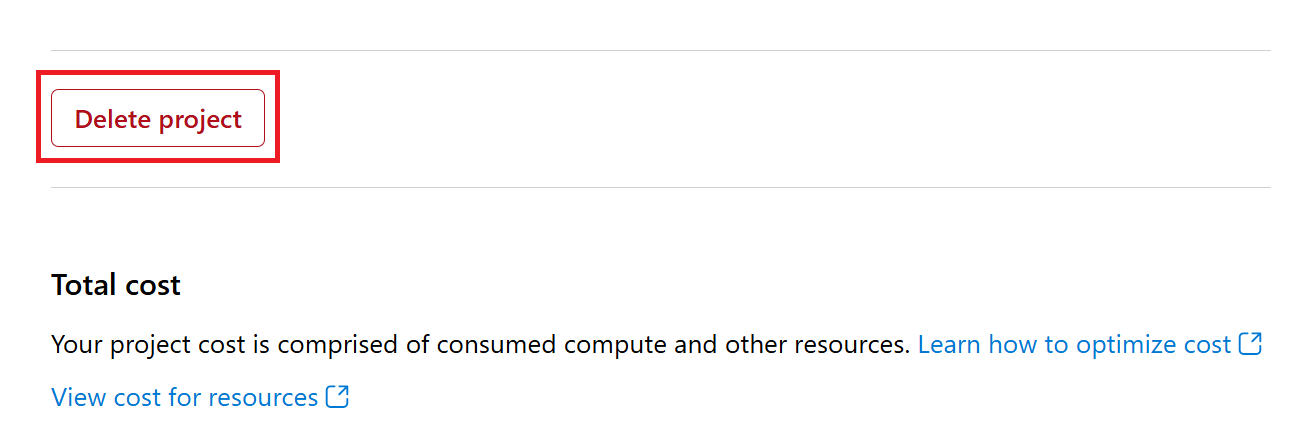
Select Management center.
Select Delete project.
To delete the hub along with all its projects:
Navigate to the Overview tab inn the Hub section.
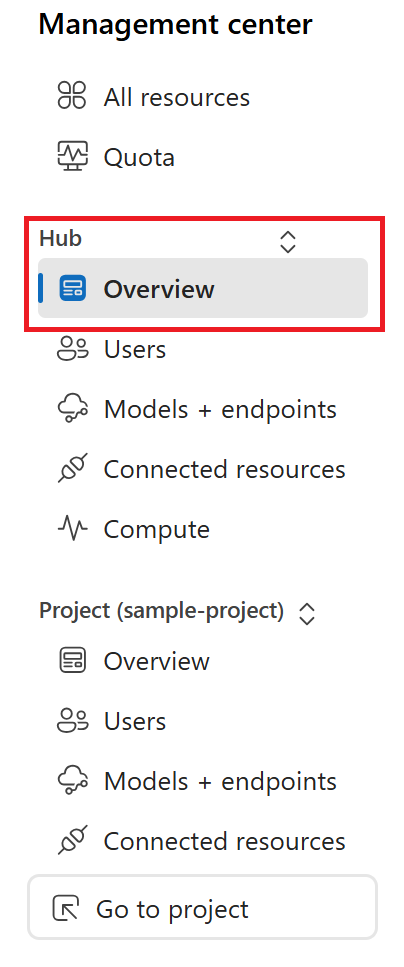
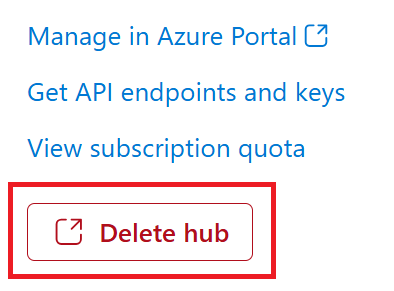
On the right, select Delete hub.
The link opens the Azure portal for you to delete the hub there.
Next steps
After you create your fine-tuning workspace, start your fine-tuning task by defining your intents and entities and adding them to your schema: