借助此教程,可了解如何创建 ASP.Net Core MVC 应用程序并在 Visual Studio Code 中部署。 本教程假定用户熟悉 VS Code。 有关详细信息,请参阅 VS Code入门。 本教程将适用于 Windows、macOS 或 Linux 环境。 请确保针对环境使用正确的路径分隔字符(\ 与 /)。
Important
Azure 应用服务中的 ASP.NET Core 预览版
默认情况下不会将 ASP.NET Core 预览版部署到 Azure 应用服务。 要托管使用 ASP.NET Core 预览版的应用,请参阅将 ASP.NET Core 预览版部署到 Azure 应用服务。
要解决应用服务部署问题,请参阅对 Azure 应用服务和 IIS 上的 ASP.NET Core 进行故障排除。
Prerequisites
- Azure 订阅。 如果没有免费 Azure 帐户,请获取一个。
- .NET SDK (latest stable release).
-
Visual Studio Code。
- C# Extension.
- Azure 应用服务扩展。 在继续操作之前,请使用扩展登录到 Azure。
创建 ASP.NET Core MVC 项目
Open the integrated terminal.
将工作目录 (
cd) 设置为将包含项目的目录。运行以下命令:
dotnet new mvc -o MyMVCapp
code -r MyMVCapp
对于前面的命令:
dotnet new mvc -o MyMVCapp- Creates a new ASP.NET Core MVC project in the MyMVCapp folder.
code -r MyMVCapp- 在 Visual Studio Code 中加载
MyMVCapp.csproj项目文件。 - Visual Studio Code 将集成终端更新到项目目录。
- 在 Visual Studio Code 中加载
Note
如果出现一个显示“‘MyMVCapp’中缺少进行生成和调试所需的资产。是否添加它们?”的对话框,请选择“是”。
A new ASP.NET Core MVC project is created in a MyMVCapp folder with a structure similar to the following:
      appsettings.Development.json
      appsettings.json
<DIR> bin
<DIR> Controllers
<DIR> Models
      MyMVCapp.csproj
<DIR> obj
      Program.cs
<DIR> Properties
<DIR> Views
<DIR> wwwroot
将在项目结构下创建 .vscode 文件夹。 它将包含实用工具文件,用于帮助生成和调试 ASP.NET Core Web 应用。
测试项目
将应用部署到 Azure 之前,请确保它在本地计算机上正常运行。
Open the integrated terminal (if needed).
设置受信任的 HTTPS 开发证书:
通过运行以下命令来信任 HTTPS 开发证书:
dotnet dev-certs https --trust上述命令需要 Linux 上的 .NET 9 或更高版本 SDK。 对于 .NET 8.0.401 或更早版本的 SDK 上的 Linux,请参阅 Linux 分发的文档来信任证书。
如果证书以前不受信任,上述命令显示以下对话:
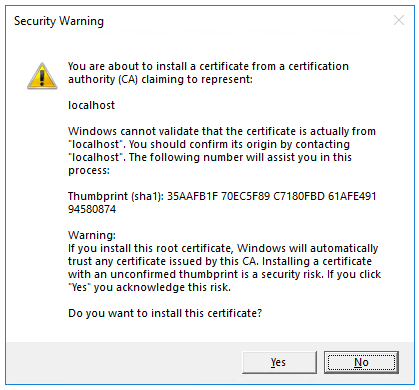
Select Yes if you agree to trust the development certificate.
有关详细信息,请参阅强制执行 SSL 文章的信任 ASP.NET Core HTTPS 开发证书部分。
有关信任 Firefox 浏览器的信息,请参阅 Firefox SEC_ERROR_INADEQUATE_KEY_USAGE 证书错误。
运行以下命令:
dotnet run上述命令:
- 启动 Kestrel,ASP.NET Core 的内置 Web 服务器。
- 显示用于测试 Web 应用的 URL,例如
http://localhost:<port>,其中<port>是在项目创建时在Properties\launchSettings.json中设置的随机端口号。
输出会显示类似于以下内容的消息,表示应用正在运行且正在等待请求:
$ dotnet run Building... info: Microsoft.Hosting.Lifetime[14] Now listening on: https://localhost:7064 info: Microsoft.Hosting.Lifetime[14] Now listening on: http://localhost:5119 info: Microsoft.Hosting.Lifetime[0] Application started. Press Ctrl+C to shut down. info: Microsoft.Hosting.Lifetime[0] Hosting environment: Development info: Microsoft.Hosting.Lifetime[0] Content root path: D:\Src\MyMVCapp\Ctrl+click the HTTPS URL in the output to test the web app in a browser. 在以上示例中,URL 为
https://localhost:7064。Press Ctrl+C in the integrated terminal to shut down the web app after testing it.
本地生成部署包
在集成终端中,使用以下命令在位于
Release的文件夹中生成bin/Publish包:dotnet publish -c Release -o ./bin/Publish将在
Publish文件夹中创建一个新的bin子文件夹。 此文件夹包含要部署到 Azure 的文件。

发布到 Azure 应用服务
利用适用于 Visual Studio Code 的 Azure 应用服务扩展,按照以下步骤直接将网站发布到 Azure 应用服务。
创建新的 Azure Web 应用资源
如果没有要发布到的现有 Azure Web 应用资源,则必须创建一个。
- In the Azure extension tab, in the RESOURCES pane, expand the subscription you wish to use.
- Right-click App Services and select Create New Web App....
- 按提示操作:
- 输入 Web 应用的唯一名称。
- 选择最新稳定版 .NET 运行时(例如
.NET 6 (LTS))。 不要选择适用于 .NET Framework 应用的 ASP.NET 运行时。 - 选择定价层。 本教程可以接受免费 (F1)。
发布到 Azure
右键单击
bin\Publish文件夹,然后选择Deploy to Web App...并按照提示进行操作。- 选择 Azure Web 应用资源所在的订阅。
- 选择要发布到的 Azure Web 应用资源。
- Select Deploy when prompted with a confirmation dialog.
完成部署后,请单击
Browse Website以验证部署。
单击
Browse Website后,将使用默认浏览器导航到此网站: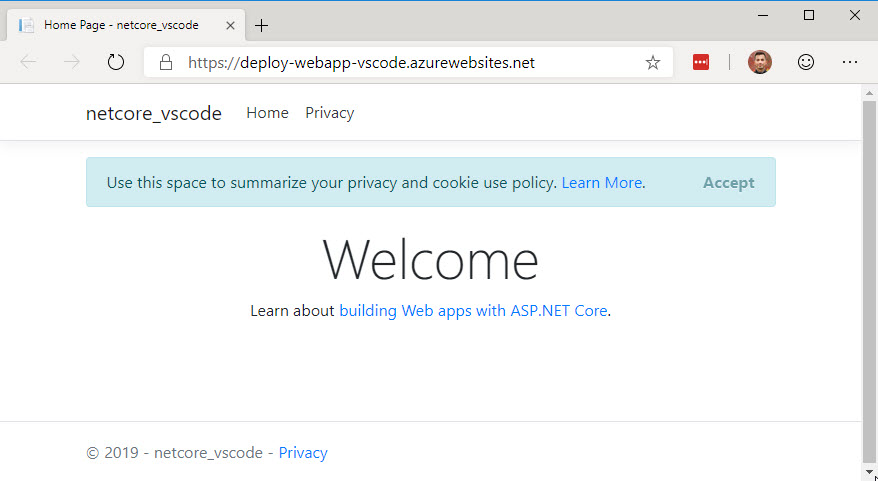
Tip
可以重复上述步骤,根据需要将应用重新部署到同一 Azure Web 应用资源。 在部署到 Azure 之前,请务必再次运行 dotnet publish。