Copilot は、Azure インフラストラクチャを定義する Terraform 構成を生成するのに役立ちます。 デプロイするインフラストラクチャについて説明すると、Copilot は AzureRM プロバイダーを使用して Terraform 構成を生成します。 構成には、構成がデプロイ可能であることを確認するために、メイン リソースと必要な依存関係の両方が自動的に含まれます。 出力を定義するには、後続のプロンプトを繰り返し実行します。
この記事では、Azure portal から Azure で Copilot を使用し、Visual Studio Code で GitHub Copilot for Azure を使用する方法について説明します。 また、as-is を使用したり、必要に応じて編集したりするためのサンプル Terraform プロンプトも用意されています。
Tip
最良の結果を得るには、プロンプトの長さを制限し、8 種類未満の主要な Terraform リソースを使用してください。 Copilot は、一般的な構成で適切に動作します。 複雑なアーキテクチャや大規模なアーキテクチャでは、不完全な結果や精度の低い結果が得られる場合があります。
Note
Copilot は現在、AzureRM プロバイダー リソースを広範囲にサポートしています。 AzAPI プロバイダーのサポートは進化しており、まだ完全には利用できない可能性があります。 必要なリソースの種類がサポートされていない場合、Copilot はサンプル構造にフォールバックするか、制限事項を説明します。
Azure portal から Azure で Copilot を使用する
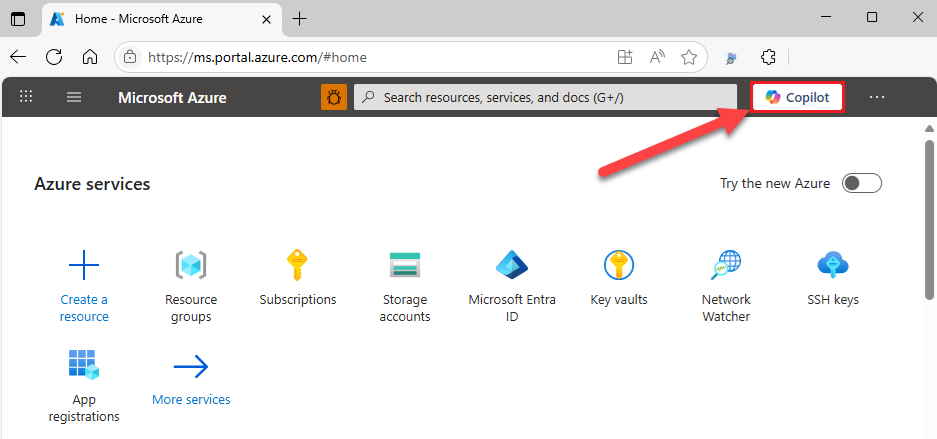
Azure Portalを開きます。
右上隅にある Copilot アイコンを選択します。
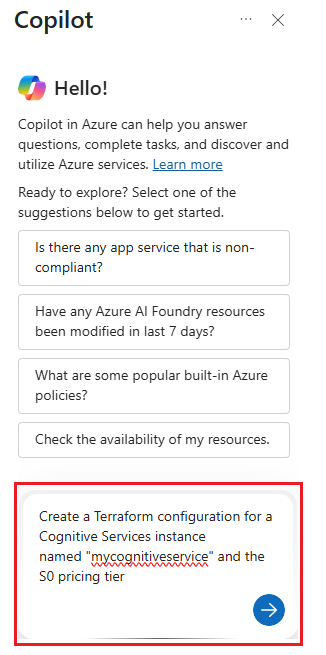
次の例のように、Terraform 関連のプロンプトを入力します。
Create a Terraform configuration for a Cognitive Services instance
named "mycognitiveservice" and the S0 pricing tier
<Enter> キーを押します。
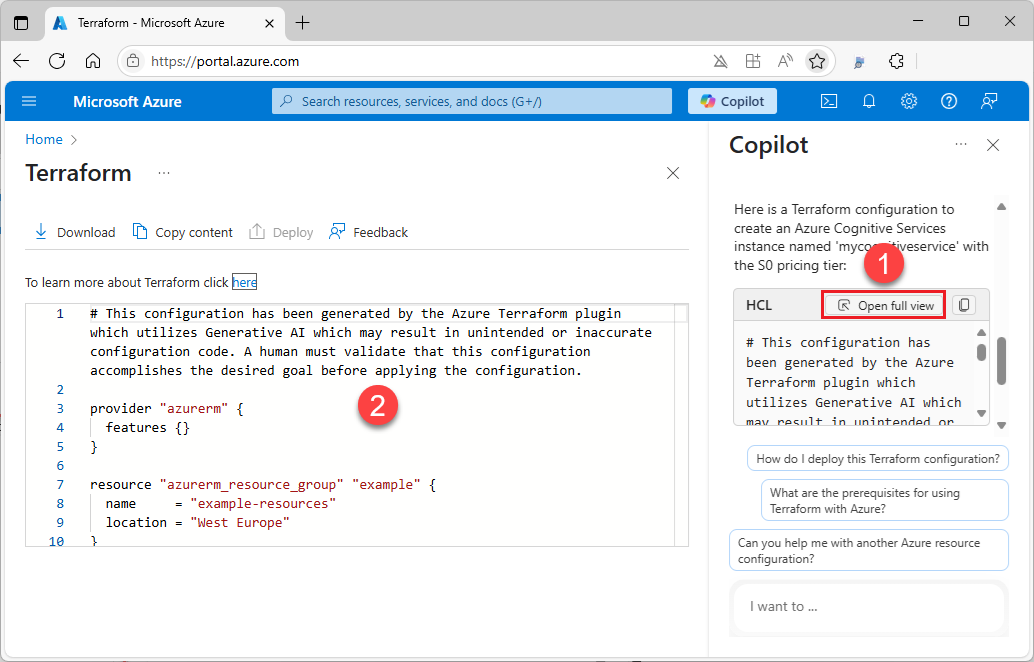
Azure の Copilot が応答したら、[ フル ビューを開く ] を選択して、構成コード ブロックを全画面表示モードで表示できます。
[ コピー ] アイコンを選択して、新しい構成をクリップボードにコピーします。
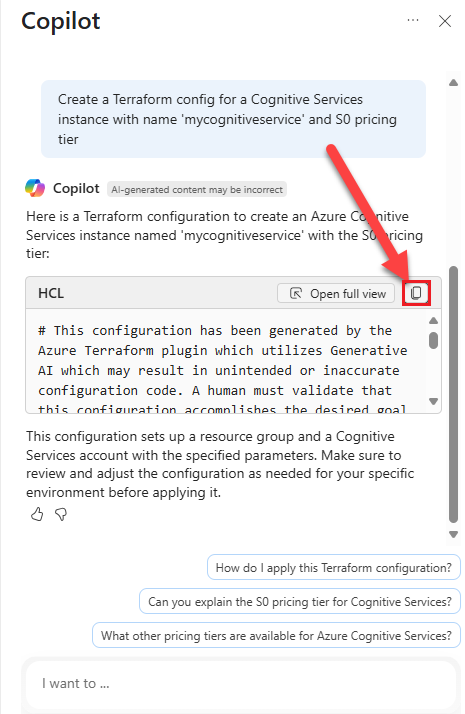
コードをエディターに貼り付けます。
Visual Studio Code から GitHub Copilot for Azure を使用する
Visual Studio Code を開きます。
アクティビティ バーから [拡張機能] を選択し、
copilotを検索します。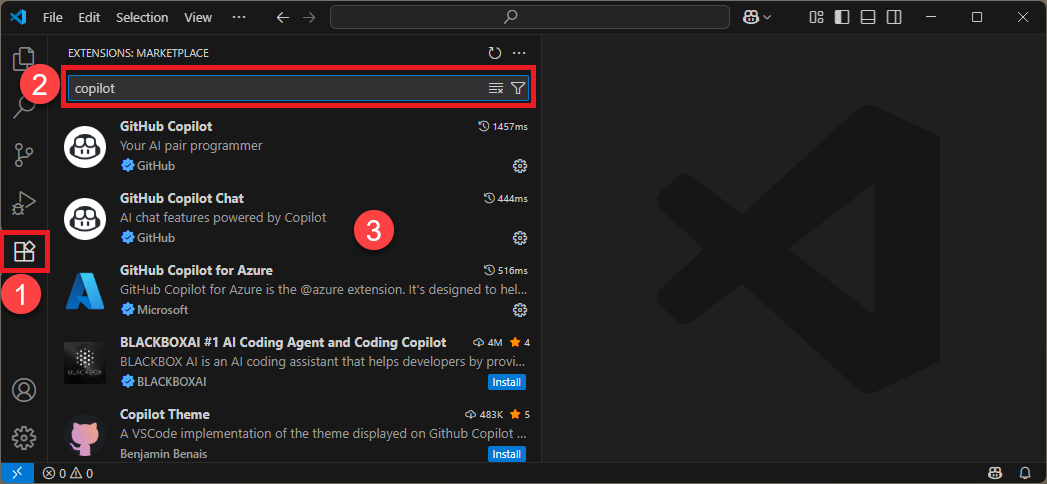
GitHub Copilot 拡張機能がインストールされていることを確認します。 そうでない場合は、インストールします。
GitHub Copilot Chat 拡張機能がインストールされていることを確認します。 そうでない場合は、インストールします。
[ チャットの切り替え] を選択します。
![VS Code の [Copilot Toggle Chat]\(チャットの切り替え\) オプションのスクリーンショット。](media/generate-terraform-configuration-using-copilot/vs-code-toggle-chat.png)
@azureで始まる Terraform 構成のプロンプトを入力します。 たとえば、次のプロンプトでは、さまざまな設定で Content Delivery Network (CDN) リソースが作成されます。@azure Use Terraform to create an Azure CDN Front Door profile named "myCDN profile" with a custom domain association for "example.com". Configure a CDN Front Door route that links to the default domain, and create a CDN endpoint named "myEndpoint" associated with the custom domain. Ensure that a security policy is applied for enhanced protection in production, and verify that the route is correctly configured with the appropriate origin group.<Enter> キーを押します。
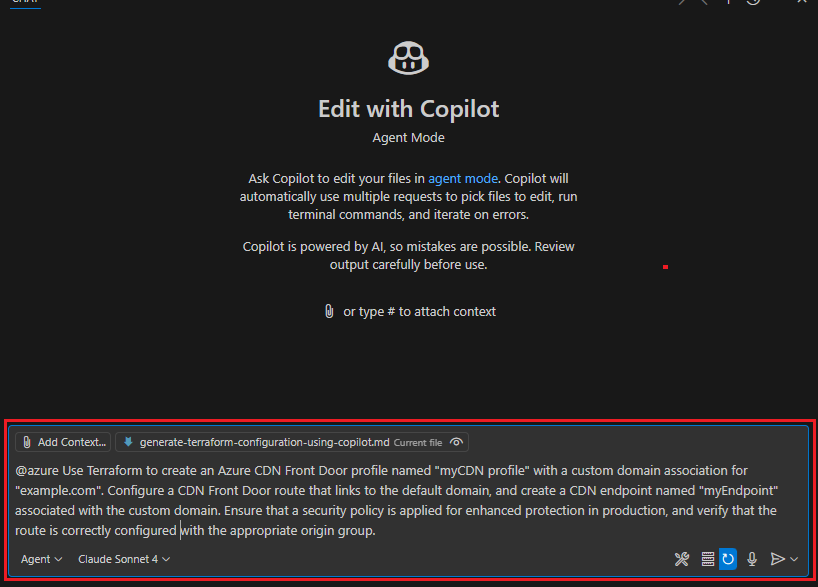
GitHub Copilot for Azure では、プロセスを対話形式でガイドし、構成に必要なファイルを作成します。
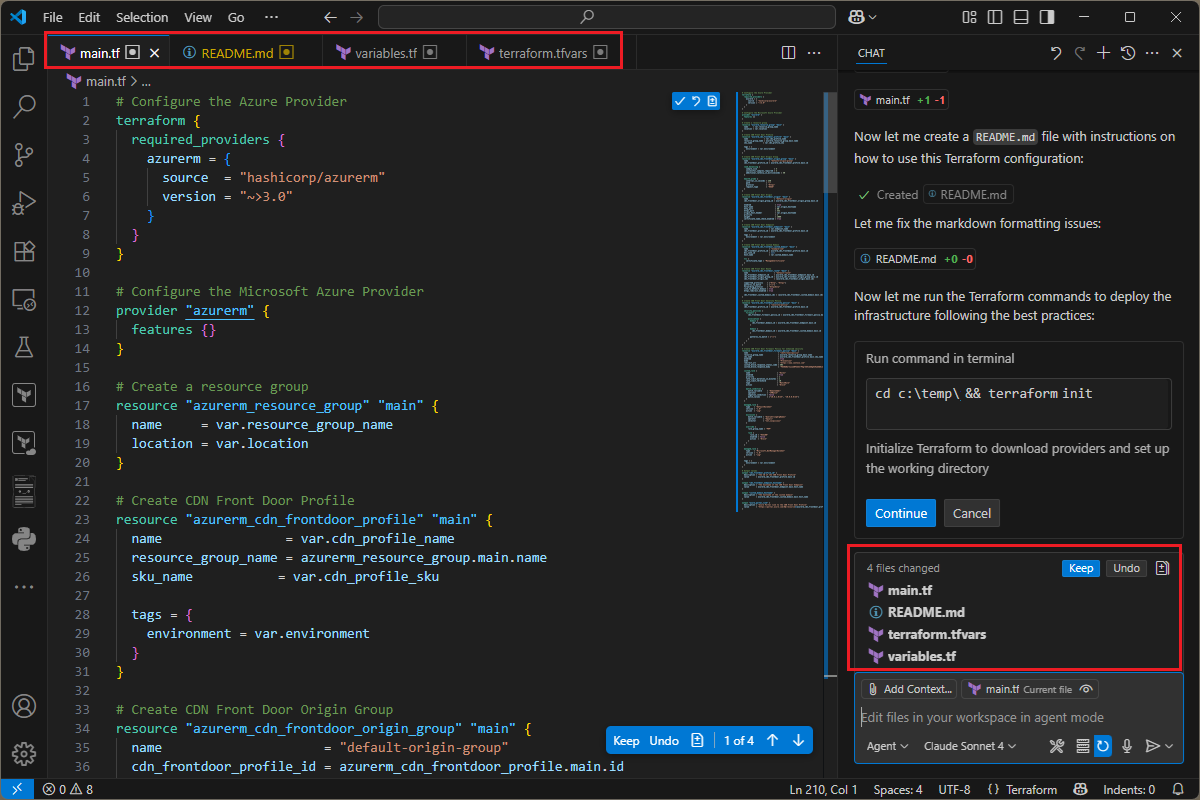
ファイルが作成または更新されると、GitHub Copilot for Azure では、生成された構成に対して
terraform initコマンドとterraform validateコマンドを実行できます。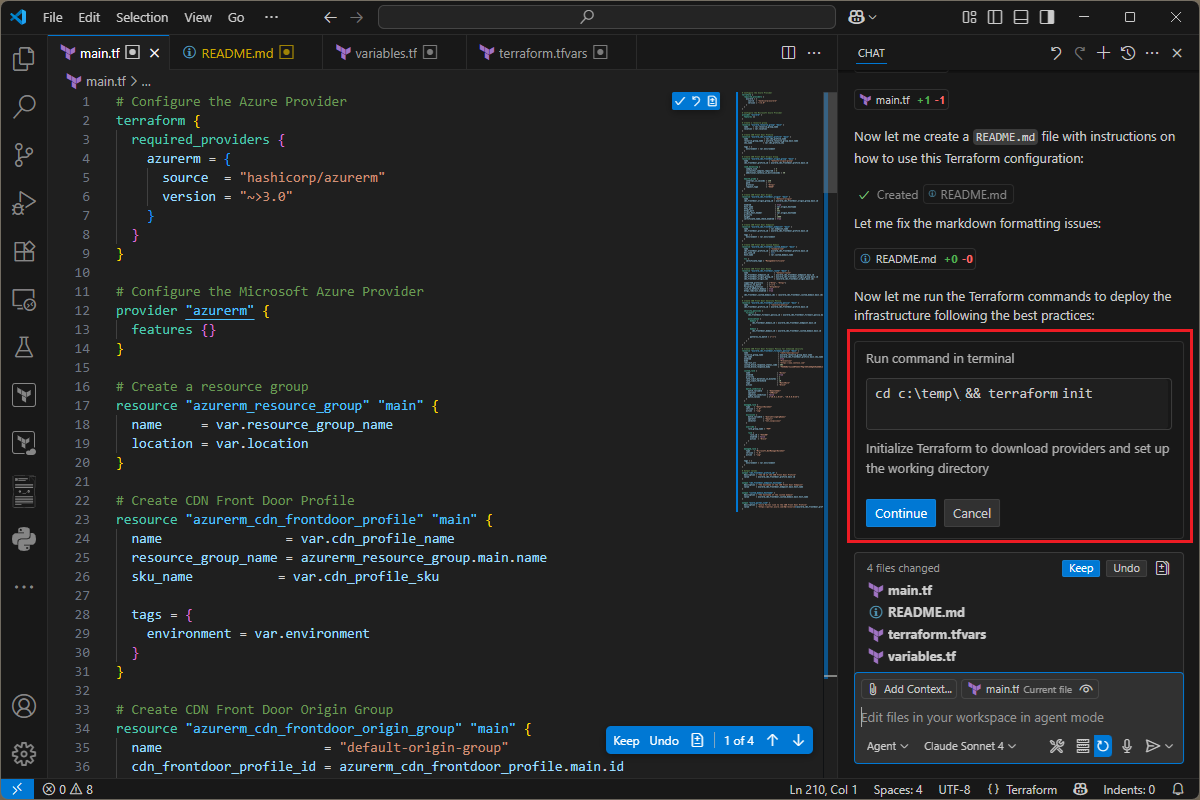
サンプルの Terraform プロンプトを確認して使用する
このセクションでは、Terraform 構成の生成に使用できるプロンプトの例をいくつか示します。 シナリオに基づいてこれらのプロンプトを変更するか、他のプロンプトを試してさまざまな種類のクエリを作成します。
Create a Terraform configuration for a Cognitive Services instance with
name "mycognitiveservice" and S0 pricing tier.
Create a Terraform configuration that deploys a Linux virtual machine
running Ubuntu 22.04 LTS, with 8 GB of RAM. The virtual machine should
be located in the West US region and assigned a public IP address.
It must be connected to a virtual network that includes a subnet and is
secured by a network security group.
Create a Terraform configuration for a Container App resource named
"myApp" using the quick start image. Set the container app environment name
to "awesomeAzureEnv" and the container name to "myQuickStartContainer".
Create a Terraform configuration for an Azure Databricks workspace named
"myworkspace" with the premium SKU. The workspace should be deployed in
the West US region.
Create a Terraform configuration for an Azure OpenAI deployment that uses
the "gpt-4" model. Specify the model version as "2024-05-01-preview" and
set the deployment name to "myOpenAIModel".
Tip
プロンプトの例については、「Azure で Microsoft Copilot を使用して Terraform と Bicep の構成を生成する」を参照してください。