Note
Access to this page requires authorization. You can try signing in or changing directories.
Access to this page requires authorization. You can try changing directories.
With the Partner Center hardware dashboard, you can submit your Windows tested drivers for certification. This article describes how to create a new hardware submission in the Partner Center hardware dashboard.
All hardware submissions to the dashboard are processed within five business days, depending on whether the submission requires manual review. Manual review might be required if your submission's tests fail, if a valid filter isn't applied, or due to an internal business policy.
Note
In order to make Windows 10 more secure without affecting performance, all binaries are now receiving embedded signatures. This technique applies to all submissions for certification, not only Windows 10 submissions.
Prerequisites
Make sure your dashboard account is registered for the Windows Hardware Developer Program. For information on how to register, see Register for the Windows Hardware Developer Program.
Use the following table to determine which signed file you need to create for your submission:
Operating system Required signed file type Guidance Windows 11 and Windows 10
Windows Server 2016 and laterWindows Hardware Lab Kit (WHLK) file, .hlk Find and download the correct version of the Hardware Lab Kit (HLK) based on the compatible system. You can then merge all HLK package test results into a single dashboard submission.
Note: The Windows 10 version 22H2 release follows the same guidelines as Windows 10, version 2004. For more information, see Windows Hardware Compatibility Program (WHCP) guidance for Windows 10, version 22H2.Windows 8/8.1 and earlier Windows Hardware Certification Kit (HCK) file, .hckx To learn how to create and digitally sign an .hckx file, see the Windows HCK Getting Started Guide Windows Server 2008 and earlier Windows Logo Kit (WLK) hardware submission package file, .cab To learn how to create a WLK submission package, see Create a new WLK hardware submission.
Submit your new hardware
To submit your new hardware, follow these steps:
Go to the Partner Center hardware dashboard and sign in with your credentials.
Select Submit new hardware:
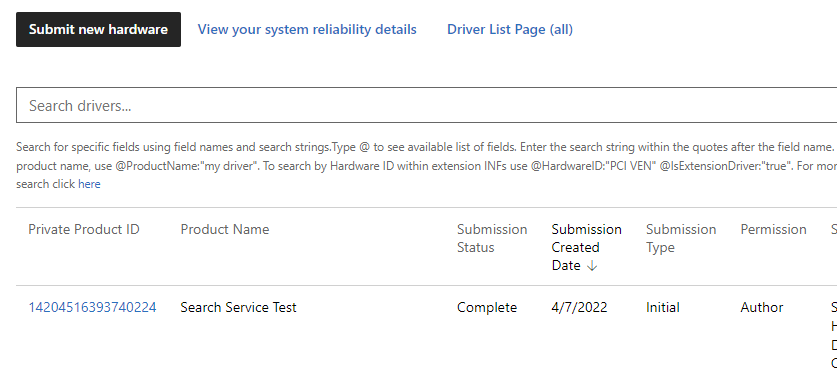
In the Packages and signing properties section, enter a product name for your driver submission. This name can be used to search for and organize your driver submissions.
Note
The name is visible when you share your driver with another company.
Either drag or browse to the .hlkx/.hckx file that you want to submit. If you're submitting WLK hardware, you must submit a .cab file. To learn how to create a WLK .cab file submission, see fwhqlCreate a WLK hardware submission package.

If you want to test a driver before release, select Perform test-signing. Test-signed drivers are similar to drivers signed for public release, but don't require HLK testing. They're also not distributed through Windows Update, but can be downloaded from the hardware submission site. They can be installed on test machines only. For more information about test-signing driver packages, see Windows Hardware Quality Labs (WHQL) test signature program and How to test-sign a driver package.
Complete any other any questionnaires that are presented. The portal presents questionnaires required for the product type being submitted for Windows Server certification.
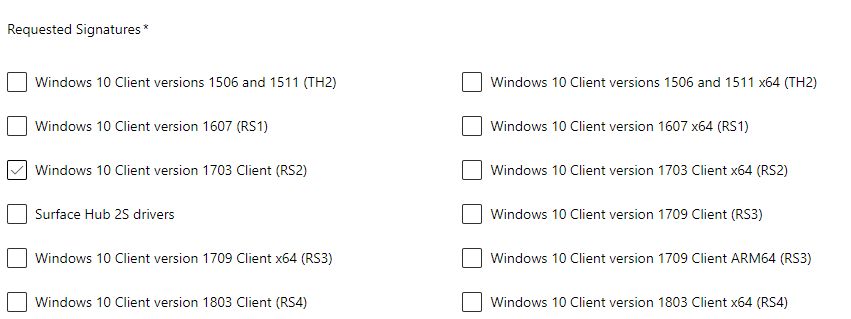
Under Request Signatures, select which operating system signatures (including allowable downlevel operating systems) to include with your driver. Available certifications vary depending on your driver submission package, so there might not be any certifications listed.
Note
If you're signing a driver package for a single architecture, include logs for the intended architecture only. For example, to sign for x64 only, submit only the x64 logs.
In the Certification section, complete the following information:
Field Description Device type Specify your device component type:
- An internal component: Your device is part of a system and connects inside the PC.
- An external component: Your device is an external device (peripheral) that connects to a PC.
- Both: Your device can connect internally (inside a PC) and externally (peripheral).Device metadata category Select an icon for your device from the list of default icons based on your device category. This selection determines which icon appears in Devices and Printers. If you don't want your device to appear, select Internal device.
For information about delivering a rich experience with Windows Device Stage, see Create a Device Metadata Experience.Device metadata model ID These GUIDs are used to validate your Device Metadata submissions to the legacy Sysdev dashboard. If you provide GUID values, they must match the model IDs in your device metadata package. Announcement date Enter the date when you want your product included on the Windows Server Catalog, the Windows Certified Product List, and the Universal Driver List. Marketing names Enter one or more marketing names for your submission. Marketing names allow you to provide aliases for your product. You can provide as many names as you want. 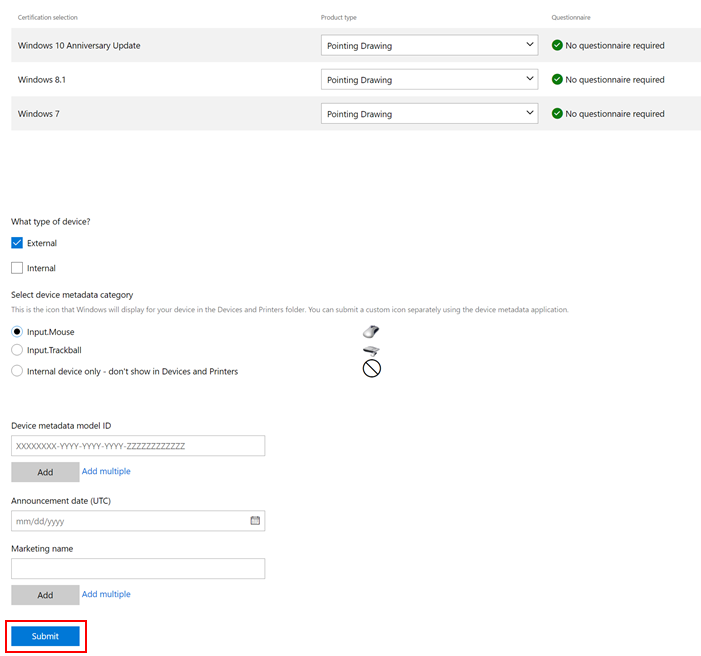
Important
Check the announcement date. After the announcement date passes, you can't add a new name.
Select Submit at the bottom of the page.
Configure publication of your driver to Windows Update in the Distribution section. For information about how to use the Distribution section, see Manage driver distribution with shipping labels.
Monitor the progress of your submission with the progress tracker at the top of the page. After all steps show the green check icon, the submission is complete. Your organization receives a notification in the dashboard header.

Review the results. If your submission fails, make any necessary changes and resubmit.
Troubleshoot submission errors
The following sections provide troubleshooting suggestions to address issues with your submission.
Error: File missing
If a file is missing, you receive one of the following errors:
There are files at the root of the cabinet.
No .inf files found in driver directory/directories: XYZ.
The failure cause is an incorrect .cab file structure. The .cab structure was created with driver files in the root folder of the .cab file instead of locating the files in a subfolder. For instructions on how to create a proper .cab file for your driver signing submissions, see Attestation sign Windows 10 (and later) drivers.
Error: Zip64
If a Zip error occurs, you receive the error:
File is using Zip64(4gb+file Size)
This error occurs when the uploaded archive's file type is .zip64 instead of .zip. The most common cause is large file size.
To fix the error, repackage the submission by following these steps:
- Rename the existing .hckx (or .hlkx) archive file to .zip.
- Extract the archive file contents to a folder, and then open the folder.
- Select all items in the folder, then right-click and select Send to Compressed zip folder.
- Rename the new archive .zip file to .hckx (or .hlkx).
- Upload the new archive .hckx (or .hlkx) file.
Error: Package fails to open
If the DUA package fails to open, you receive the following error:
Failed to open package: Not compatible with a version (3.2.0.0) with this instance package manager
To resolve the issue, install standalone HLK Studio, open the downloaded DUA shell package, and create a DUA submission.
Other issues
For other issues, see Support for dashboard or Windows Hardware Lab Kit (HLK).