Note
Access to this page requires authorization. You can try signing in or changing directories.
Access to this page requires authorization. You can try changing directories.
Use the Microsoft Defender multimanagement portal to manage unified role-based access control (URBAC) across multiple tenants. This capability provides a comprehensive view of permissions and access for your tenants and a centralized administration to manage these permissions.
View custom roles
In the multitenant portal, navigate to the Permissions & roles page by selecting System > Permissions.
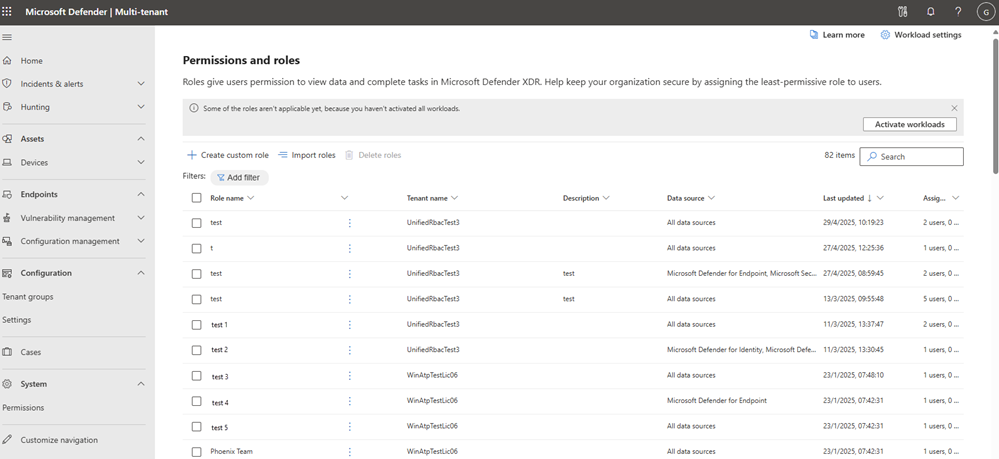
Create or edit a custom role, import and delete roles, and search for a specific role using the Search function from this page. You can also filter the roles according to assigned data sources, permissions category, assignee type, and tenant name.
Create or edit a custom role (Preview)
You can create a custom role to provide flexibility and control over access to specific data. To create a custom role, follow these steps:
Sign in to multitenant management in Microsoft Defender, then navigate to System > Permissions.
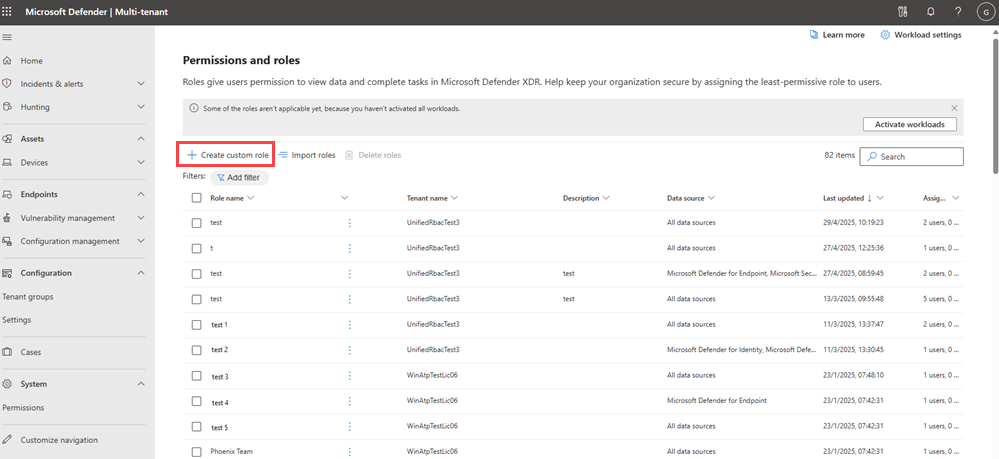
Select Create custom role.
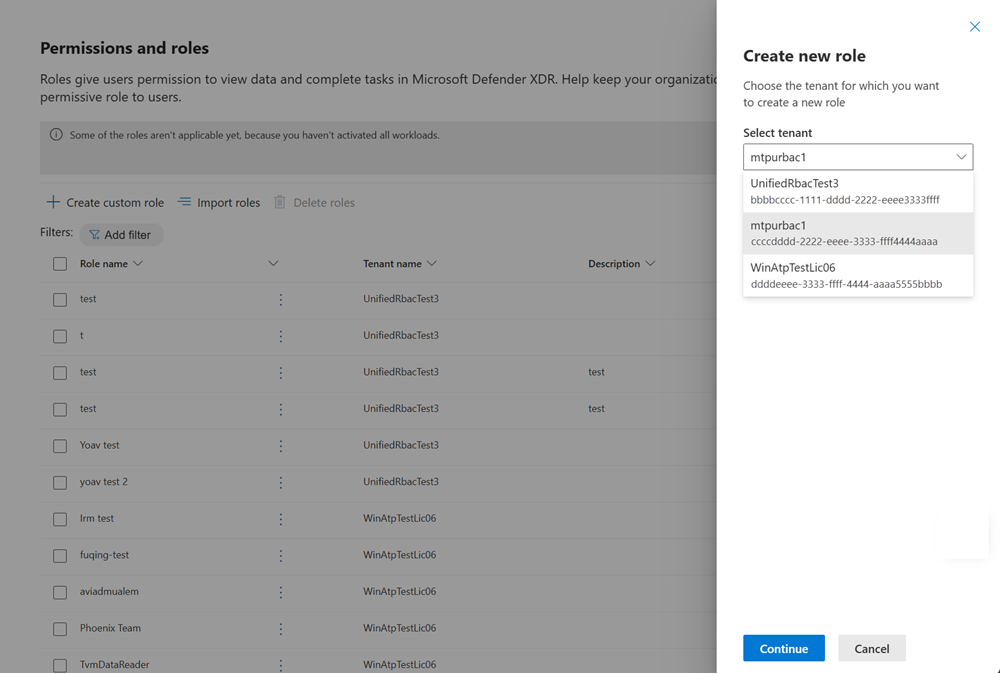
In the dropdown menu, select the tenant for which you want to create a new role. Select Continue.
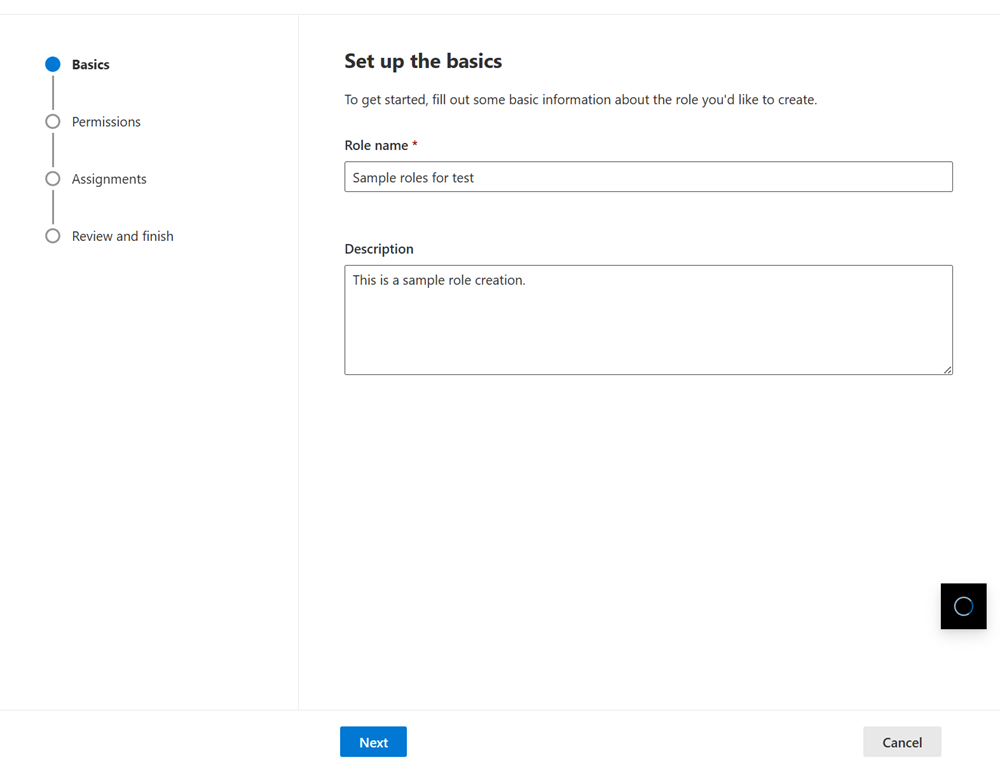
In the Basics page, enter the name and description of the role. Select Next.
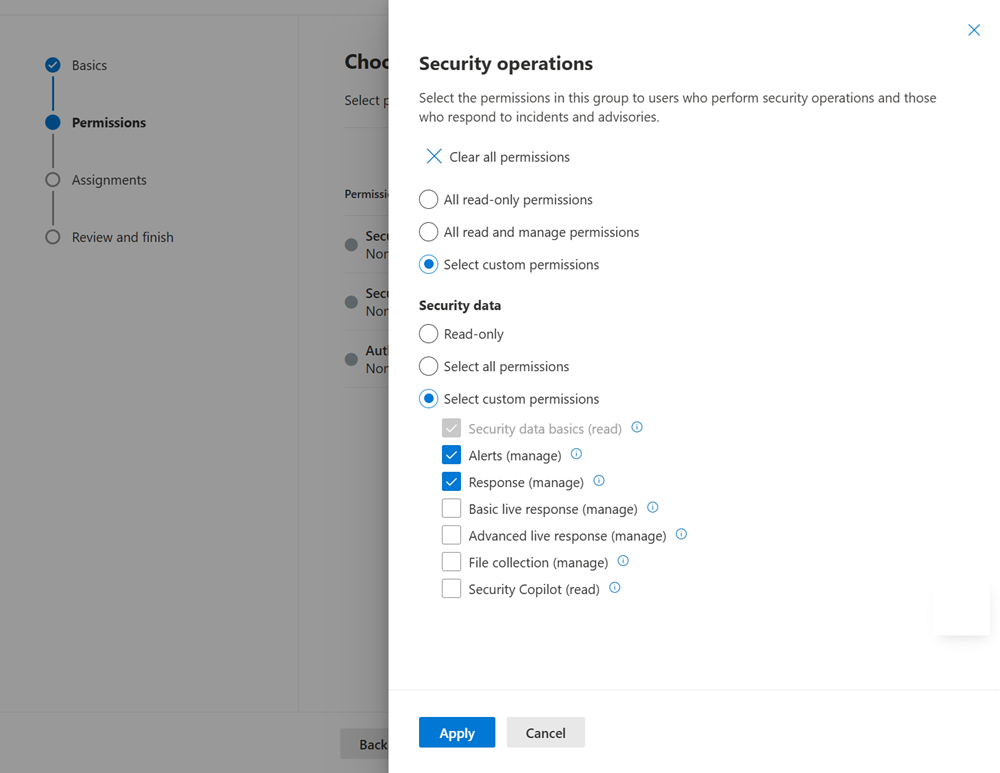
In the Permissions page, select the appropriate permissions for the role.
A new pane opens based on the permissions you selected. Select the appropriate permissions for the role, then select Apply. Here's an example.
Select Next to proceed to the next page.
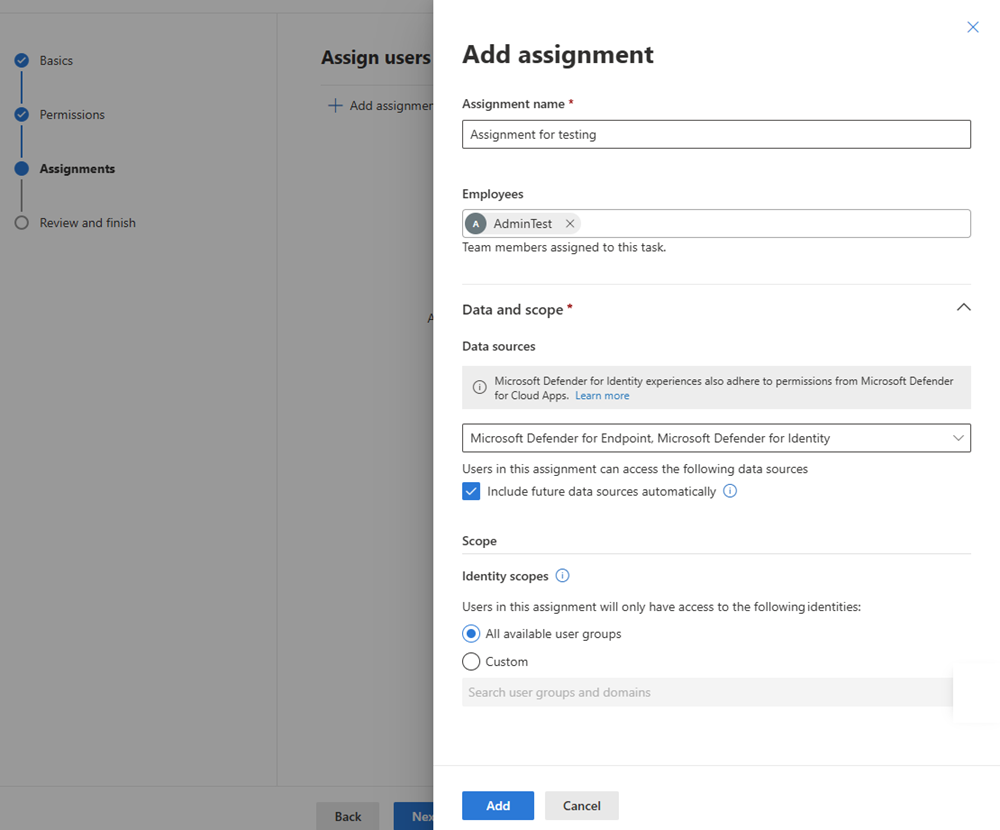
In the Assignments page, select Add assignment or Create assignment to assign users and data sources.
In the Add assignments pane, add the assignment name and team members to be assigned, identify the data sources that they can access, and specify the identity scopes that users will have access to. Then select Add. Here's an example.
Select Next. Review the details you provided in the Review and finish page. You can edit the custom role’s name and description, permissions, and assignments in this page.
Select Submit to finish creating the custom role.
To edit an existing role, select the three dots beside the role name in the Permissions and roles list, then select Edit.

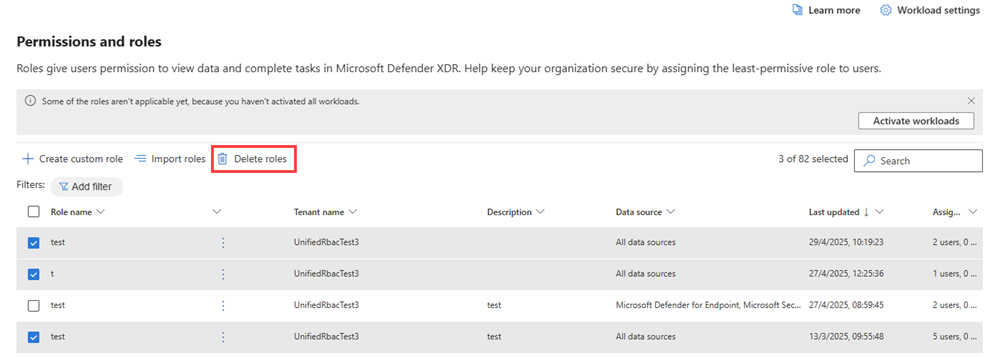
Delete roles (Preview)
You can delete roles by selecting a role from the list and then selecting Delete roles. You can select multiple roles from various tenants to delete.
You can also delete a role by selecting the three dots beside the role name in the Permissions and roles list then selecting Delete.

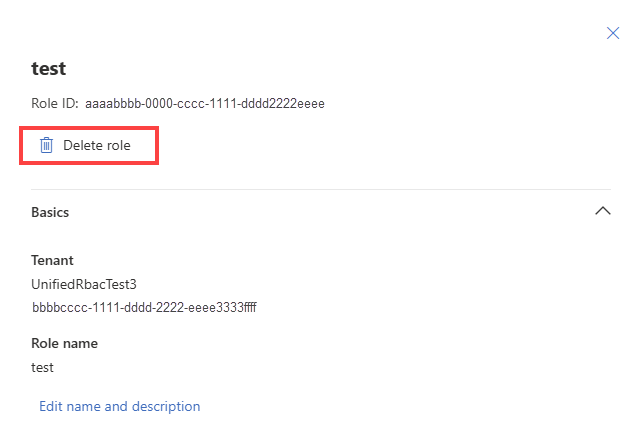
The Delete role option is also available when editing a specific role.
Import roles (Preview)
You can import existing roles from a tenant’s workloads to migrate permissions and assignments. Imported roles become available in the Permissions and roles list.
To import roles, follow these steps:
Navigate to System > Permissions.
Select Import roles.
In the Import roles pane, select the tenant from which you want to import roles in the dropdown menu. Select Continue.
In the Workloads page, select the workloads you want to import from. Select Next.
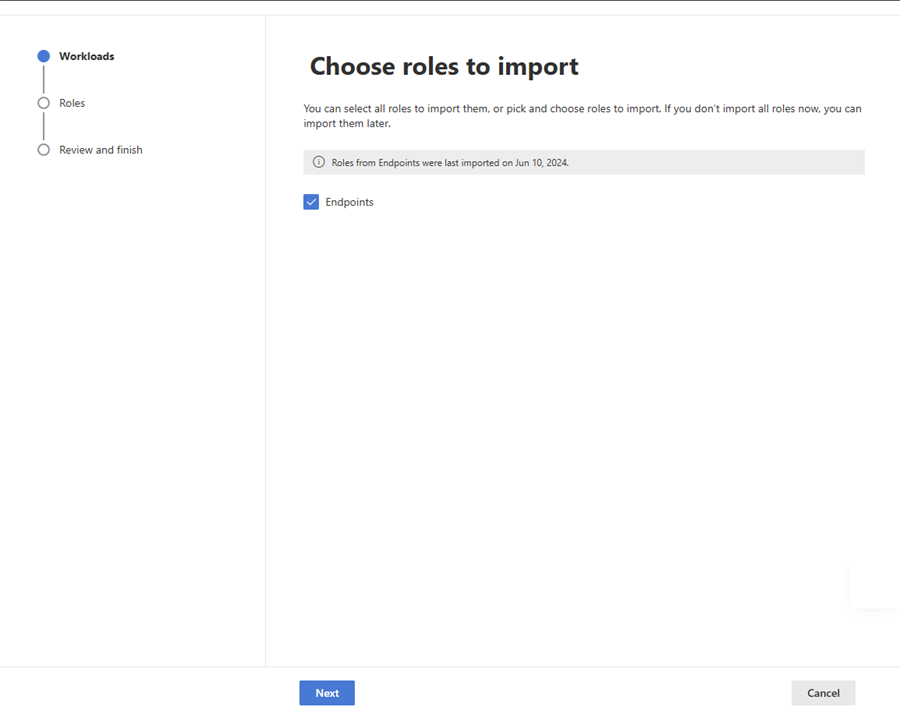
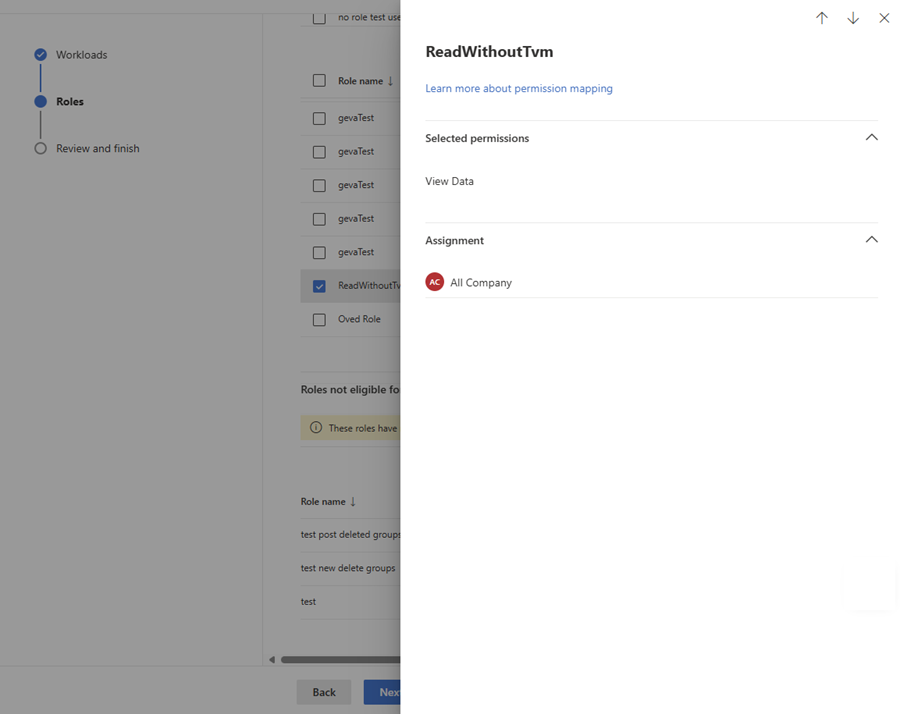
In the Roles page, select all or some of the roles that you want to import from the Eligible roles list. To review the permissions and assignments for a role, select the role name. Here's an example.
Review the details then select Submit to finish importing the roles.
To learn more about unified RBAC, see Microsoft Defender XDR unified role-based access control.