Exercise - Build an agent in Microsoft Copilot Studio with the new AI capabilities
In this unit, you create an initial agent by using Microsoft Copilot Studio that uses natural language to respond to questions.
Create an agent
Navigate to Microsoft Copilot Studio.
Important
Make sure that you're in the environment that has the tables you created in the previous exercise.
Select Create from the left navigation pane and select the New agent tile.
Note
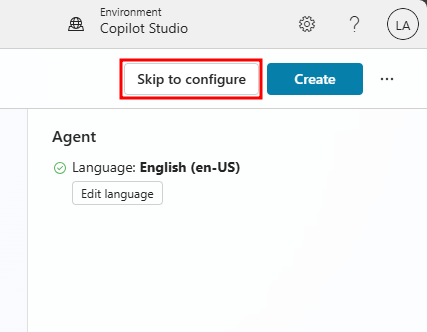
The Create an agent wizard opens. This wizard helps you set up your agent by naming it, selecting the language, and also optionally choosing if you want to boost your conversations with generative answers.

Select Skip to configure in the top-right corner of the agent creation screen.
In the Name text box, enter
Real Estate Booking Service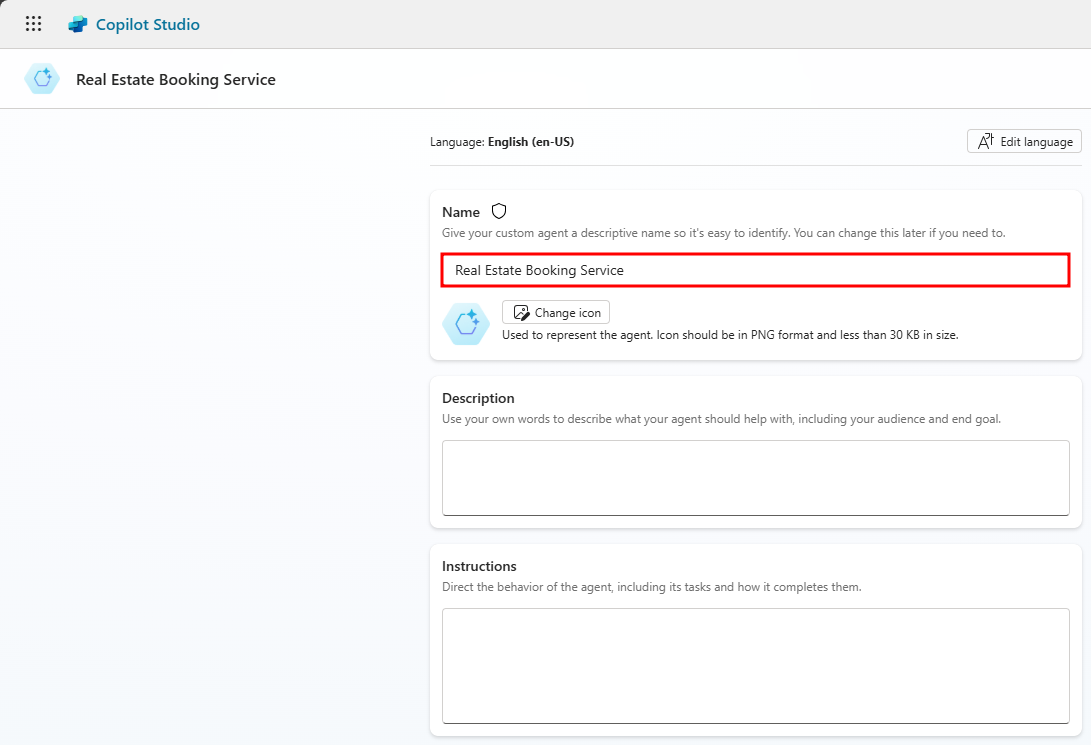
In the Description text box, enter
Create bookings for real estate propertiesIn the Instructions text box, enter
Speak courteously and mimic the behavior of a real estate agent.Select English for Language.
Select the three dots next to the Create button in the top-right of the screen and select Edit advanced settings.
Select the Bookings solution.
Select Save.
In the top-right of the screen, select Create to create the agent.


Configure Security
Select Settings in the top-right of the Real Estate Booking Service agent's screen.
Select the Security tab.
Select the Authentication tile.
Select No authentication and Save.
Select Save in the Save this configuration? window.
Exit out of the Settings menu and return to your Real Estate Booking Service agent.
Disable system topics
Select the Topics tab and choose the System topics.
Under the Enabled column, toggle the Sign in topic to be Off.
Publish the agent
Before you can test an agent, it needs to be published. Select Publish in the top-right corner of the top navigation pane, then Publish again in the Publish this agent window.
Demo Website
The Demo website allows users without a license to test your agent. You can provide them with the URL to the demo website.
Select the three dots next to the Settings button in the top-right of the screen and select Go to demo website.
This link can be sent to anyone for testing since authentication was disabled for users interacting with the agent.