Exercise - Create a cloud flow using Copilot
Learning objective
In this exercise, learners create a cloud flow using Microsoft Copilot in Power Automate. They use natural language prompts, configure triggers and actions, and test the automation to ensure functionality.
Scenario
You're a business user who wants to automate a repetitive task: fetching weather forecasts for specific locations and sending notifications. These weather forecasts are used in agents that the organization is building to assist customers with questions. Using Microsoft Copilot in Power Automate, you create a cloud flow that allows an agent to fetch real-time weather data when requested.
Upon completing this exercise, you:
- Use natural language prompts to design workflows.
- Configure triggers and actions.
- Test the automation for practical use.
Task 1: Access Power Automate and navigate to the Copilot interface
In this task, you access Power Automate and locate the Copilot interface to begin creating a cloud flow.
Sign in to Power Automate.
On the left navigation menu, select Home.
Locate Create your automation with Copilot.
In the Copilot input field, type the following prompt: "Create a flow to get todays weather forecast for a given city and ZIP code."
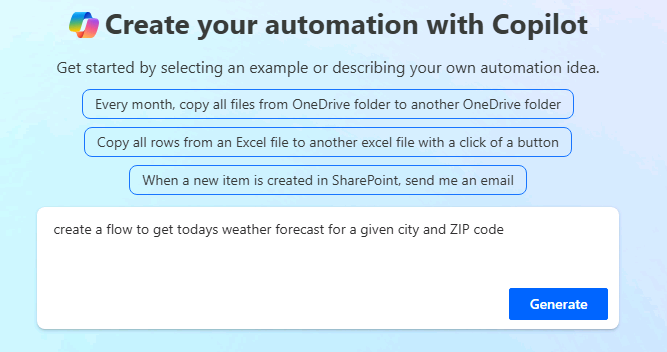
Select Generate to allow Copilot to create a draft flow based on your description.
Power Automate suggests a Trigger of Button and an Action of Get forecast for today using the MSN Weather connector.
Select Keep it and Continue.
On the Review your connected apps and services screen, verify that you're connected to the MSN Weather connector, then select Create flow.
Task 2: Edit the flow to capture input parameters from an agent
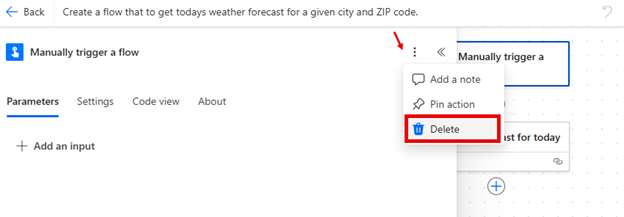
Select the Manually trigger a flow trigger.
Select the More Command button on the step definition, and from the menu that appears, select Delete.
Select the Add a Trigger icon.
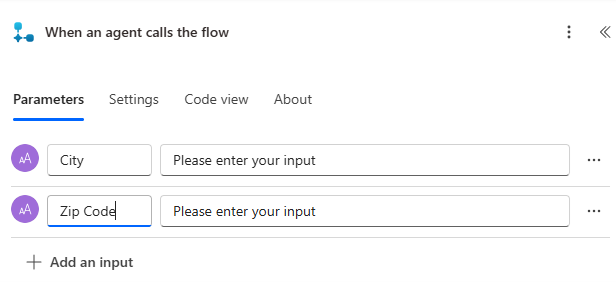
Select the When an agent calls a flow trigger.
Select the When an agent calls a flow trigger step you just added.
Add the following input parameters:
- City (Text)
- ZIP code (Text)
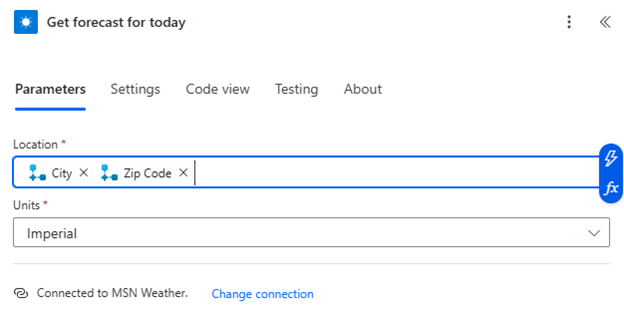
In the flow designer, select the Get forecast for today action.
Notice that City and ZIP Code are already filled in. Change these field values to use the input parameters created in the previous step. This allows dynamic population of those values.
In the location field, remove the City and ZIP Code values.
Set the Units field to Imperial.
Important
If you don’t do this, your flow fails when saving.
For the Location field, insert dynamic content by selecting the City input parameter.
Repeat the process to add the ZIP code input parameter.
Task 3: Set up a response action
Next, configure the flow to return weather details such as day summary, location, and chance of rain to the agent.
Under the Get forecast for today action, select the Add button.
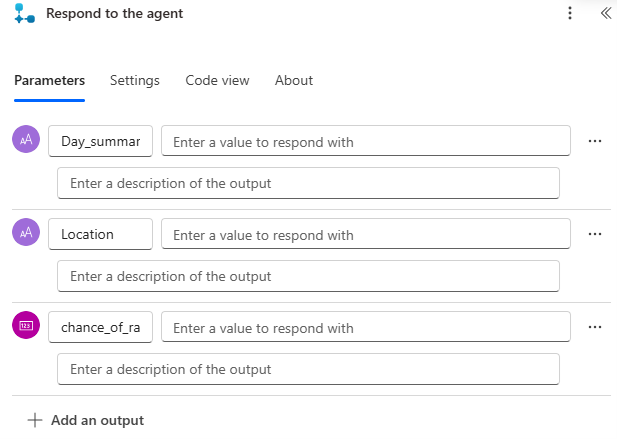
Add a Respond to the agent action to the flow.
In the Respond to the agent action, define the following output parameters:
- day_summary (Text)
- location (Text)
- chance_of_rain (Number)
Select the Save button to save your flow changes.
Task 4: Test the flow
Now that the flow is created, test it to ensure it functions as intended and troubleshoot any issues.
Select Test in the upper-right corner of the flow designer.
Choose Manually and select the Test button.
Provide sample input values for City and ZIP code.
Select the Run Flow button.
Select the Done button.
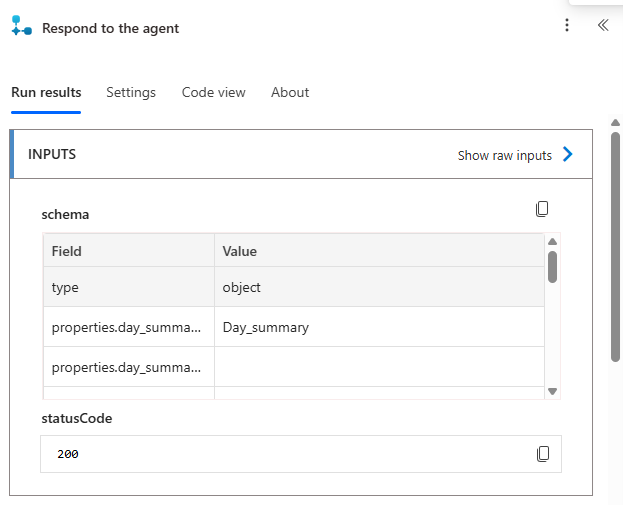
After a few seconds, the results display.
Select the Respond to the agent action to verify that the weather details are accurate.
To return to editing your flow, select the Edit button.
Task 5: Save and publish the flow
Now that your flow is complete, save and publish it to make it available for real-world use.
- Select the Save this flow button in the flow designer.
- Verify that the flow appears in the My flows section of Power Automate and that its status is set to On.