Note
Access to this page requires authorization. You can try signing in or changing directories.
Access to this page requires authorization. You can try changing directories.
Triggers are the starting point for your flows. They define when a flow should run and can be customized to suit your specific needs. This article shows you how to customize triggers in Power Automate.
Add conditions to your trigger
Sometimes, you might need to customize a trigger so that it fires only when certain conditions are met. For example, you might be using SharePoint's When an item is created or modified trigger in Power Automate. This trigger fires for every change to SharePoint items. However, you might want the flow to only trigger when an item is created or the status is marked as Approved. While you can filter other events by adding conditions to the flow, the flow still runs and the calls are counted as an API request. This causes you to reach your API request limits faster. To avoid it, you can write expressions in trigger conditions, avoiding a run if the condition in trigger isn't met.
Learn more about conditions in this quick video:
Use trigger conditions to reduce flow runs
Trigger conditions can help streamline your flows and reduce the number of unnecessary runs. This helps keep flow runs and Power platform requests consumption low. With trigger conditions, you can set up multiple conditions that must be met before a flow is triggered.
For example, you need to create a flow that processes every approved invoice. Without trigger conditions, your flow would trigger every time an invoice email is received, even if the invoice isn't approved. This can result in the flow running 1,000 times for 1,000 invoices, even though only 50 of them are approved.
By adding a trigger condition to trigger only when an invoice is approved, the flow runs only 50 times. This means it consumes fewer Power Platform requests. If the trigger condition isn't met, the flow isn't triggered, and no run history is logged.
This is especially important in pay-as-you-go environments, where every flow run is charged. By reducing the number of runs, you can keep your costs low while still achieving your desired outcomes.
Power Automate allows you to use either the new designer or the classic designer to configure your cloud flow. The steps are similar in both designers. Learn more (with examples) in Identify differences between the new designer and the classic designer.
Open the cloud flow that you want to edit:
On the navigation pane to the left, select My flows.
Select the flow that you want to edit.
On the command bar at the top of the page, select Edit.
Set a trigger condition:
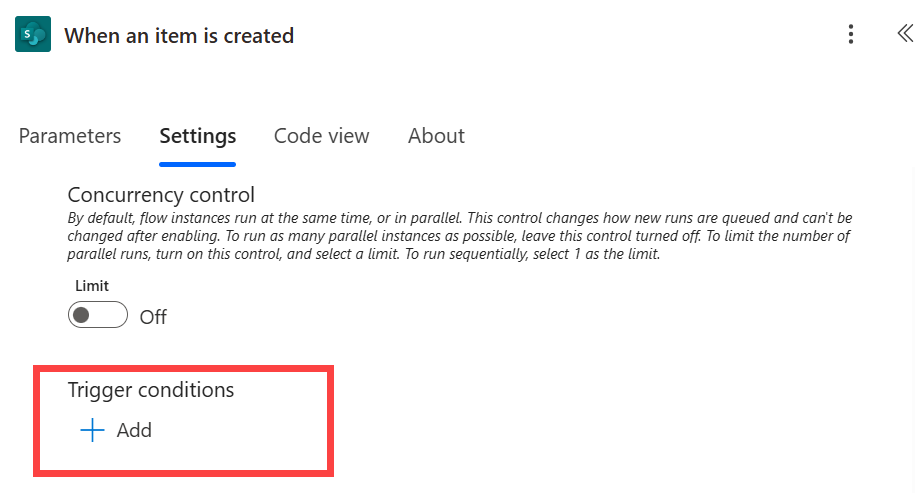
Select the trigger of the flow.
Select Settings.
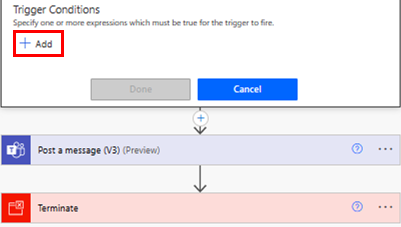
Next to Trigger conditions, select + Add.
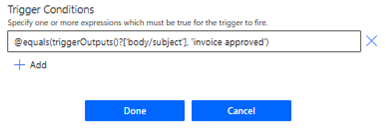
Add an expression. Learn how to use expressions in Use expressions in conditions to check multiple values. Learn more in Create, update, and fix expressions with Copilot expression assistant.
Every trigger condition must start with the @ symbol.

Alternatively, follow the instructions in Easily create expressions.
If you have multiple filter conditions to add, select + Add and add expressions.
By default, all conditions must be met for the condition to be true. If any condition is optional, you need OR, and then use the syntax
@or (test1, test2,test3).
Easily create expressions
Your flow can generate expressions for you.
- On your flow, select the + sign in the down arrow.
- In the Add an action pane, search for and select the Filter array action.
- On the Filter array pane, create your condition.
- Select Edit in advanced mode and copy the expression.
- In the designer, open the trigger.
- In the Settings tab, paste the expression into the trigger condition.
- Delete the Filter array action from your flow.