Note
Access to this page requires authorization. You can try signing in or changing directories.
Access to this page requires authorization. You can try changing directories.
You can create alerts in Power BI reports to monitor changes in data values and receive notifications via email or Teams. Once your alert is ready, you can open it in Fabric Activator to refine it further with advanced capabilities like:
- Setting more granular conditions
- Integrating with Power Automate workflows
- Expanding alert capabilities to meet specific business needs
This article describes how to access Power BI report alerts and refine those alerts in Activator.
Important
- This article shows you how to create an alert in a Power BI report, not a dashboard. To learn how to set alerts on a dashboard, see Set alerts on a Power BI dashboard.
- In Activator, an alert is referred to as a rule.
Prerequisites
Before you begin, ensure you have the following prerequisites:
- Workspace access: A Microsoft Fabric workspace with enabled capacity
- Report permissions: Edit access to a Power BI report published to your workspace
Create an alert for a report
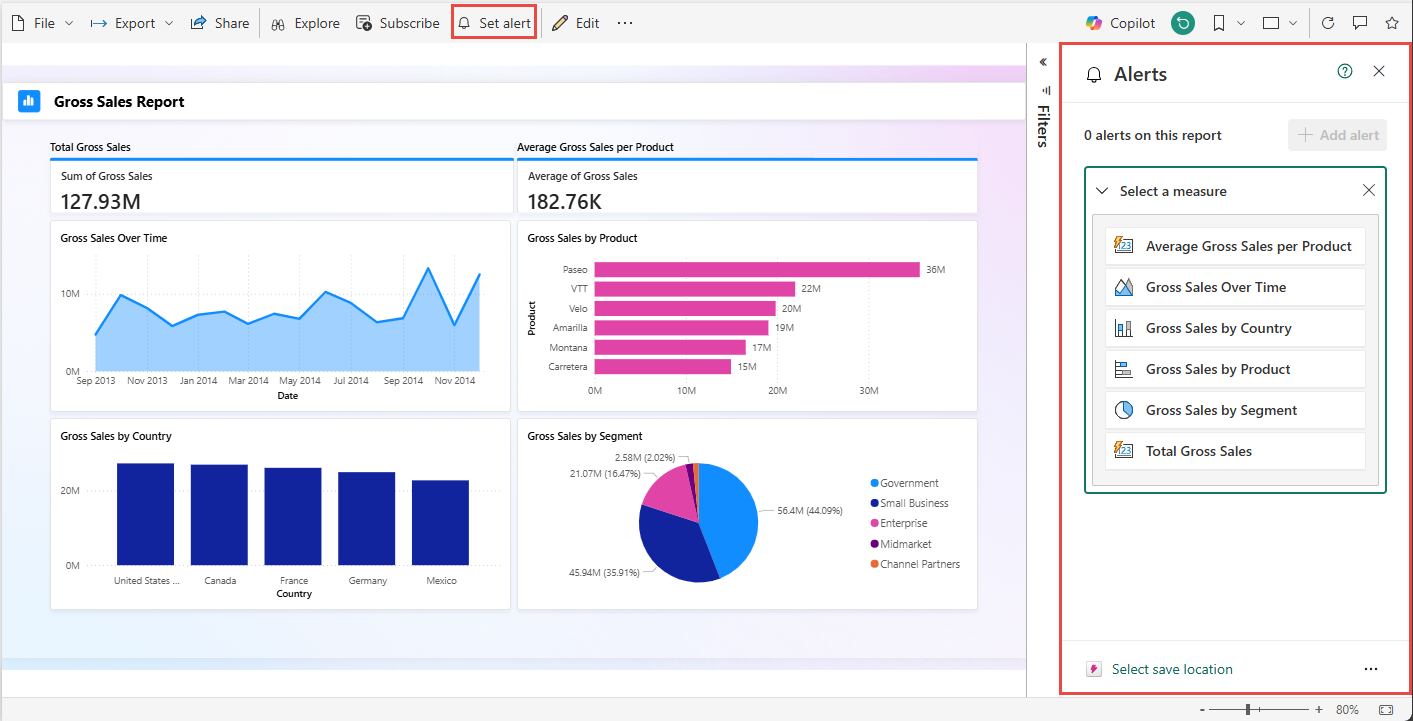
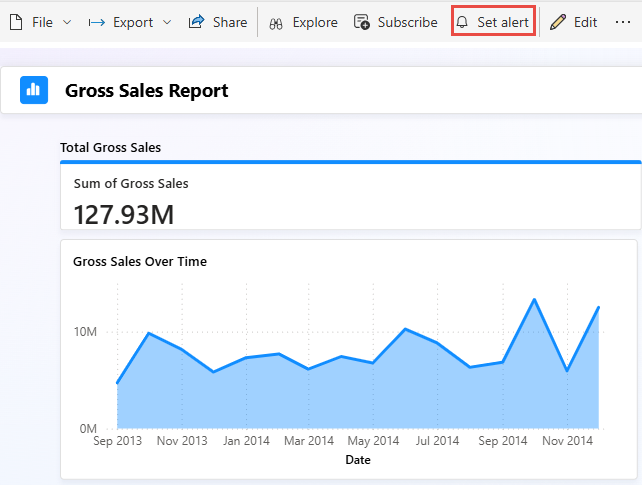
First, let's see how to set an alert for a report using the Set alert button on the ribbon for the report. When you use this option, it shows all the measures associated with the report. You use one of the measures to set an alert. Here are the detailed steps:
Select Set alert button on the ribbon at the top. You see the Alerts pane to the right.
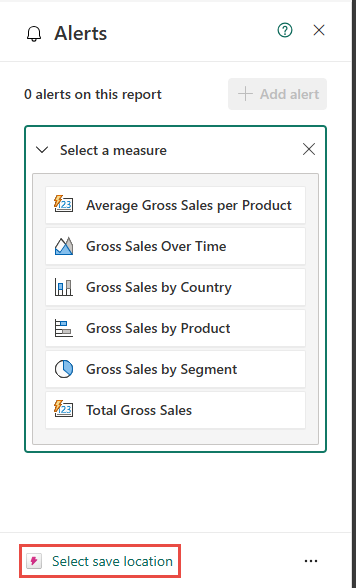
If you had the Alerts window open already, select Add alert in the Alerts pane.
To set the Fabric Activator item where you want to save the alerts, choose Select save location at the bottom of the Alerts pane.
You might see an Activator item already associated with the alert at the bottom. An Activator item can have one or more alerts in it. You can use it group a set of related alerts in one Fabric item. If you want to change the Activator item associated with the report, select the activator item and follow these steps. If you don't need to change the associated activator item, move on to step after the next step where you select a measure from the list of measures.
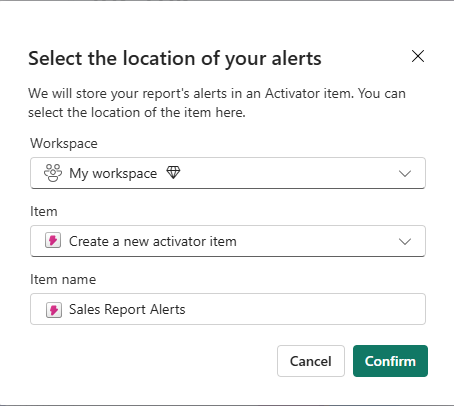
On the Select the location of your alerts window, do these steps:
For Workspace, select the workspace where you want to save the Activator item that will contain the alerts you're going to create.
For Item, select Create a new activator item or select an existing activator item. The following screenshot shows the first option.
If you selected Create a new activator item option, for Item name, select a name for the activator item.
Then, select Confirm.
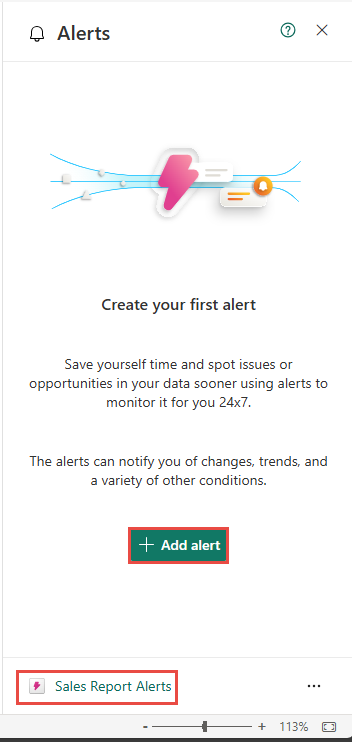
In the Alerts pane, select +Add alert to get back to see all the measures associated with the report. Also, notice that the activator item you created in the previous step shows up at the bottom of the Alerts pane.
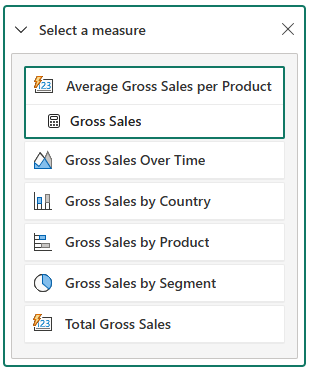
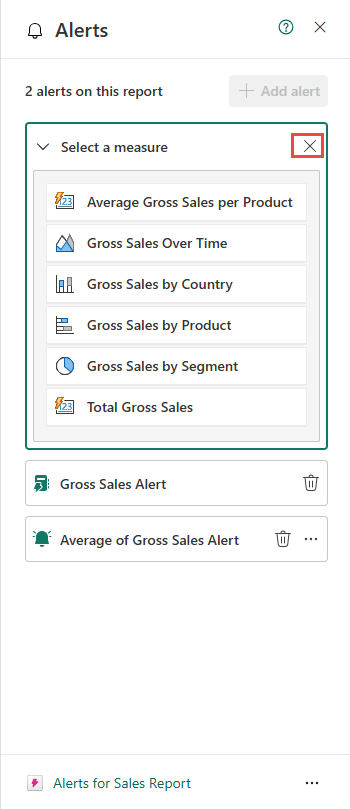
From the list of available measures in the report to set up an alert, select the measure you want to use to set up the alert. As you select the measure, the associated visual is highlighted.
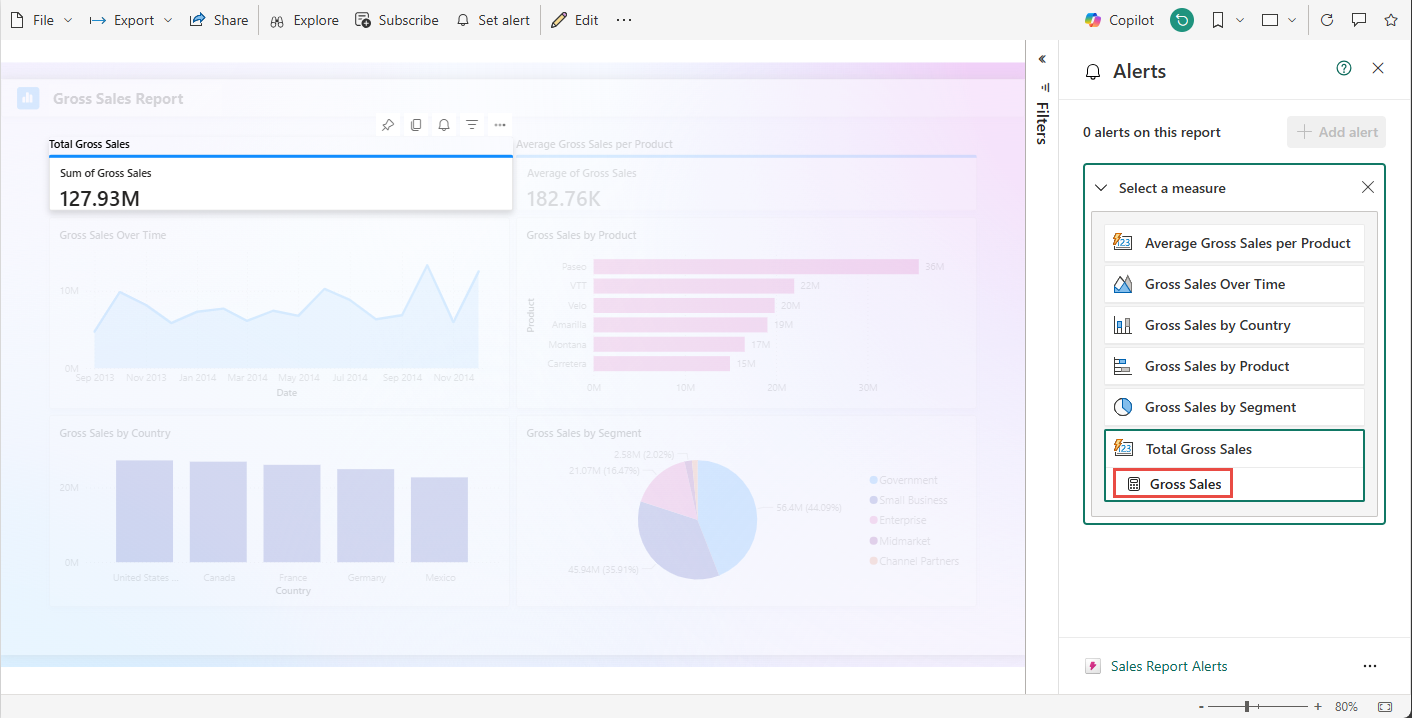
In the following example, Average Gross Sales per Product is selected.
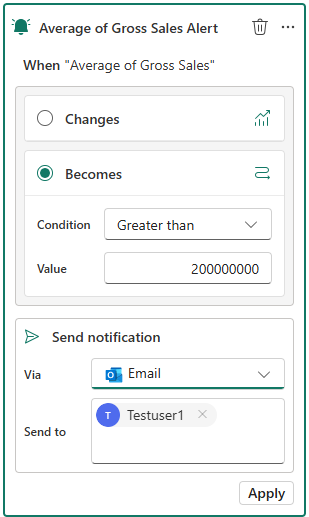
After you select the measure, you see the same user interface as you did when you set up the first alert. Follow the same steps to define a condition and an action (send notification) for the second alert. Then, select Apply. Here's an example:
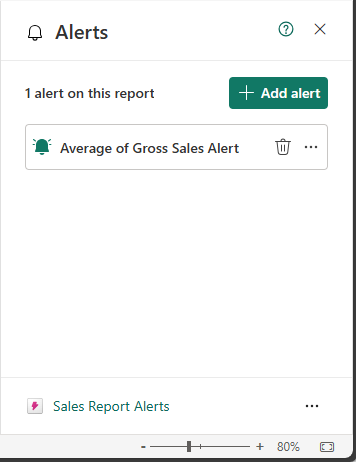
To minimize the second alert window, select at the top of it. The Alerts window should show the alert you created.


Create an alert for a visual in the report
In the previous example, you set up an alert using the Set alert button on the ribbon at the report level. In this section, you learn how to set an alert at the visual level in a report.
If the report isn't already open, launch your Power BI report in editing view.
Close Alerts pane if it's already open. Choose a visual on the report to monitor, in the upper right corner of the visual select the ellipses (...) > Add alert. You can also select the bell icon in the visual.
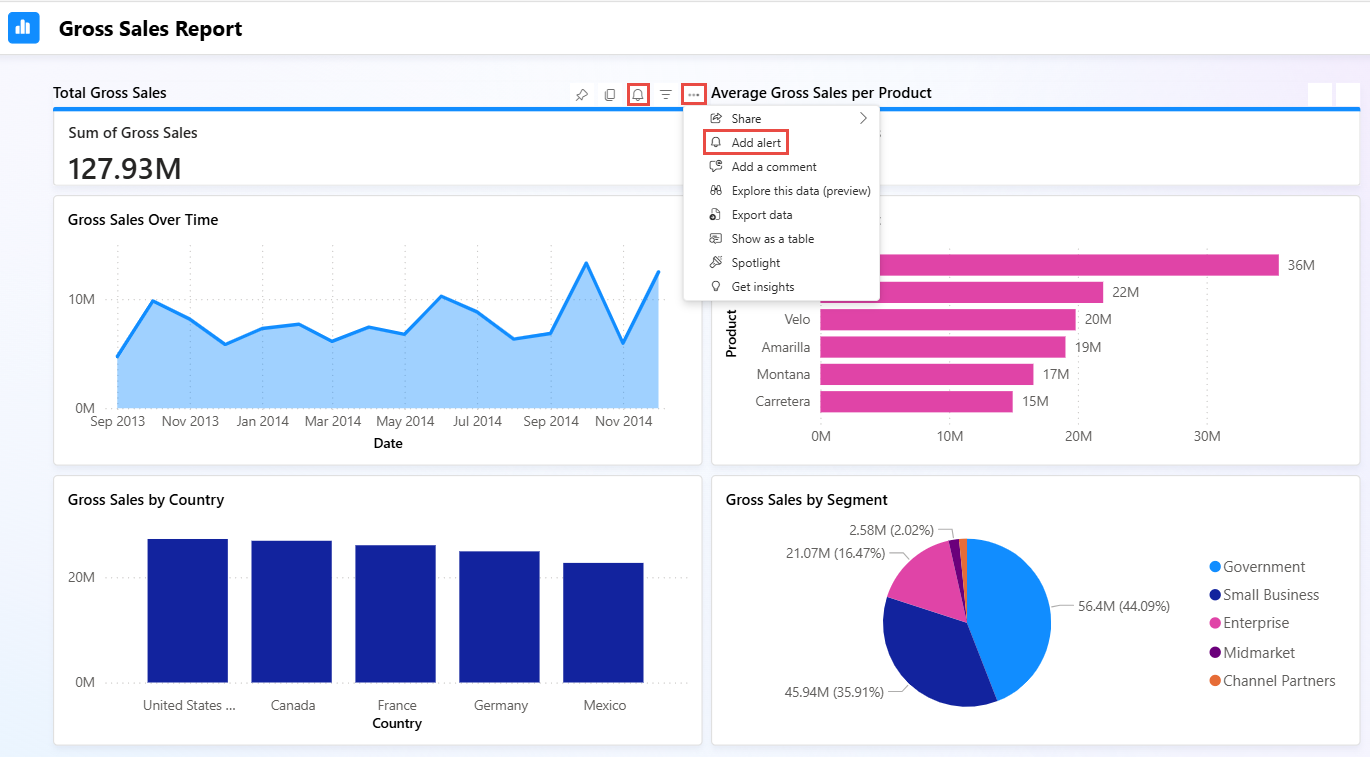
In the Alerts pane, at the bottom of the window, notice the Activator item associated with the alert at the bottom.
You see two sections for the alert you're trying to create: Condition and Send notification with an action to be taken when the alert condition is met.
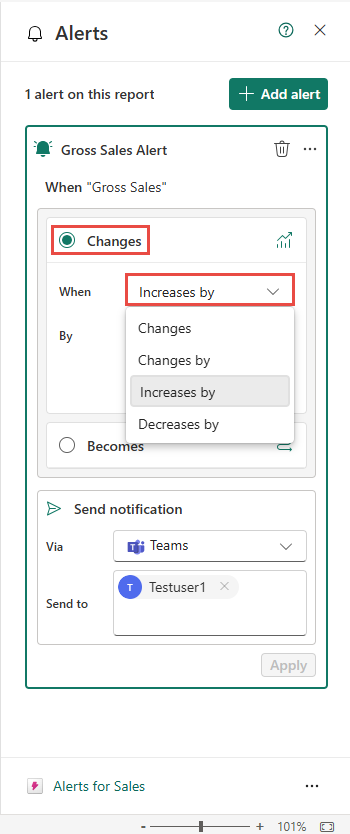
In the Condition section, select one of the conditions: Changes or Becomes.
Select Changes, if you want the alert to be triggered when the value changes, or changes by a certain amount or percentage, increases by a certain amount or percentage, or decreases by a certain amount or percentage.
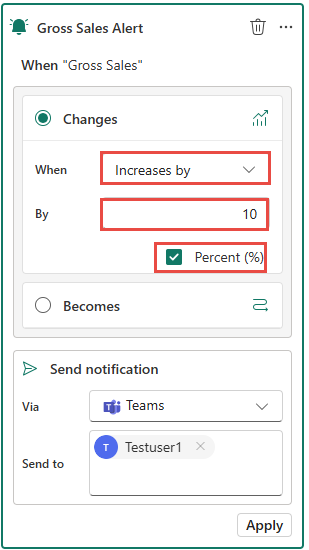
In the following example, the alert is triggered when the value increases by 10%.
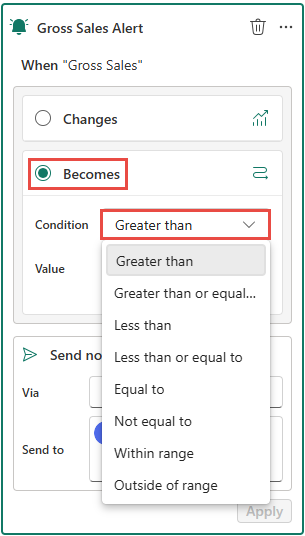
Select Becomes, if you want the alert to be triggered when the value is greater than, less than, equal to a specified value, or it's within or outside a rage. If you select the range option, you need to enter the minimum and maximum values for the range.
In the Send notification or Action section, follow these steps:
For Via, select Teams or Email. The Teams option sends notifications to specified users via Teams, and the Email option sends notification via email.

For Send to, specify users who need to be notified when the alert condition occurs.

Select Apply.
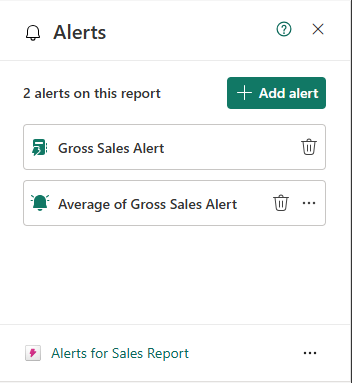
Confirm that you see 2 alerts on this report at the top of the Alerts window.
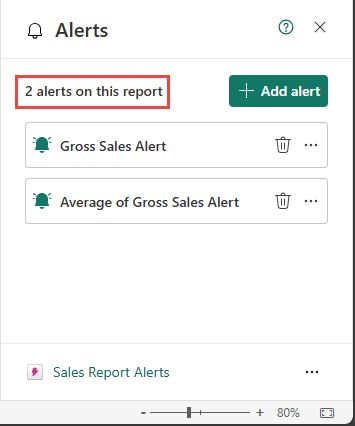
Note
In this example, you created an alert on the Gross Sales measure so that a Teams notification is sent to Testuser1 when the value increases by 10%.
Note
Power BI uses the filters in place at the time that you create your alert. Changing the filters on your visual after creating your alert has no effect on the alert logic. Select Show applied filters or the filter icon
 to see the filters on your visual.


Edit alerts in the Activator
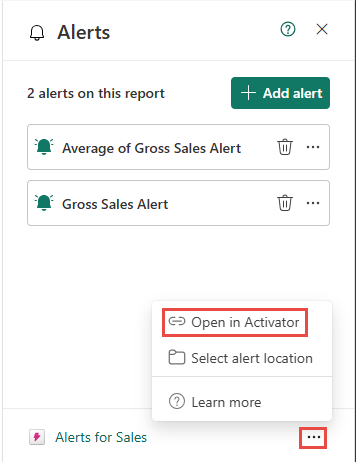
To open the Activator item, at the bottom of the Alerts window, select ellipsis (...), and then select Open in Activator.
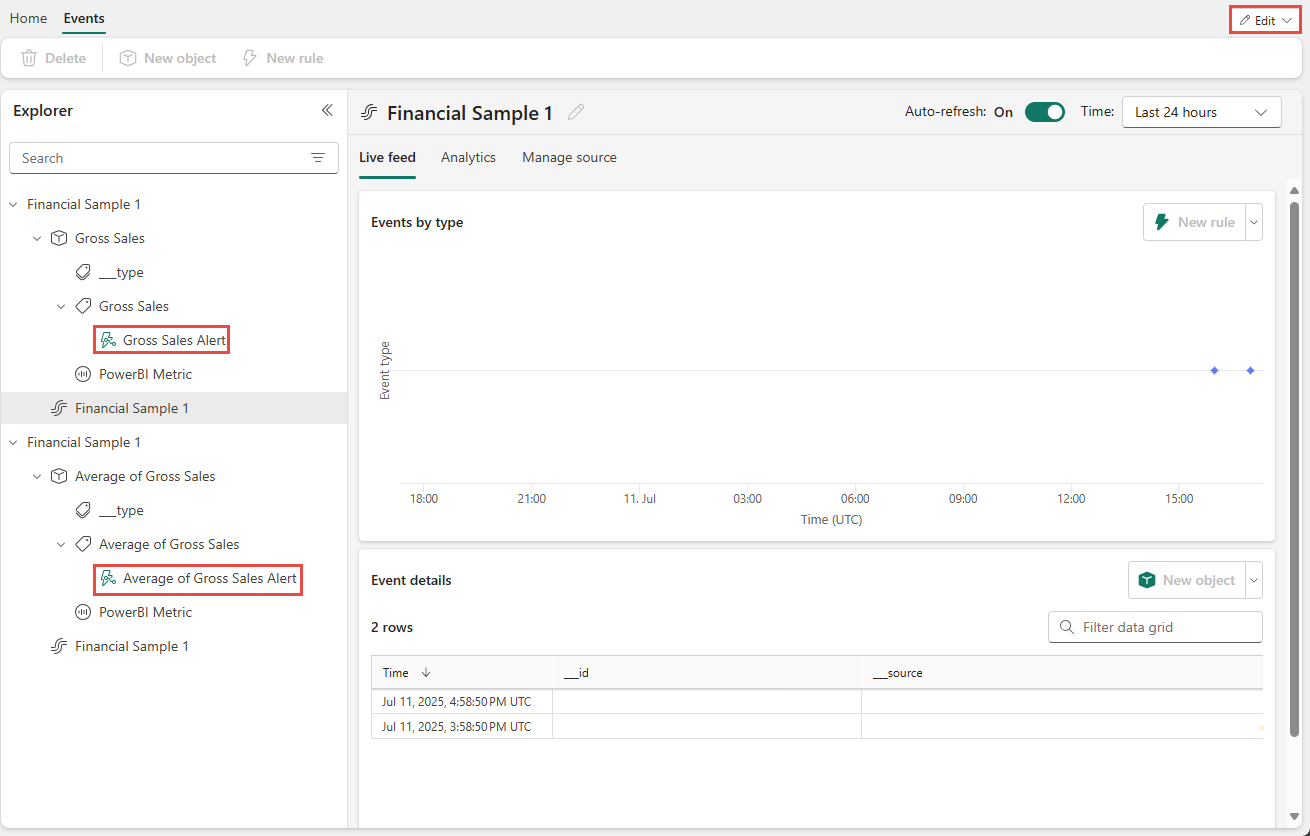
The Activation window is opened in a separate tab. You should see the alerts you created in this Activator item. To make changes to conditions or actions of the rule (or alert), ensure that you are in the Edit mode.
Select an alert that you want to update.
Important
Once you use the Activator user interface to update the alerts (or rules), you won't be able to update them in the Power BI report user interface anymore.
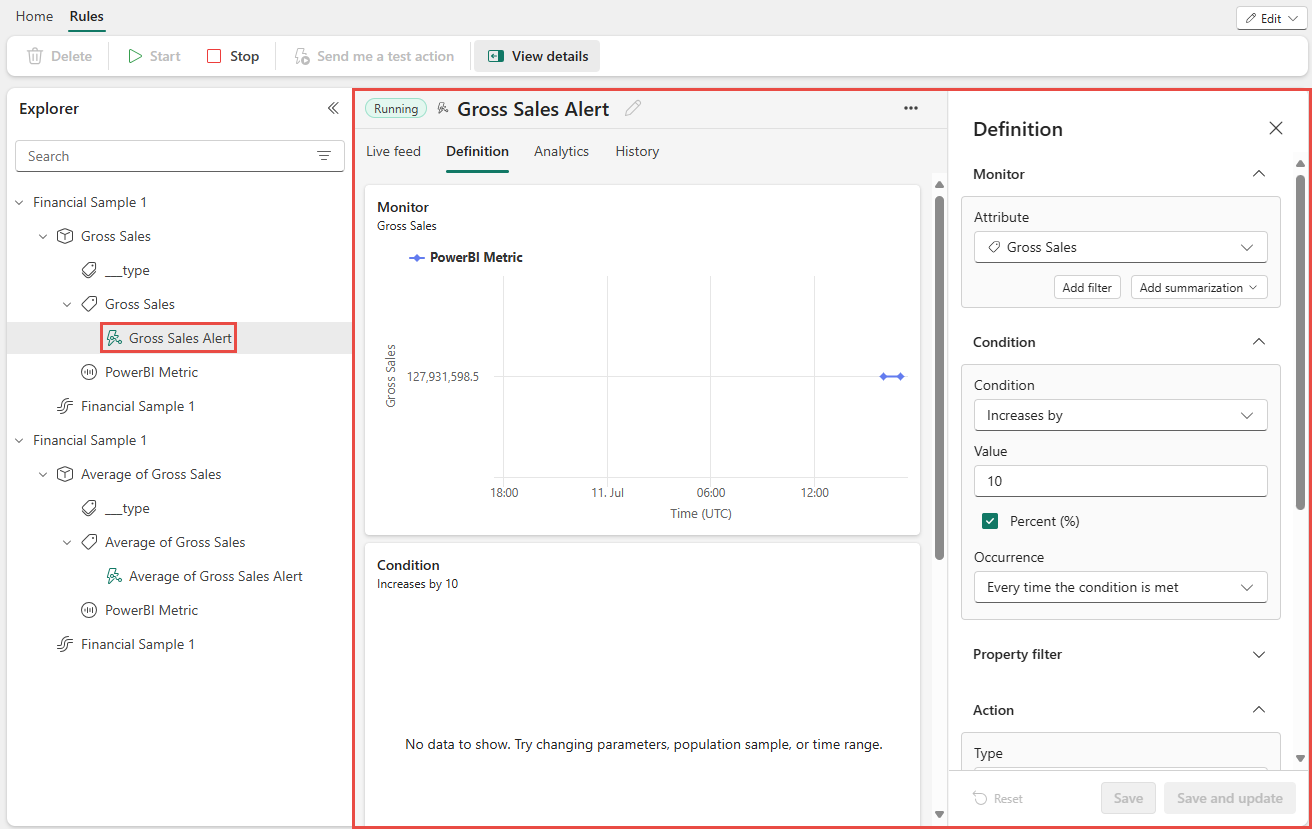
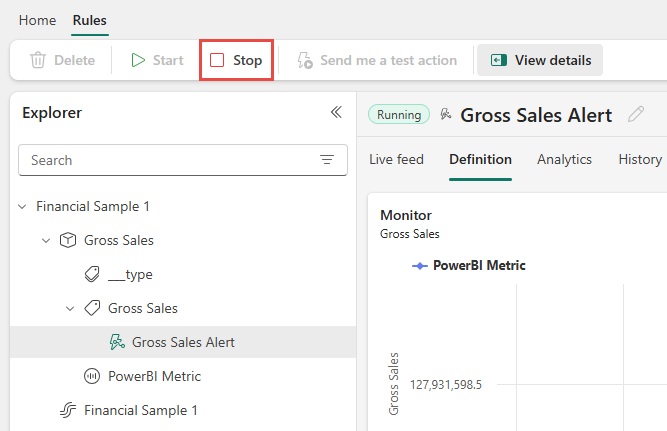
To stop the alert, you can use the Stop button on the ribbon.
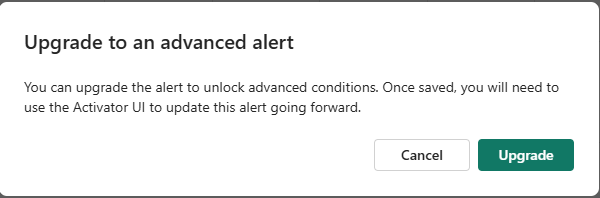
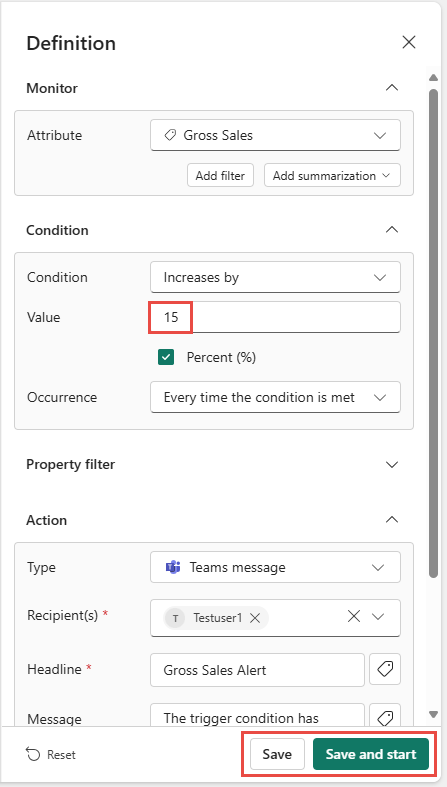
In the Definition window to the right, make any changes you want. In this example, the value is increased from 10% to 15%. As soon as you modify, you get the following message to confirm whether you want to upgrade to an advanced alert that you can edit only the Activator user interface from now onwards. If you upgrade, you can't edit this rule in the Power BI report user interface anymore.
Save the updated definition, or save and start the updated alert.
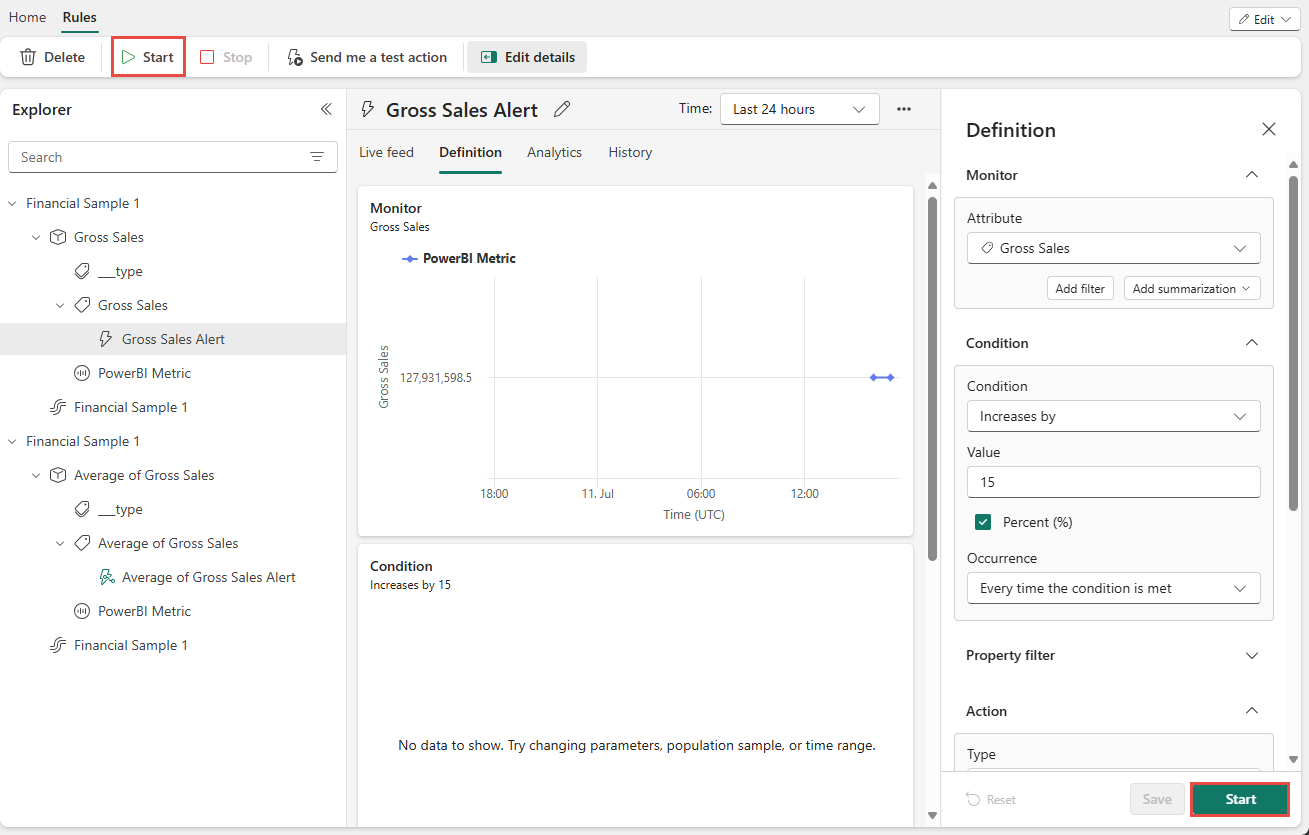
If you save the alert without starting, you can start the alert using the Start button in the same window (Definition), or Start button on the ribbon.


See alerts in the Power BI
Now, switch to the browser tab with the Power BI report open. Refresh the web browser page, and then select Set alert on the ribbon. Currently, it's the only way to see all alerts associated with the report.
In the Alerts window, close the Select a measure section.
You should see the alerts you created in the report.
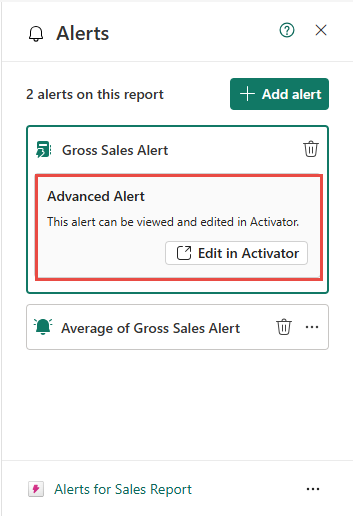
If you select the one you modified in the Activator user interface, you should see the message as shown in the following image:
If you select the one that you haven't modified in the Activator user interface, you should be able to update conditions or notification actions in the Alerts window.


View Activator item in the workspace
You can see the Activator item with all the alerts you created in the workspace as shown in the following image. Select the item to open in an editor.

Limitations and considerations
- If your visual has multiple series, then Activator applies the alert rule to each series. In the example shown here, the visual shows sales per store, so the alert rule applies per store.
- If your visual has a time axis, then Activator uses the time axis in the alert logic. In the example shown here, the visual has a daily time axis, so Activator monitors sales per day. Activator checks each point on the time axis once. If the visual updates the value for a particular point in time after Activator checks it, then Activator ignores the updated value.
- You can create alerts on tables and matrix visuals. Activator applies the alert condition to each row in the table, or to each cell in the matrix. If your table or matrix has a column containing timestamps, then Activator interprets that column as a time axis.
- Activator uses the filters in place at the time that you create your alert. Changing the filters on your visual after creating your alert has no effect on the alert logic. Select Show applied filters to see the filters on your visual.