Note
Access to this page requires authorization. You can try signing in or changing directories.
Access to this page requires authorization. You can try changing directories.
Applies to: ✅ Warehouse in Microsoft Fabric
Overview
This guide provides step-by-step instructions to extract a Data-tier Application (DAC) from an Azure Synapse Analytics dedicated SQL pool using SQL Server Object Explorer in Visual Studio 2022.
An extracted data-tier application (DACPAC) file can be used in Migration assistant to migrate from an Azure Synapse Analytics dedicated SQL pool to Fabric Data Warehouse. For more information, see Migration planning: Azure Synapse Analytics dedicated SQL pools to Fabric Data Warehouse.
Prerequisites
Visual Studio requirements
- Visual Studio 2022, Professional, Enterprise, or Community edition, at least version 17.0.
- SQL Server Data Tools (SSDT), at least version 17.0.3.
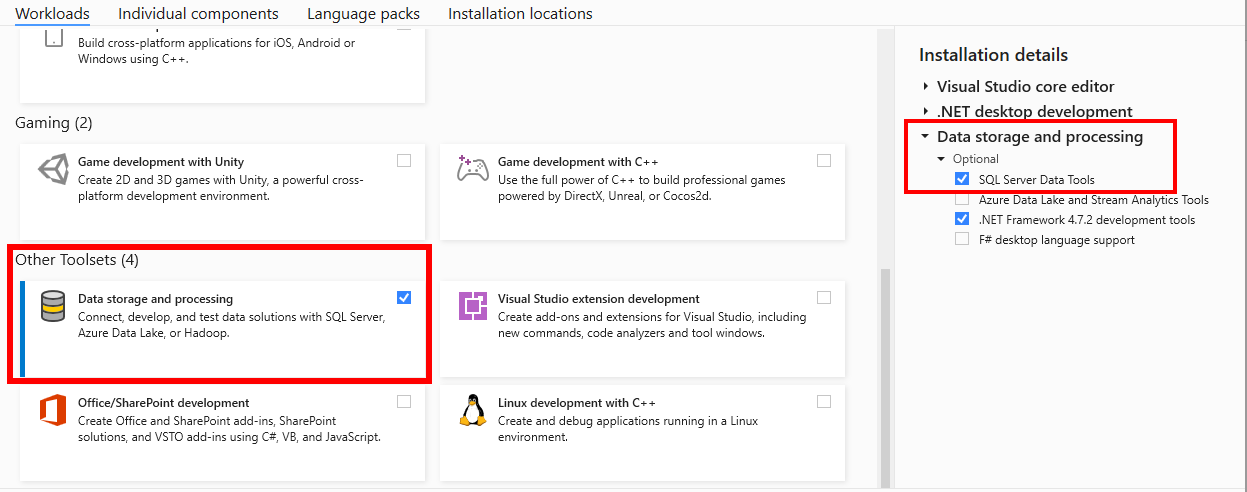
Check that SSDT is installed
You can easily check if SSDT is present in your Visual Studio 2022 installation.
Launch the Visual Studio Installer application.
Select Modify on your Visual Studio 2022 instance.
In the Workloads tab, in the Other Toolsets section, select Data storage and processing.
Under Installation details, confirm that SQL Server Data Tools is checked.
If not, select it to download and install.

Azure requirements
- Active Azure subscription with a dedicated SQL pool provisioned in an Azure Synapse Analytics workspace.
- Extracting a DAC from a standalone dedicated SQL pool (formerly SQL DW) isn't supported. First, migrate your dedicated SQL pool into Azure Synapse Analytics.
- Sufficient permissions to extract metadata (
db_ownerordboorddladminrole).
This guide applies to:
- dedicated SQL pools in a Synapse workspace
- dedicated SQL pools migrated to a Synapse workspace
Other scenarios to generate a DAC:
- For standalone dedicated SQL pools not in a Synapse workspace, use the SQLPackage.exe extract action to create the DAC.
- For serverless SQL pools in Azure Synapse Analytics, use the SQLPackage.exe extract action to create the DAC.
Extract DAC from dedicated SQL pool
First, let's connect to your dedicated SQL pool within Visual Studio. Locate the connection string for your Azure Synapse workspace.
Launch Visual Studio 2022. Open SQL Server Object Explorer from the View menu.
Select the button to Add SQL Server. In the Connect popup, provide connection information to your dedicated SQL pool.
- Server Name:
<server-name>.sql.azuresynapse.net - Authentication: SQL Authentication or choose a Microsoft Entra authentication method for your subscription.
- Server Name:
Select Connect.
In the SQL Server Object Explorer, expand the connected server. Expand the Databases node.
Right-click the dedicated SQL pool.
Select Extract Data-tier Application...
Choose output location for the
.dacpacfile.Configure optional extraction settings, or accept the default settings, which include the schema only, not table data.
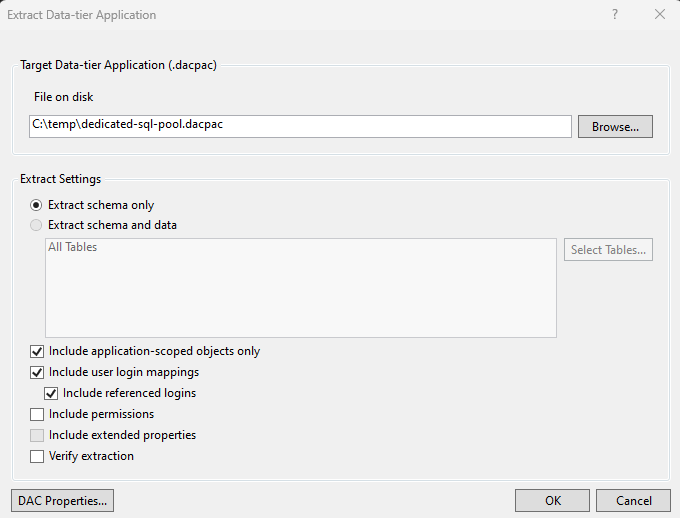
Select OK.
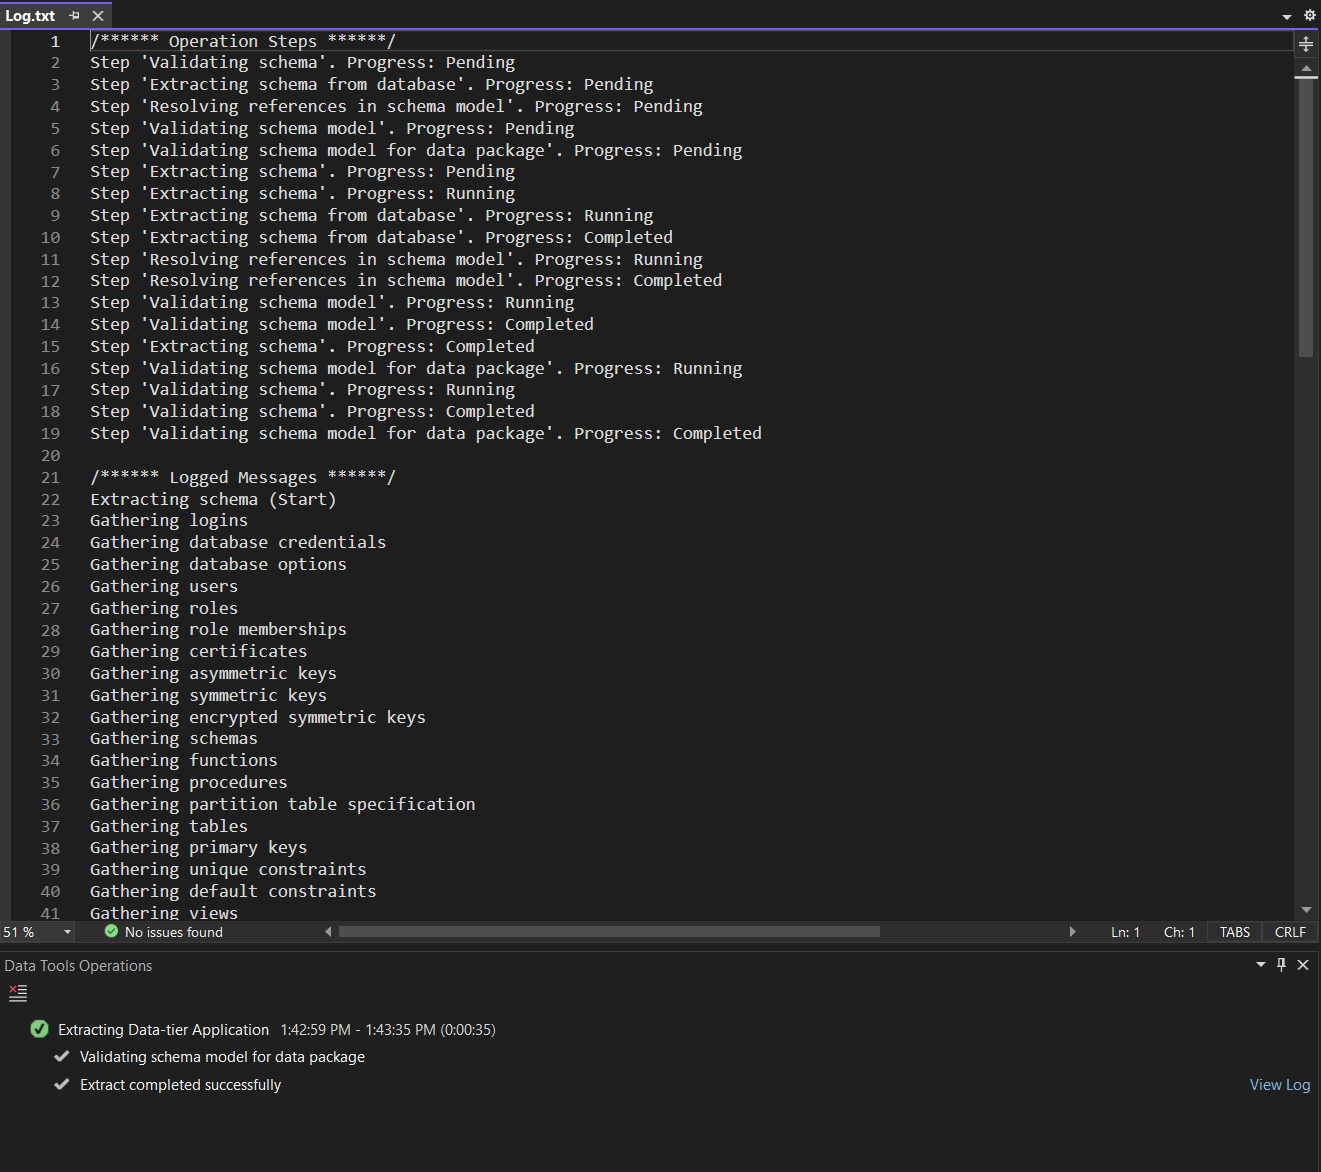
Wait for extraction to complete.
If errors were encountered, view the Data Tools Operations window for details.
Optionally upon completion, select View Log to view the steps taken.