Note
Access to this page requires authorization. You can try signing in or changing directories.
Access to this page requires authorization. You can try changing directories.
Applies to: ✅ Data Engineering and Data Science in Microsoft Fabric
When you create Microsoft Fabric from the Azure portal, it's automatically added to the Fabric tenant that's associated with the subscription used to create the capacity. With the simplified setup in Microsoft Fabric, there's no need to link the capacity to the Fabric tenant. Because the newly created capacity will be listed in the admin settings pane. This configuration provides a faster experience for admins to start setting up the capacity for their enterprise analytics teams.
To make changes to the Data Engineering/Science settings in a capacity, you must have admin role for that capacity. To learn more about the roles that you can assign to users in a capacity, see Roles in capacities.
Use the following steps to manage the Data Engineering/Science settings for Microsoft Fabric capacity:
Select the Settings option to open the setting pane for your Fabric account. Select Admin portal under Governance and insights section.

Choose the Capacity settings option to expand the menu and select the Fabric capacity tab. Here you should see the capacities that you have created in your tenant. Choose the capacity that you want to configure.
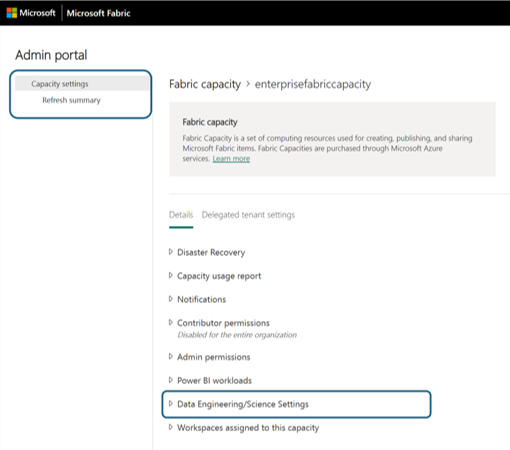
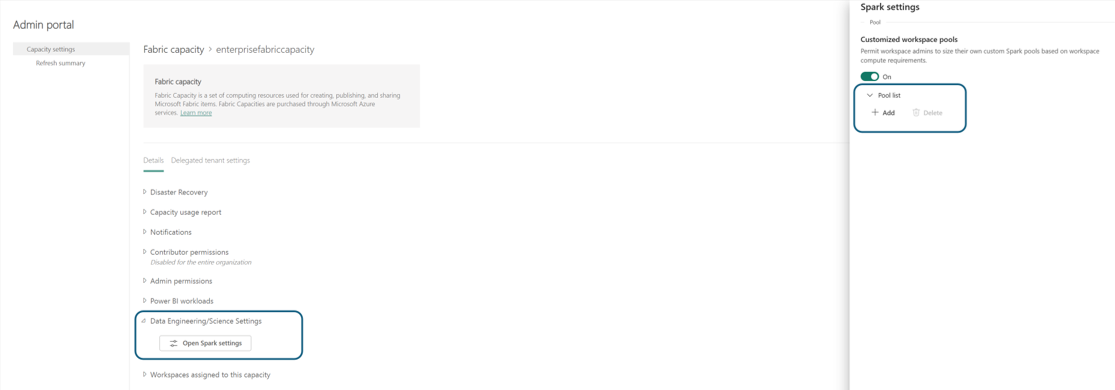
You're navigated to the capacity detail pane, where you can view the usage and other admin controls for your capacity. Navigate to the Data Engineering/Science Settings section and select Open Spark Compute. Configure the following parameters:
Note
At least one workspace should be attached to the Fabric Capacity to explore the Data Engineering/Science Settings from the Fabric Capacity Admin Portal.
Admin control: Disable Starter Pool usage
Capacity admins can now choose to disable Starter Pool usage across workspaces attached to the capacity. When disabled, users and workspace admins will no longer see the Starter Pool as a compute option. Instead, they must use custom pools explicitly created and managed by the capacity admin.
This feature provides centralized governance for compute usage, ensuring tighter control over compute sizing, cost, and scheduling behavior.
Tip
This setting is especially useful in large organizations that want to standardize compute patterns and avoid arbitrary consumption through default starter pools.
Admin control: Job-level bursting switch
Microsoft Fabric supports 3× bursting for Spark VCores, allowing a single job to temporarily use more compute cores than the base capacity provides. This improves job performance during bursts of activity by allowing full capacity utilization.
As a capacity admin, you can now control this behavior by using the "Disable job-level bursting" switch available in the Admin Portal:
Location:
Admin Portal → Capacity Settings → [Select Capacity] → Data Engineering/Science Settings → Spark ComputeBehavior:
- Enabled (Default): A single Spark job can consume the full burst limit (up to 3× Spark VCores).
- Disabled: Individual Spark jobs are capped at the base capacity allocation, preserving concurrency and avoiding monopolization.
Note
This switch is only available when running Spark jobs on Fabric Capacity. If the Autoscale Billing option is enabled, this switch is automatically disabled because:
- Autoscale Billing follows a pure pay-as-you-go model.
- There's no smoothing window to allow usage bursts and balance them over 24 hours.
- Bursting is a feature of reserved capacity, not on-demand autoscale compute.
Use cases and examples
| Scenario | Setting | Behavior |
|---|---|---|
| Heavy ETL workload | Bursting enabled (default) | Job can use entire burst capacity (e.g., 384 Spark VCores in F64). |
| Multi-user interactive notebooks | Bursting disabled | Job usage is capped (e.g., 128 Spark VCores in F64), improving concurrency. |
| Autoscale Billing is enabled | Bursting control unavailable | All Spark usage is billed on demand; no bursting from base capacity. |
Tip
Use this switch to optimize for either throughput or concurrency:
- Keep bursting enabled for large jobs and pipelines.
- Disable it for interactive or shared environments with many users.
Capacity Pools for Data Engineering and Data Science in Microsoft Fabric
In the Pool List section of Spark Settings, click Add to create a Custom Pool for your Fabric Capacity.
You're navigated to the pool creation page, where you can:
- Specify the Pool name
- Select Node family and Node size
- Set Min and Max nodes
- Enable/disable autoscale and dynamic allocation of executors
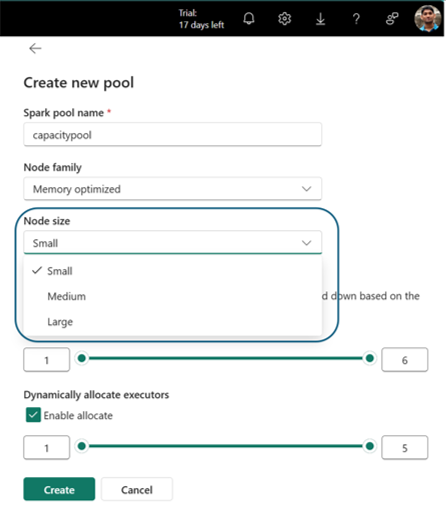
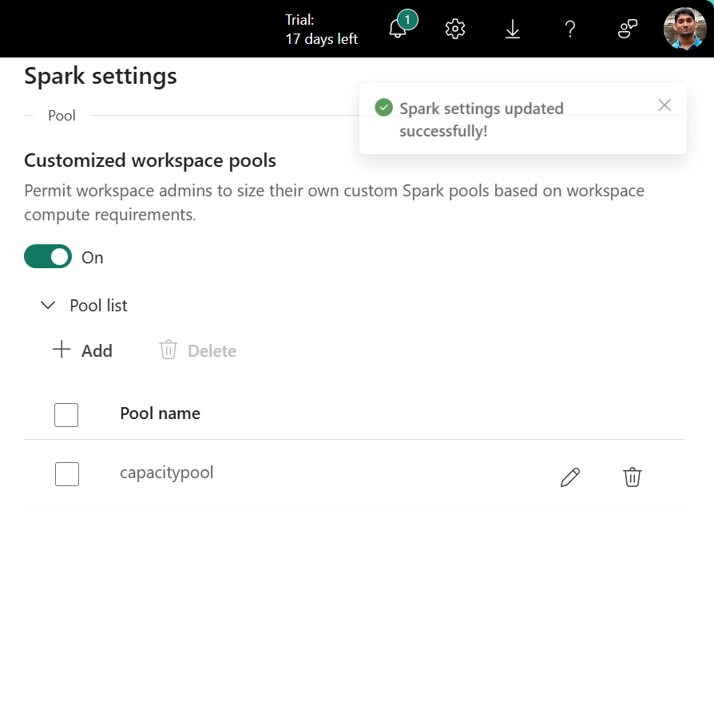
Select Create to save your settings.

Note
Capacity-level custom pools have a startup latency of 2–3 minutes. For faster Spark session startup (<5 seconds), use Starter Pools if enabled.
Once created, the capacity pool becomes available in:
- The Pool Selection dropdown in workspace settings
- The Environment Compute Settings page in workspaces
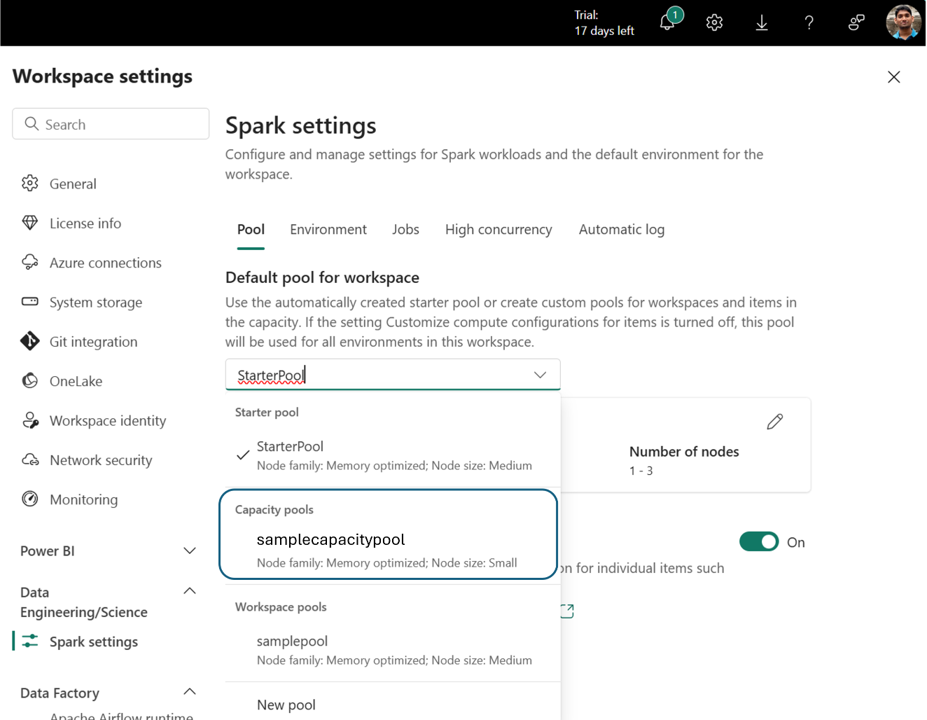
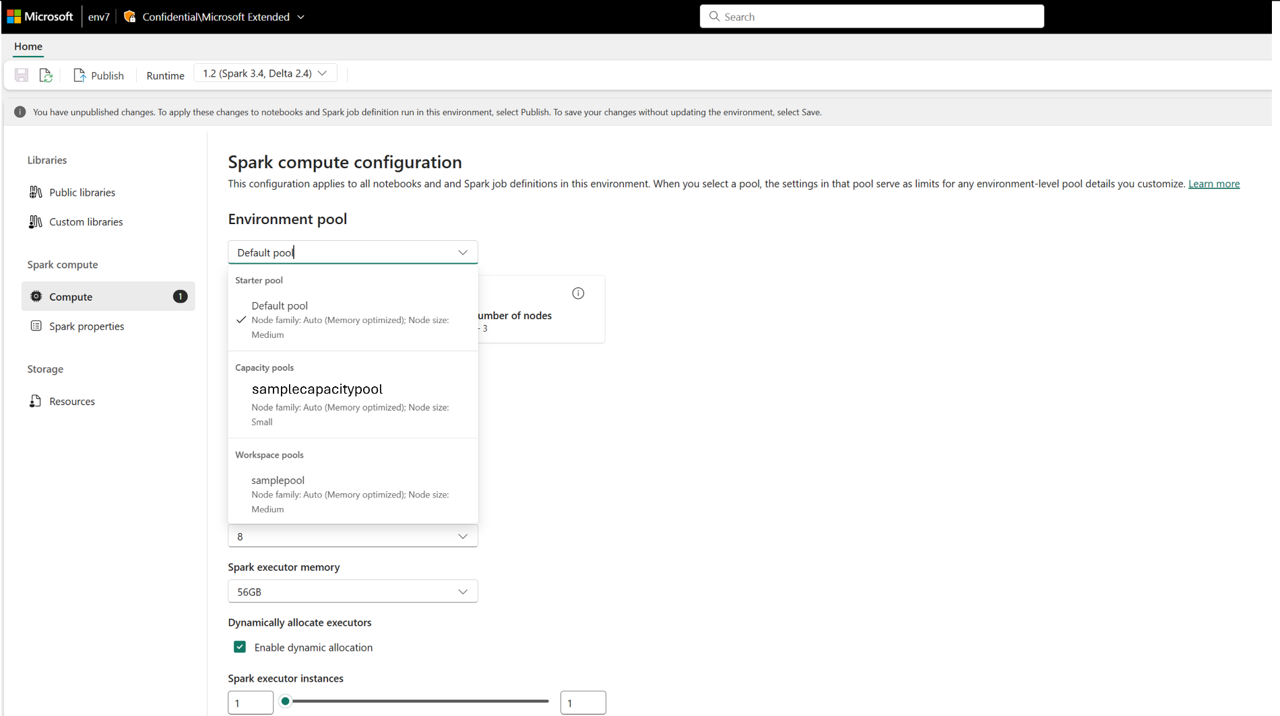
This enables centralized compute governance. Admins can create standardized pools, and optionally disable workspace-level customization, preventing admins in workspaces from modifying pool settings or creating their own.