Note
Access to this page requires authorization. You can try signing in or changing directories.
Access to this page requires authorization. You can try changing directories.
Transport Layer Security (TLS) inspection in Microsoft Entra Internet Access lets you decrypt and inspect encrypted traffic at service edge locations. This feature lets Global Secure Access apply advanced security controls like threat detection, content filtering, and granular access policies. These access policies help protect against threats that might be hidden in encrypted communications.
Important
The Transport Layer Security inspection feature is currently in PREVIEW.
This information relates to a prerelease product that might be substantially modified before release. Microsoft makes no warranties, expressed or implied, with respect to the information provided here.
While in preview, don't use TLS inspection in production environments.
This article explains how to create a context-aware Transport Layer Security inspection policy and assign it to users in your organization.
Prerequisites
To complete the steps in this process, you must have the following prerequisites in place:
- A Public Key Infrastructure (PKI) service to sign the Certificate Signing Request (CSR) and generate an intermediate certificate for TLS inspection. For testing scenarios, you can also use a self-signed root certificate created with OpenSSL.
- Test devices or virtual machines running Windows that are either Microsoft Entra joined or hybrid joined to your organization's Microsoft Entra ID.
- A trial license for Microsoft Entra Internet Access.
- Global Secure Access prerequisites
Create a context-aware TLS inspection policy
To create a context-aware Transport Layer Security inspection policy and assign it to users in your organization, complete the following steps:
- Create a CSR and upload the signed certificate for TLS termination
- Create a TLS inspection policy
- Link the TLS inspection policy to a security profile
- Test the configuration
Step 1: Global Secure Access admin: create a CSR and upload the signed certificate for TLS termination
To create a CSR and upload the signed certificate for TLS termination:
Sign in to the Microsoft Entra admin center as a Global Secure Access Administrator.
Browse to Global Secure Access > Secure > TLS inspection policies.
Switch to the TLS inspection settings tab.
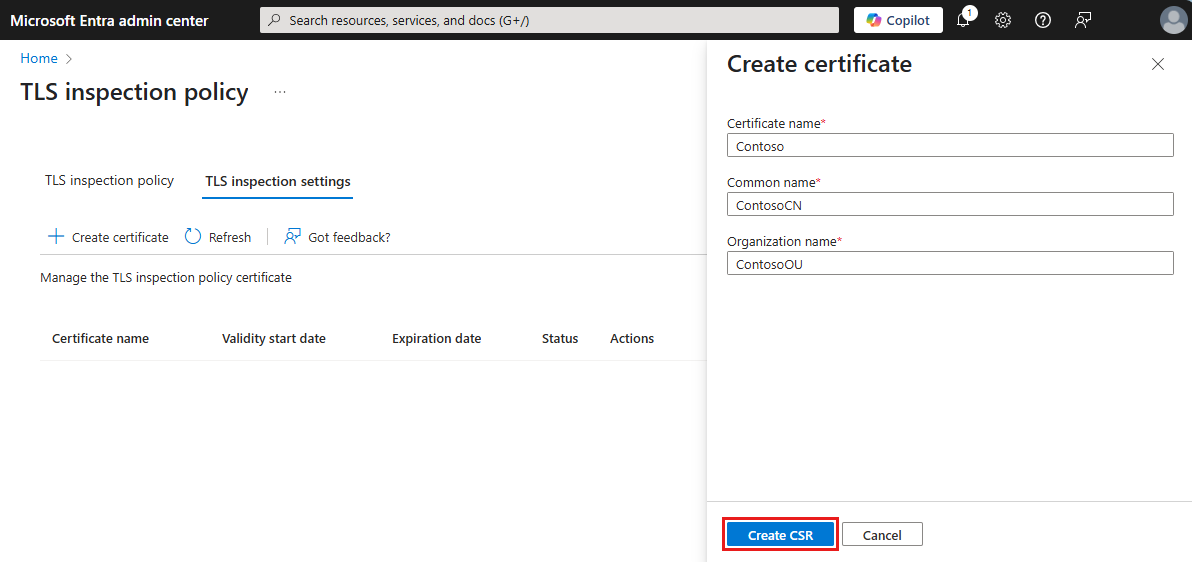
Select + Create certificate.
In the Create certificate pane, fill in the following fields:
- Certificate name: This name appears in the certificate hierarchy when viewed in a browser. It must be unique, contain no spaces, and be no more than 12 characters long. You can't reuse previous names.
- Common name (CN): Common name, for example, Contoso TLS ICA, that identifies the intermediate certificate.
- Organizational Unit (OU): Organization name, for example, Contoso IT.
Select Create CSR.
Sign the CSR using your PKI service. Make sure Server Auth is in Extended Key Usage and
certificate authority (CA)=true,keyUsage=critical,keyCertSign,cRLSign, andbasicConstraints=critical,CA:TRUEin Basic Extension. Save the signed certifcate in .pem format.Select +Upload certificate.
In the Upload certificate form, upload the certificate.pem and chain.pem files.
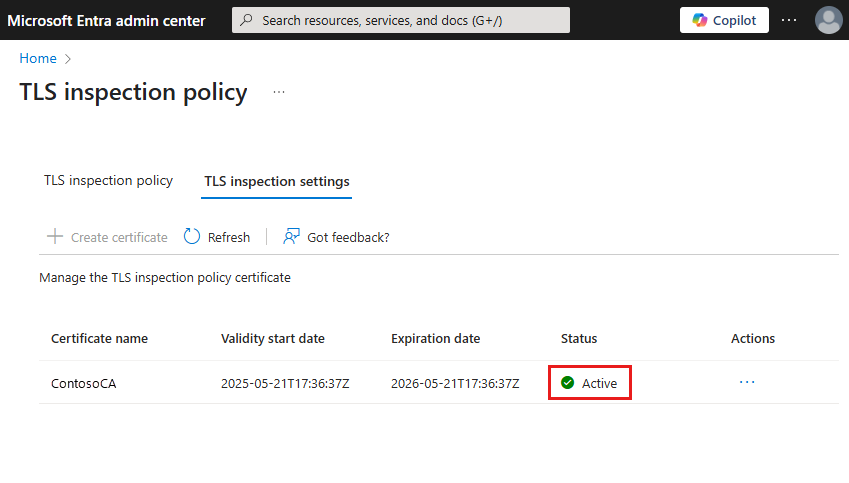
Select Upload signed certificate.

After the certificate uploads, the status changes to Active.
For a test configuration, see Test with a self-signed root certificate authority using OpenSSL.
Step 2: Global Secure Access admin: create a TLS inspection policy
To create a TLS inspection policy:
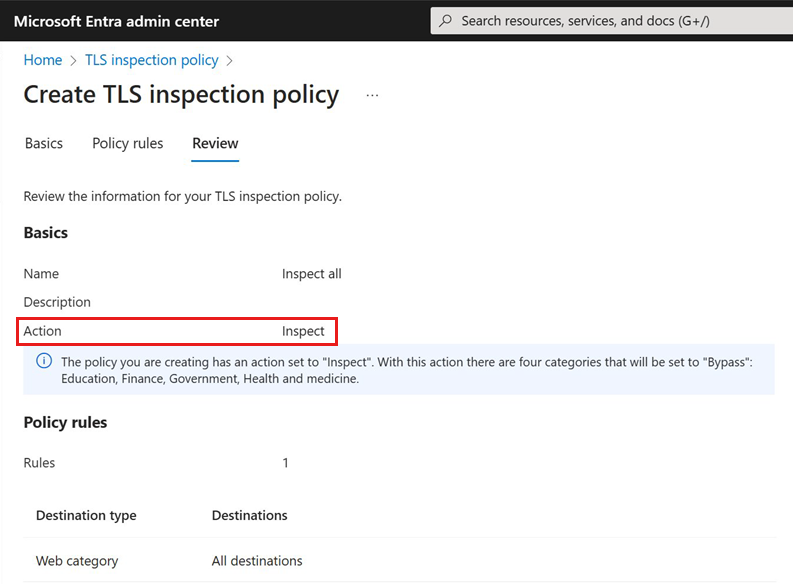
- In the Microsoft Entra admin center, go to Secure > TLS inspection policies.
- Create a new policy with Action set to Inspect.
- Select Save. This configuration enables TLS termination for all traffic categories except Education, Finance, Government, and Health and medicine.
Step 3: Global Secure Access admin: link the TLS inspection policy to a security profile
Link the TLS inspection policy to a security profile.
Before you enable TLS inspection on user traffic, make sure your organization has established and communicated an appropriate Terms of Use (ToU) for end users. This step helps maintain transparency and supports compliance with privacy and consent requirements.
You can link the TLS policy to a security profile in two ways:
Option 1: Link the TLS policy to the baseline profile for all users
With this method, the baseline profile policy is evaluated last and applies to all user traffic.
- In the Microsoft Entra admin center, navigate to Secure > Security profiles.
- Switch to the Baseline profile tab.
- Select Edit profile.
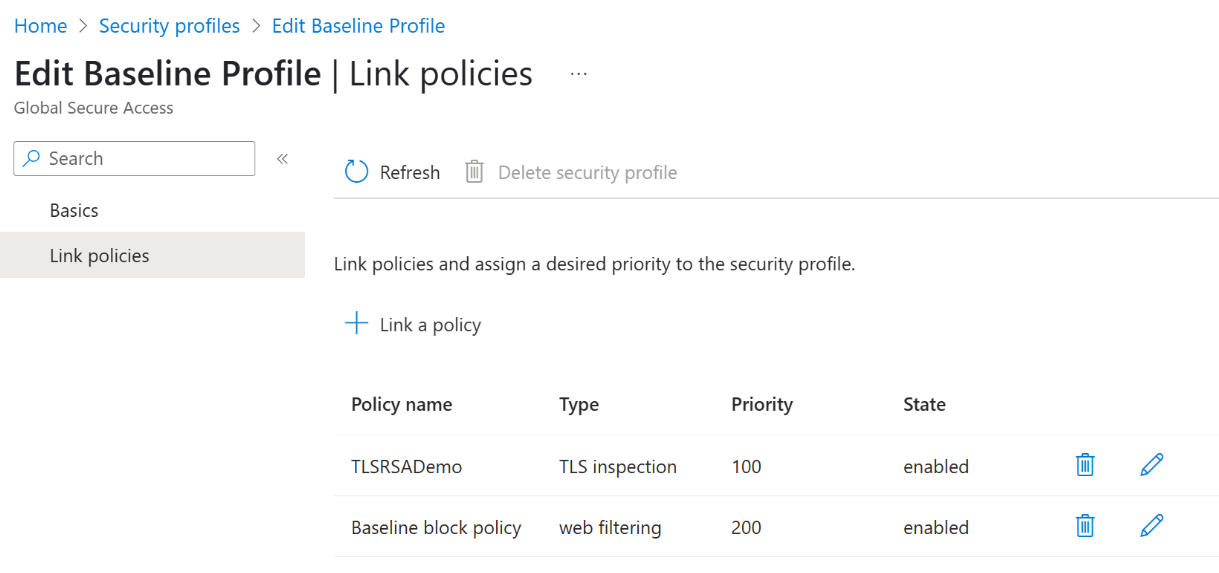
- In the Link policies view, select + Link a policy > Existing TLS inspection policy.
- In the Link a TLS inspection policy view, choose a TLS policy and assign it a priority.
- Select Add.
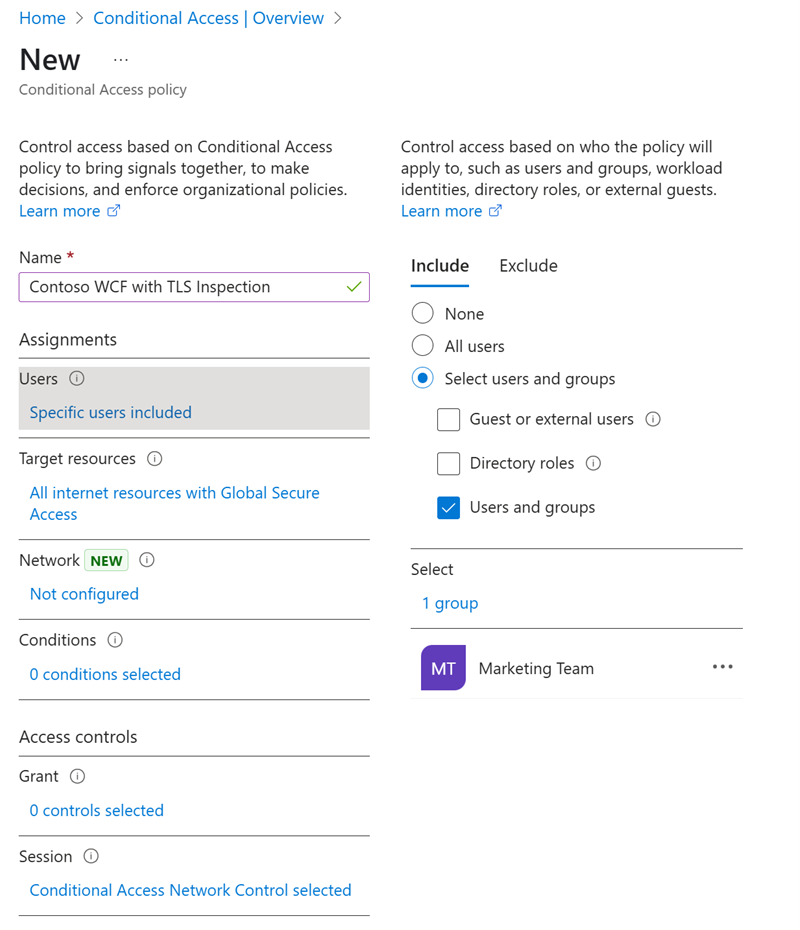
Option 2: Link the TLS policy to a security profile for specific users or groups
Alternatively, add a TLS policy to a security profile and link it to a Conditional Access policy for a specific user or group.
Step 4: Test the configuration
To test the configuration:
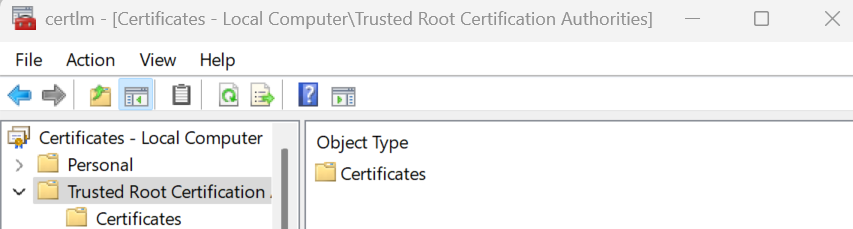
Make sure the end user device has the root certificate installed in the Trusted Root Certification Authorities folder.
Set up the Global Secure Access client:
- Disable secure DNS and built-in DNS.
- Block QUIC traffic from your device. QUIC isn't supported in Microsoft Entra Internet Access. Most websites support fallback to TCP when QUIC can't be established. For an improved user experience, deploy a Windows Firewall rule that blocks outbound UDP 443:
@New-NetFirewallRule -DisplayName "Block QUIC" -Direction Outbound -Action Block -Protocol UDP -RemotePort 443. - Make sure Internet Access Traffic Forwarding is enabled.
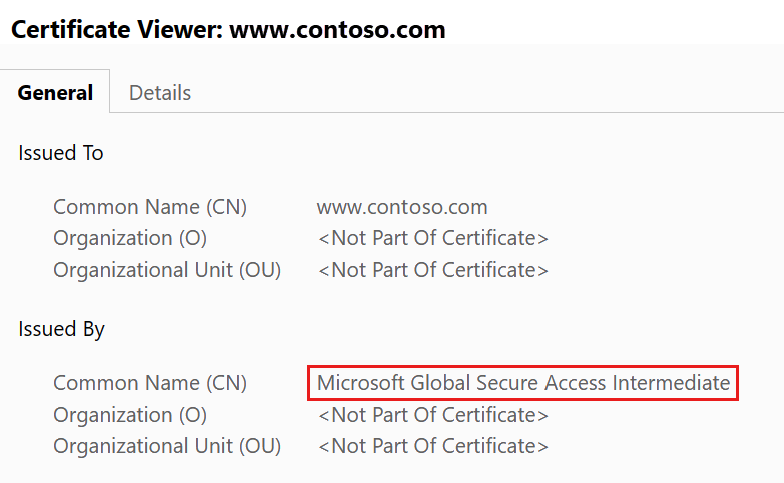
Open a browser on a client device and test various websites. Inspect the certificate information and confirm the Global Secure Access certificate.
Disable TLS inspection
To disable TLS inspection:
- Remove the policy link from the security profile:
- Browse to Global Secure Access > Secure > Security profiles.
- Switch to the Baseline profile tab.
- Select Edit profile.
- Select the Link policies view.
- Select the Delete icon for the policy you're disabling.
- Select Delete to confirm.
- Remove the TLS inspection policy:
- Browse to Global Secure Access > Secure > TLS inspection policies.
- Select Actions.
- Select Delete.
- Remove the TLS inspection policy certificate:
- Switch to the TLS inspection settings tab.
- Select Actions.
- Select Delete.
Test with a self-signed root certificate authority using OpenSSL
For testing purposes only, use a self-signed root certificate authority (CA) that you create with OpenSSL to sign the CSR. To test with OpenSSL:
- If you don't already have one, create an openssl.cnf file with this configuration:
[ rootCA_ext ]
subjectKeyIdentifier = hash
authorityKeyIdentifier = keyid:always,issuer
basicConstraints = critical, CA:true
keyUsage = critical, digitalSignature, cRLSign, keyCertSign

[ interCA_ext ]
subjectKeyIdentifier = hash
authorityKeyIdentifier = keyid:always,issuer
basicConstraints = critical, CA:true, pathlen:1
keyUsage = critical, digitalSignature, cRLSign, keyCertSign

[ signedCA_ext ]
basicConstraints = critical, CA:true
keyUsage = critical, digitalSignature, cRLSign, keyCertSign
extendedKeyUsage = serverAuth

[ server_ext ]
subjectKeyIdentifier = hash
authorityKeyIdentifier = keyid:always,issuer
basicConstraints = critical, CA:false
keyUsage = critical, digitalSignature
extendedKeyUsage = serverAuth
- Create a new root certificate authority and private key using the following openssl.cnf config file:
openssl req -x509 -new -nodes -newkey rsa:4096 -keyout rootCAchain.key -sha256 -days 370 -out rootCAchain.pem -subj "/C=US/ST=US/O=Self Signed/CN=Self Signed Root CA" -config openssl.cnf -extensions rootCA_ext - Sign the CSR using the following command:
openssl x509 -req -in <CSR file> -CA rootCAchain.pem -CAkey rootCAchain.key -CAcreateserial -out signedcertificate.pem -days 370 -sha256 -extfile openssl.cnf -extensions signedCA_ext - Upload the signed certificates according to the steps in Create a CSR and upload the signed certificate for TLS termination.