Note
Access to this page requires authorization. You can try signing in or changing directories.
Access to this page requires authorization. You can try changing directories.
Note
Dynamics 365 Marketing and Dynamics 365 Customer Insights are now Customer Insights - Journeys and Customer Insights - Data. For more information, see Dynamics 365 Customer Insights FAQs
New Customer Insights - Journeys customers receive real-time journeys features only. For more information, see Default real-time journeys installation.
Important
This article only applies to outbound marketing, which is gradually being removed from Customer Insights - Journeys. To avoid interruptions, stop using outbound marketing and transition to real-time journeys. Learn more: Transition overview.
To make the custom channel tile available in the customer journey designer:
Create a solution. More information: Create a solution.
Add the tile XML file as a Data (XML) web resource to the solution you created. The file name must end with 'CustomerJourneyDesignerTileConfig.xml’.
Save the solution and publish all customizations.
Create a customer journey to open the customer journey designer. Go to Customer Insights - Journeys > Marketing Execution > Customer Journeys, and then select New. For more information about creating a journey, see Create a simple customer journey.
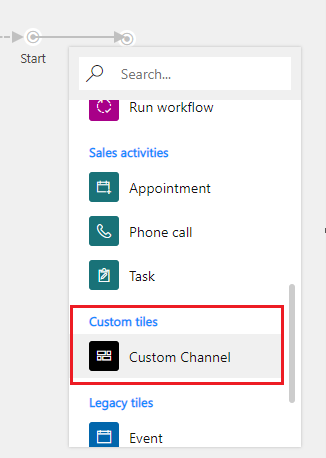
The tile should show up in the Custom Content section of the tile library in the customer journey designer.
