Note
Access to this page requires authorization. You can try signing in or changing directories.
Access to this page requires authorization. You can try changing directories.
Okta manages how users and customers sign in and get access to key systems. Since it plays a central role in identity and access management, any compromise whether accidental or intentional can lead to serious security risks. By integrating Microsoft Defender for Identity with Okta, you gain stronger identity protection. Defender for Identity monitors sign-in activity, detects unusual behavior, and highlights threats related to compromised or misused identities. It also identifies risks like suspicious role assignments or unused high-privilege accounts, using Okta data to deliver clear, actionable insights that help keep your organization secure.
Prerequisites
Before connecting your Okta account to Microsoft Defender for Identity, make sure the following prerequisites are met:
Your Okta environment must have one of the following licenses:
Developer
Enterprise
Note
The Super Admin role is required only to create the API token. Once the token is created, remove the role and assign the Read-Only Administrator and Defender for Identity custom roles for ongoing API access.
Note
If your Okta environment is already integrated with Microsoft Defender for Cloud Apps, connecting it to Microsoft Defender for Identity might cause duplicate Okta data, such as user activity, to appear in the Defender portal.
Connect Okta to Microsoft Defender for Identity
This section provides instructions for connecting Microsoft Defender for Identity to your dedicated Okta account using the connector APIs. This connection gives you visibility into and control over Okta use.
Create a dedicated Okta account
- Create a dedicated Okta account that is used only for Microsoft Defender for Identity.
- Assign your Okta account as a Super Admin role.
- Verify your Okta account.
- Store the account credentials for later use.
- Sign in to your dedicated Okta account created in step 1 in order to create an API token.
Create an API token
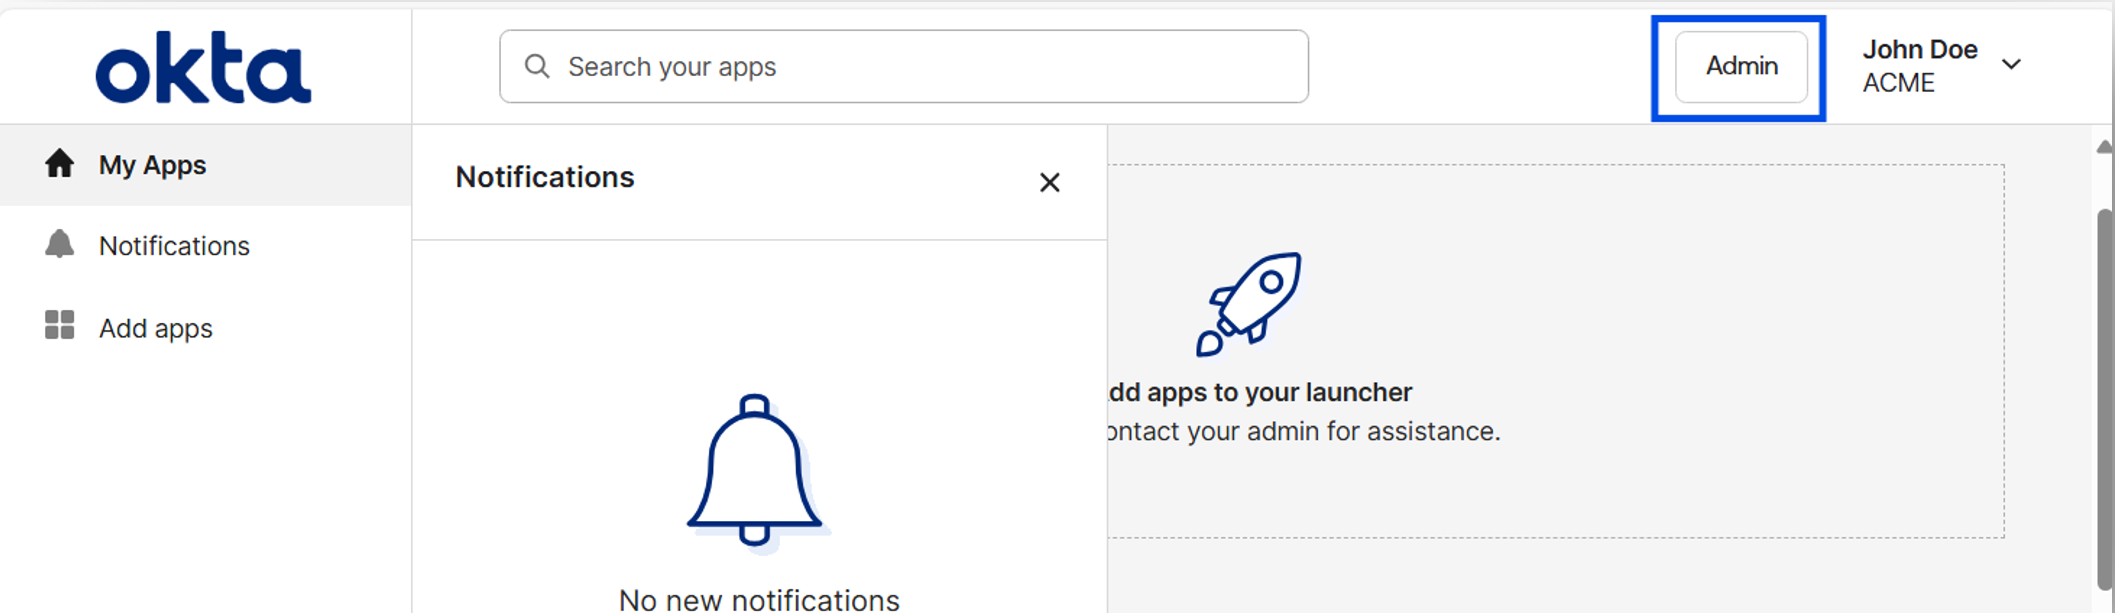
In the Okta console, select Admin.
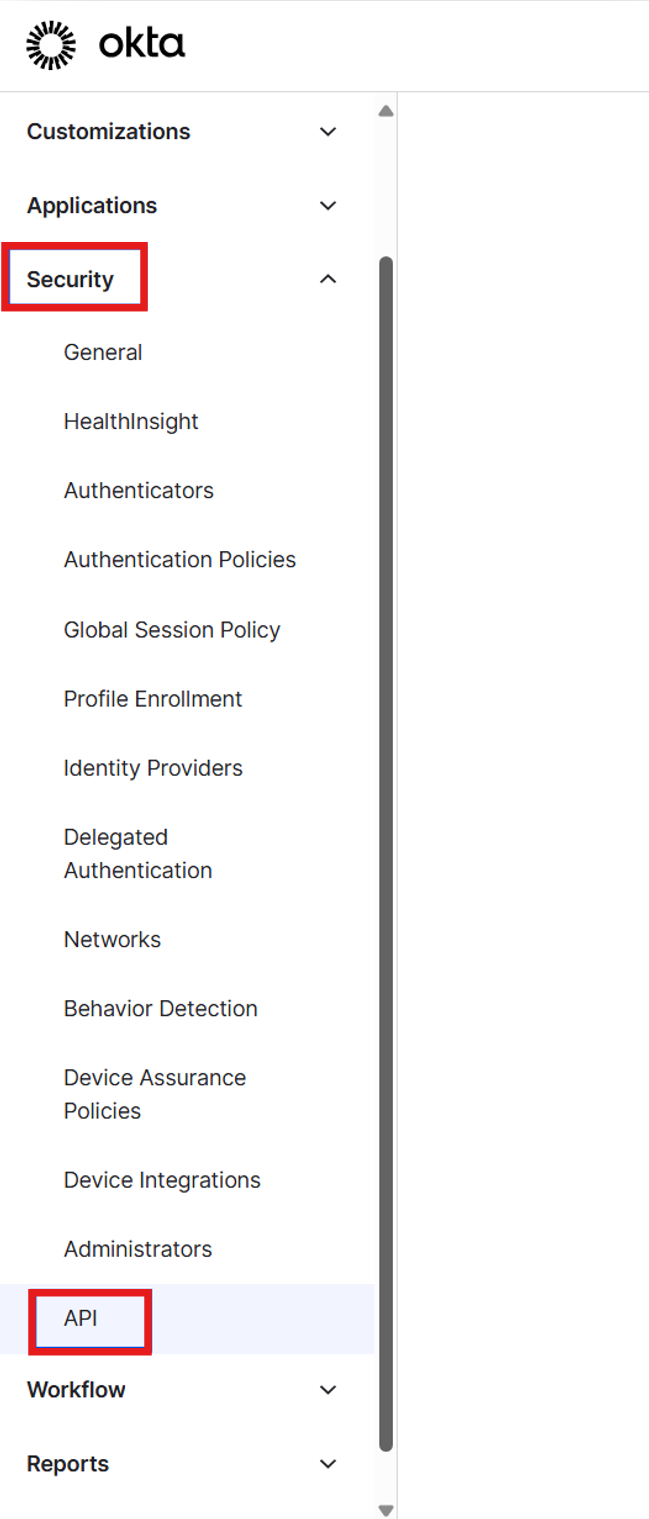
Select Security > API.
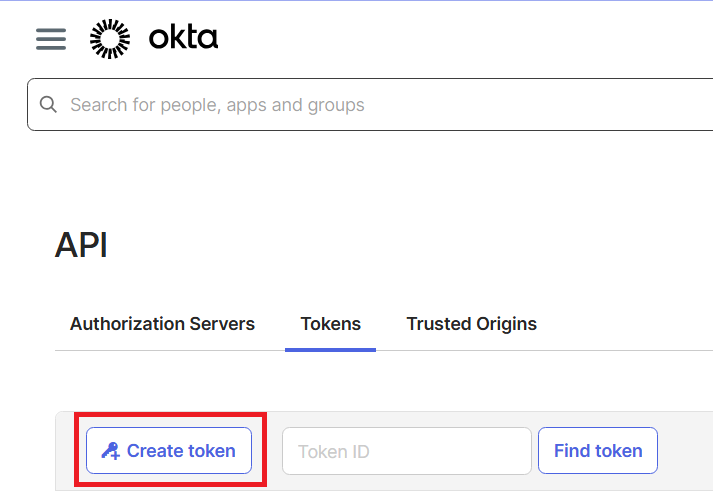
Select Tokens
Select Create Token.
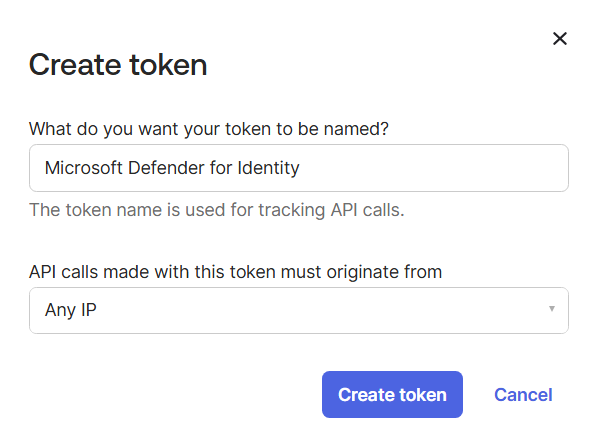
In the Create token pop-up:
- Enter a name for your Defender for Identity token
- Select Any IP
- Select Create token.
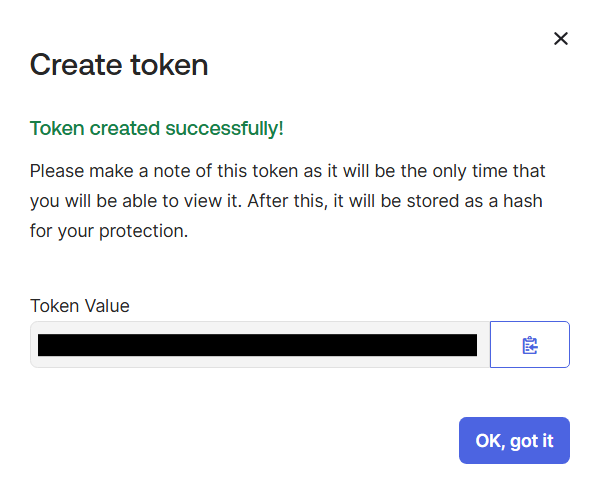
In the Token created successfully pop-up, copy the Token value and store it securely. This token is used to connect Okta to Defender for Identity.
Add Custom user attributes
Select Directory > Profile Editor.
Select User (default).
Select Add Attributes.
- Set Data type to String.
- Enter the Display name.
- Enter the Variable name.
- Set User permission to Read Only.
Enter the following attributes:
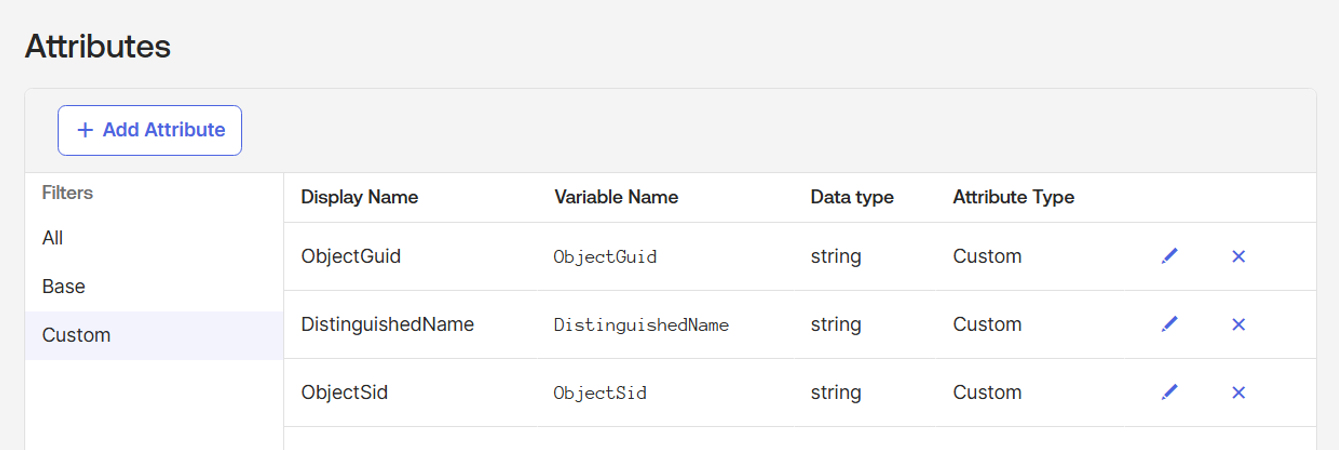
Display Name Variable Name ObjectSid ObjectSid ObjectGuid ObjectGuid DistinguishedName DistinguishedName Select Save.
Verify that the three custom attributes you added are displayed correctly.
Create a custom Okta role
To support ongoing API access, Read-Only Administrator role and the custom Defender for Identity role are required.
After assigning both roles, you can remove the Super Admin role. This ensures that only relevant permissions are assigned to your Okta account at all times.
- Navigate to Security > Administrator.
- Select the Roles tab.
- Select Create new role.
- Set the role name to Microsoft Defender for Identity.
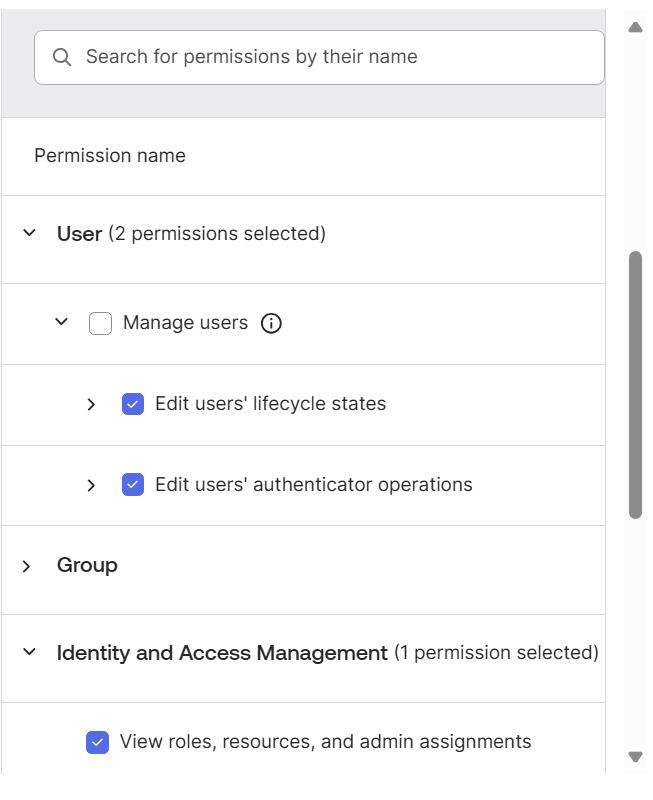
- Select the permissions you want to assign to this role. Include the following permissions:
- Edit user's lifecycle states
- Edit user's authenticator operations
- View roles, resources, and admin assignments
- Select Save role.
Create a resource set
Select the Resources tab.
Select Create new resource set.
Name the resource set Microsoft Defender for Identity.
Add the following resources:
- All users
- All Identity and Access Management resources
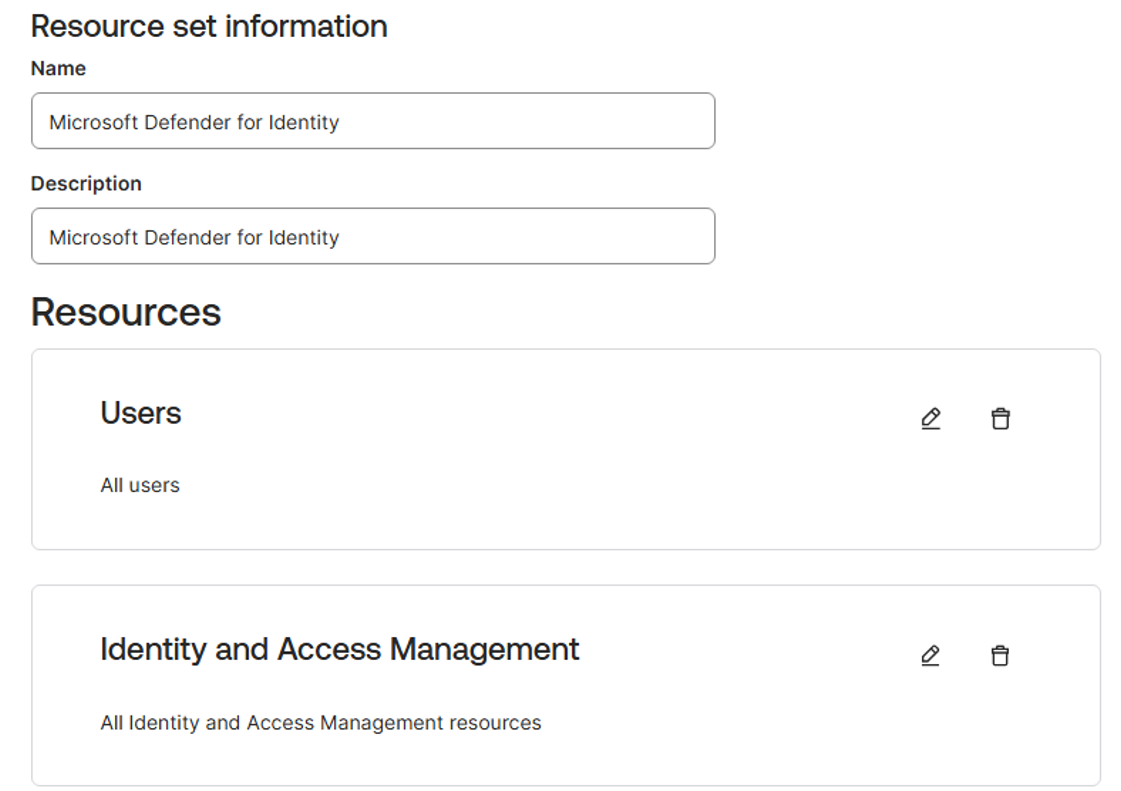
Select Save selection.
Assign the custom role and resource set
To complete the configuration in Okta, assign the custom role and resource set to the dedicated account.
Assign the following roles to the dedicated Okta account:
Read-Only Administrator.
The custom Microsoft Defender for Identity role
Assign the Microsoft Defender for Identity resource set to the dedicated Okta account.
When you're done, remove the Super Admin role from the account.
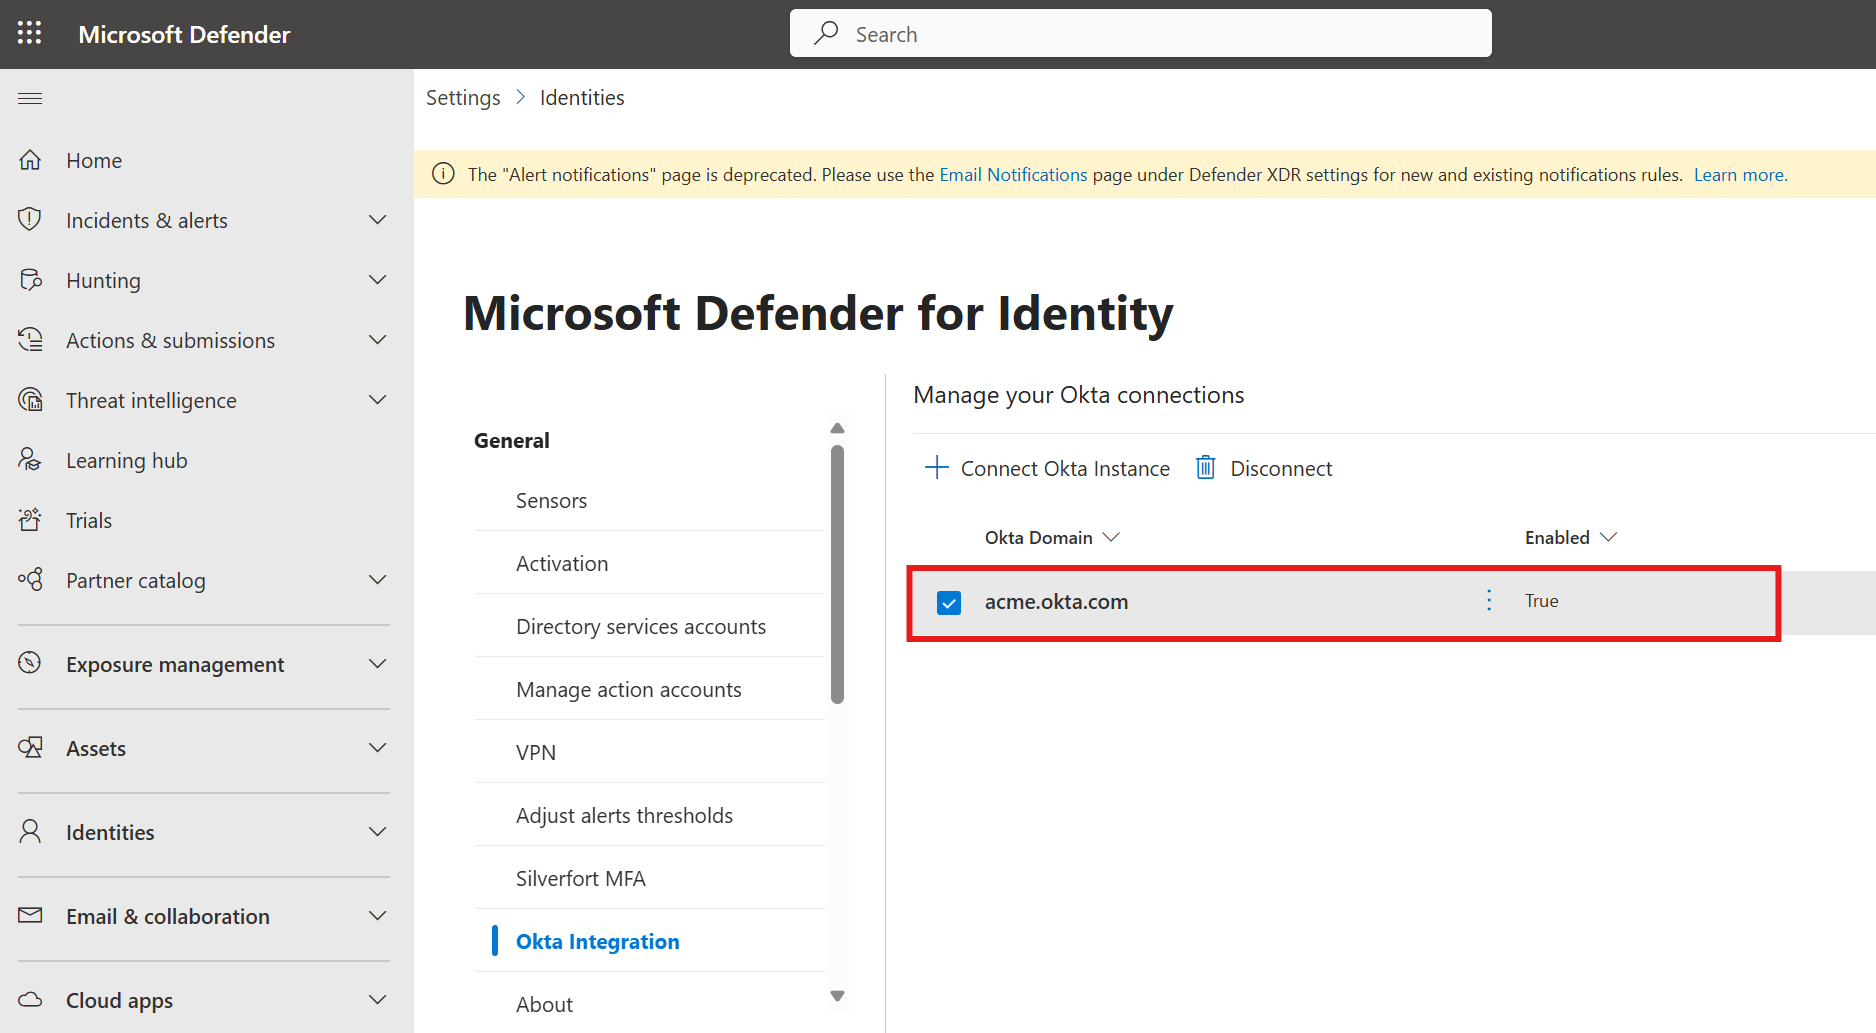
Connect Okta to Defender for Identity
Navigate to the Microsoft Defender Portal
Select Settings > Identities > Okta integration
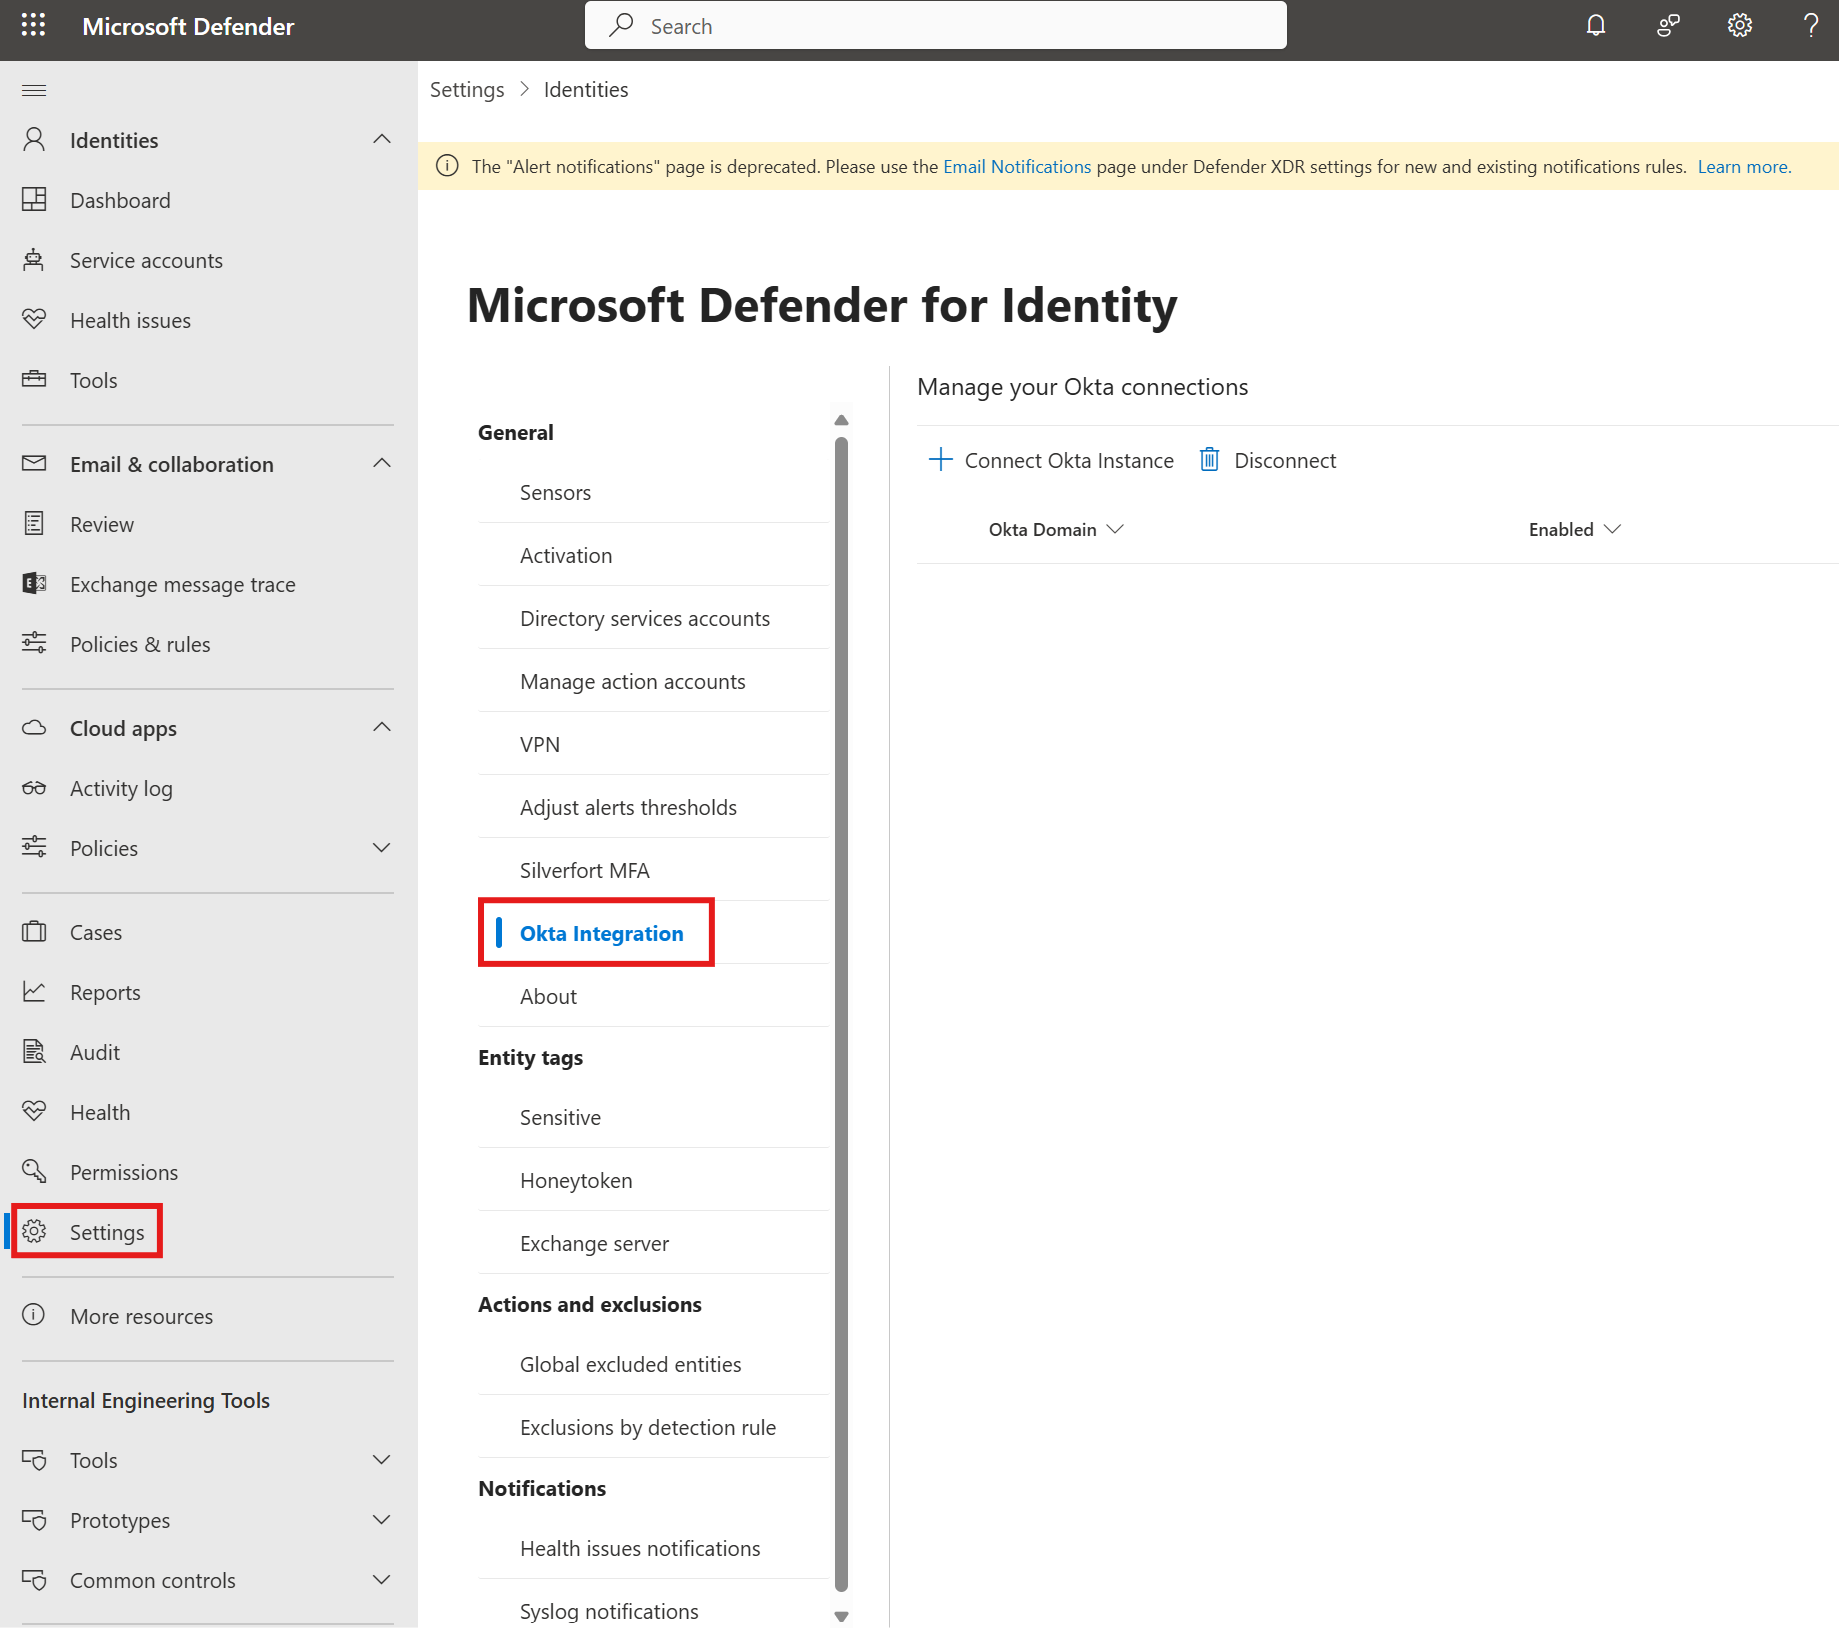
Select +Connect Okta instance.
Enter your Okta domain (for example, acme.okta.com).
Paste the API token you copied from your Okta account.
Select Save.

Verify that your Okta environment appears in the table as enabled.