Note
Access to this page requires authorization. You can try signing in or changing directories.
Access to this page requires authorization. You can try changing directories.
Azure Compute Gallery (formerly known as Shared Image Gallery) simplifies sharing resources, like images and application packages, across your organization.
Compute Gallery lets you share custom virtual machine (VM) images and application packages with others in your organization, within or across regions, or within a tenant. Choose what resources you want to share, the regions where you want to make them available, and the users you want to share them with. You can create multiple galleries so that you can logically group resources.
The gallery is a top-level resource that can be shared in multiple ways:
| Sharing with: | People | Groups | Service principal | All users in a specific subscription or tenant | Publicly with all users in Azure |
|---|---|---|---|---|---|
| Role-based access control (RBAC) sharing | Yes | Yes | Yes | No | No |
| RBAC + direct shared gallery | Yes | Yes | Yes | Yes | No |
| RBAC + community gallery | Yes | Yes | Yes | No | Yes |
Requirements for gallery names
Allowed characters for a gallery name are uppercase letters (A-Z), lowercase letters (a-z), digits (0-9), dots (.), and underscores (_). The gallery name can't contain dashes (-). Gallery names must be unique within your subscription.
Create a private gallery
Sign in to the Azure portal.
Enter Azure Compute Gallery in the search box, and select Azure Compute Gallery in the results.
On the Azure Compute Gallery page, select Add.
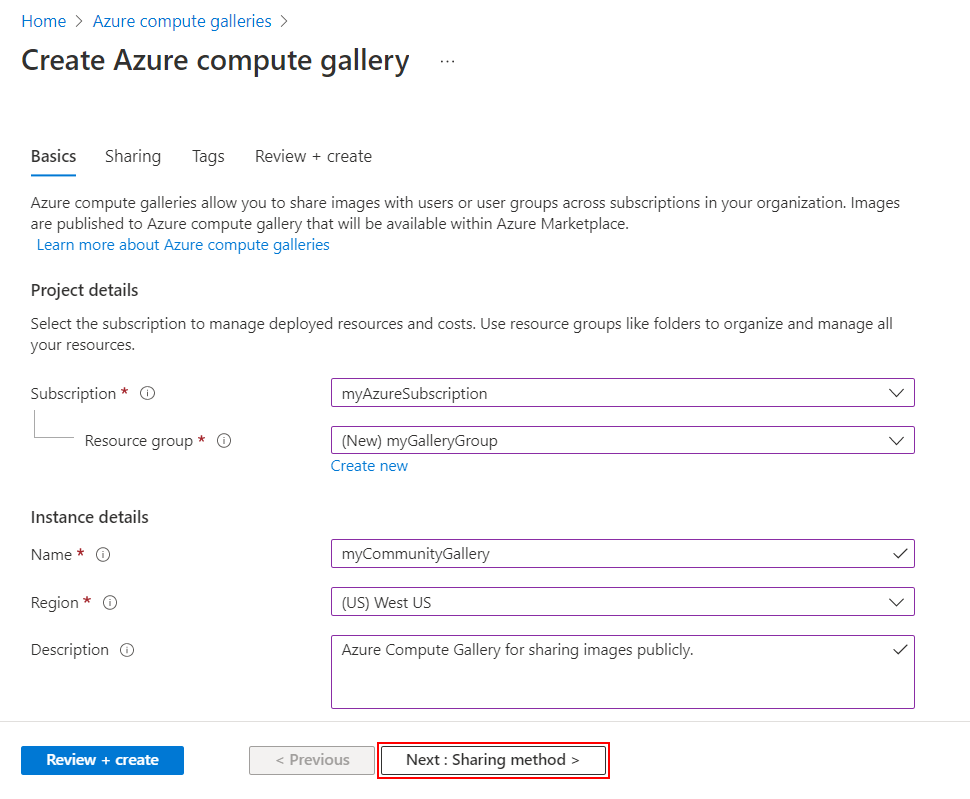
On the Create Azure compute gallery pane, select the correct subscription.
For Resource group, select a resource group from the dropdown list. Or, select Create new and enter a name for the new resource group.
For Name, enter a name for the gallery.
For Region, select a region from the dropdown list.
You can enter a short description of the gallery, like My gallery for testing. Then select Review + create.
After validation passes, select Create.
When the deployment finishes, select Go to resource.
Create a direct shared gallery
Important
The direct shared gallery feature is currently in preview and is subject to the preview terms for Azure Compute Gallery.
During the preview, you need to create a new gallery with the sharingProfile.permissions property set to Groups. When you use the Azure CLI to create a gallery, use the --permissions groups parameter. You can't use an existing gallery, and the property can't currently be updated.
You can't currently create a flexible virtual machine scale set from an image that another tenant shared with you.
To start sharing a direct shared gallery with a subscription or tenant, see Share a gallery with a subscription or tenant.
Sign in to the Azure portal.
Enter Azure Compute Gallery in the search box, and select Azure Compute Gallery in the results.
On the Azure Compute Gallery page, select Add.
On the Create Azure compute gallery pane, on the Basics tab, select the correct subscription.
Complete all of the details on the Basics tab.
At the bottom of the pane, select Next: Sharing method.
On the Sharing tab, select RBAC + share directly.
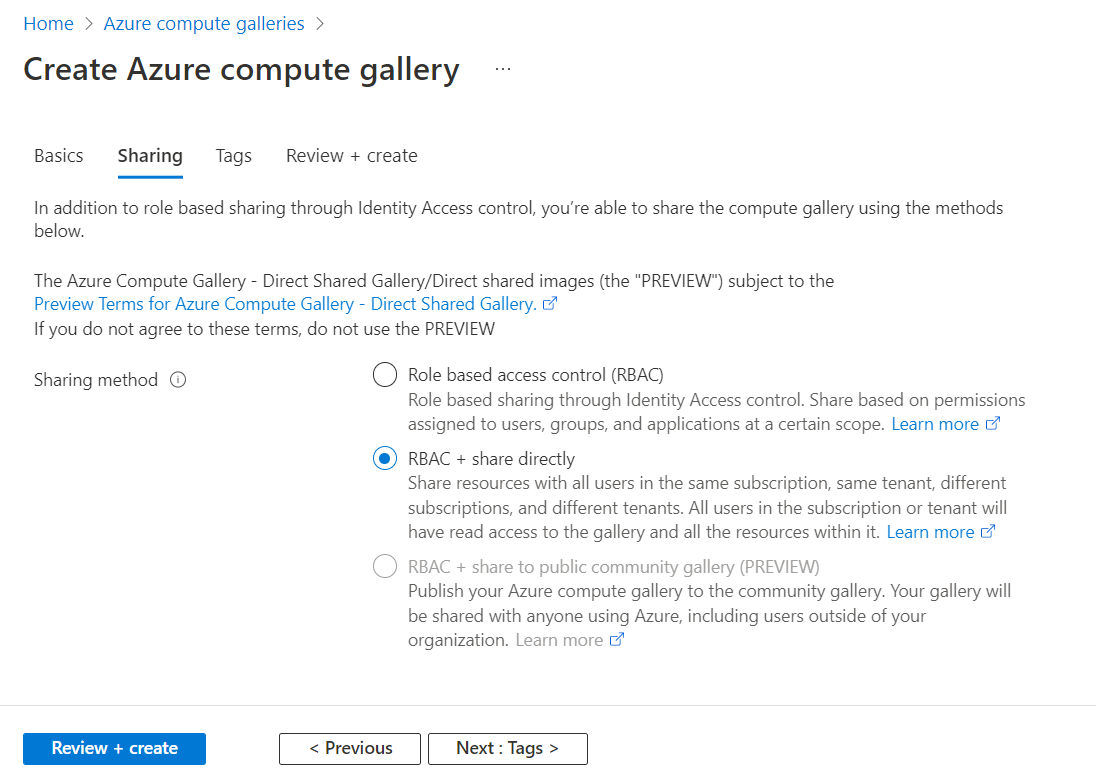
When you finish, select Review + create.
After validation passes, select Create.
When the deployment finishes, select Go to resource.
To start sharing the gallery with a subscription or tenant, see Share a gallery with a subscription or tenant.
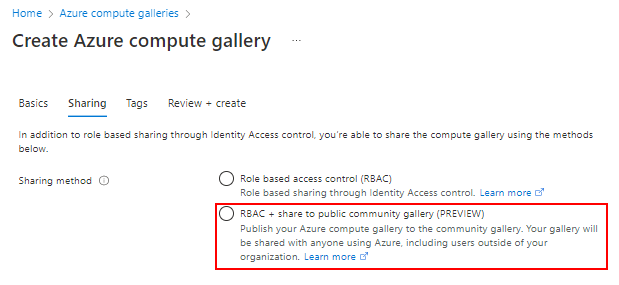
Create a community gallery
A community gallery is shared publicly with everyone. To create a community gallery, you create the gallery first and then enable it for sharing. The name of public instance of your gallery is the prefix that you provide, plus a GUID. To share your gallery publicly, be sure to create your gallery, image definitions, and image versions in the same region.
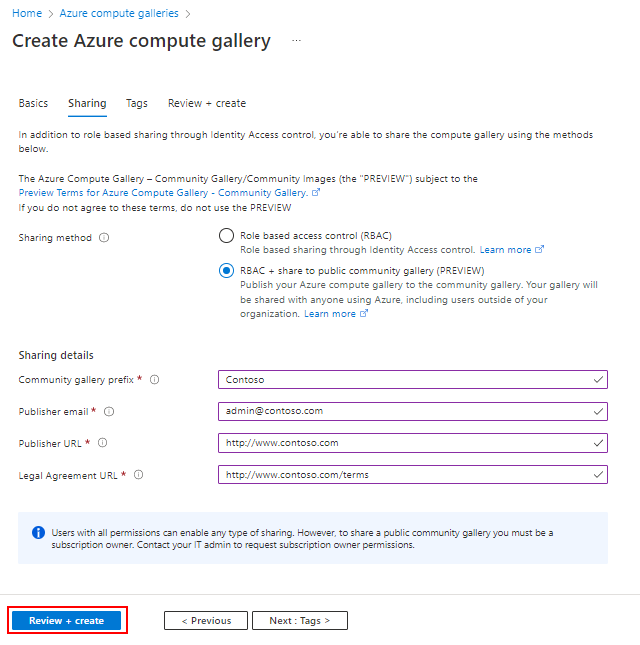
When you create an image to share with the community, you need to provide contact information. This information is publicly available, so be careful when you provide:
- Community gallery prefix
- Publisher support email
- Publisher URL
- Legal agreement URL
Information from your image definitions is also publicly available, like what you provide for Publisher, Offer, and SKU.
Only the following people can enable a gallery to go public to the community:
- The owner of a subscription
- A user or a service principal assigned to the Compute Gallery Sharing Admin role at the subscription or gallery level
To assign a role to a user, group, service principal, or managed identity, see Steps to assign an Azure role.
Use the --public-name-prefix value to create a name for the public version of your gallery. The --public-name-prefix value is the first part of the public name. The last part is a GUID, created by the platform, that's unique to your gallery.
location=westus
galleryName=contosoGallery
resourceGroup=myCGRG
publisherUri=https://www.contoso.com
publisherEmail=support@contoso.com
eulaLink=https://www.contoso.com/eula
prefix=ContosoImages

az group create --name $resourceGroup --location $location

az sig create \
   --gallery-name $galleryName \
   --permissions community \
   --resource-group $resourceGroup \
   --publisher-uri $publisherUri \
   --publisher-email $publisherEmail \
   --eula $eulaLink \
   --public-name-prefix $prefix
The output of this command gives you the public name for your community gallery in the sharingProfile section, under publicNames.
To start sharing the gallery to all Azure users, see Share images by using a community gallery.
Related content
- Create an image definition and an image version.
- Create a VM from a generalized or specialized image in a gallery.
- Create a VM application in your gallery.