Note
Access to this page requires authorization. You can try signing in or changing directories.
Access to this page requires authorization. You can try changing directories.
This article describes how to manage the settings for MongoDB Atlas resources.
Resource overview
Begin by signing in to the Azure portal.
In the Azure portal search bar, enter All resources and select All resources from the results.
From the Resources list, select your resource.
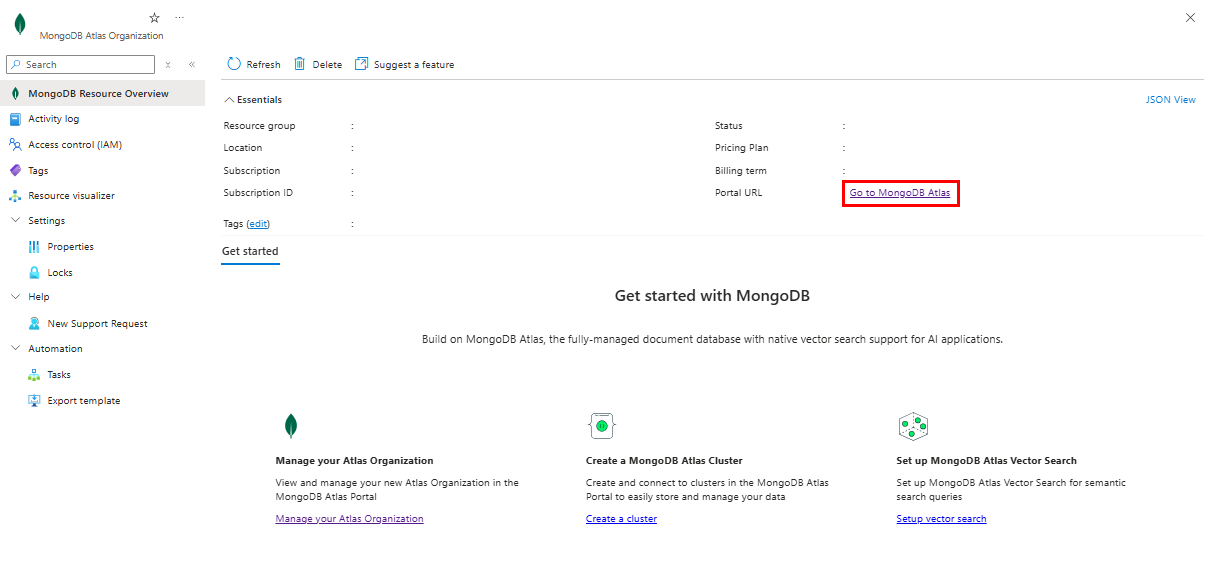
The Azure portal shows the resource with the Overview page open, by default.

The details under Essentials include:
- Resource group
- Location
- Subscription
- Subscription ID
- Tags
- Status
- Pricing plan
- Billing term
- Portal URL
To manage your resource, select the links next to corresponding details.
Access a MongoDB Atlas account
To access your MongoDB Atlas account, select Go to MongoDB Atlas on the working pane.
Note
If you don't have an Atlas account for your Azure email address, you're prompted to configure your account and set a password.
Delete a resource
If you finished using your resource and you want to delete it, follow these steps:
On the command bar, select Delete.
The Delete Resource pane appears in the sidebar.
In the Confirm Delete field, enter the name of the resource.
Choose a reason for deleting the resource.
Select Delete.
After the resource is deleted, all billing through Azure Marketplace stops for that resource.
Important
Following these steps deletes your MongoDB Atlas Azure resource, but doesn't delete the organization in Atlas. To learn how to delete your Atlas organization, see MongoDB's documentation.
Get Support
Contact MongoDB Atlas for customer support.
You can also request support in the Azure portal from the resource overview.
Select Support + Troubleshooting > New support request from the service menu, then choose the link to log a support request in the MongoDB portal.