Note
Access to this page requires authorization. You can try signing in or changing directories.
Access to this page requires authorization. You can try changing directories.
Azure Managed Instance for Apache Cassandra provides automated deployment and scaling operations for managed open-source Apache Cassandra datacenters. This feature accelerates hybrid scenarios and helps to reduce ongoing maintenance.
This quickstart demonstrates how to use the Azure portal to create a fully managed Apache Spark cluster inside the Azure virtual network of your Azure Managed Instance for Apache Cassandra cluster. You create the Spark cluster in Azure Databricks. Later, you can create or attach notebooks to the cluster, read data from different data sources, and analyze insights.
You can also learn more with detailed instructions on Deploy Azure Databricks in your Azure virtual network (virtual network injection).
Prerequisites
If you don't have an Azure subscription, create a free account before you begin.
Create an Azure Databricks cluster
Follow these steps to create an Azure Databricks cluster in a virtual network that has the Azure Managed Instance for Apache Cassandra:
Sign in to the Azure portal.
On the left pane, locate Resource groups. Go to your resource group that contains the virtual network where your managed instance is deployed.
Open the Virtual network resource, and make a note of the Address space.

From the resource group, select Add and search for Azure Databricks in the search field.
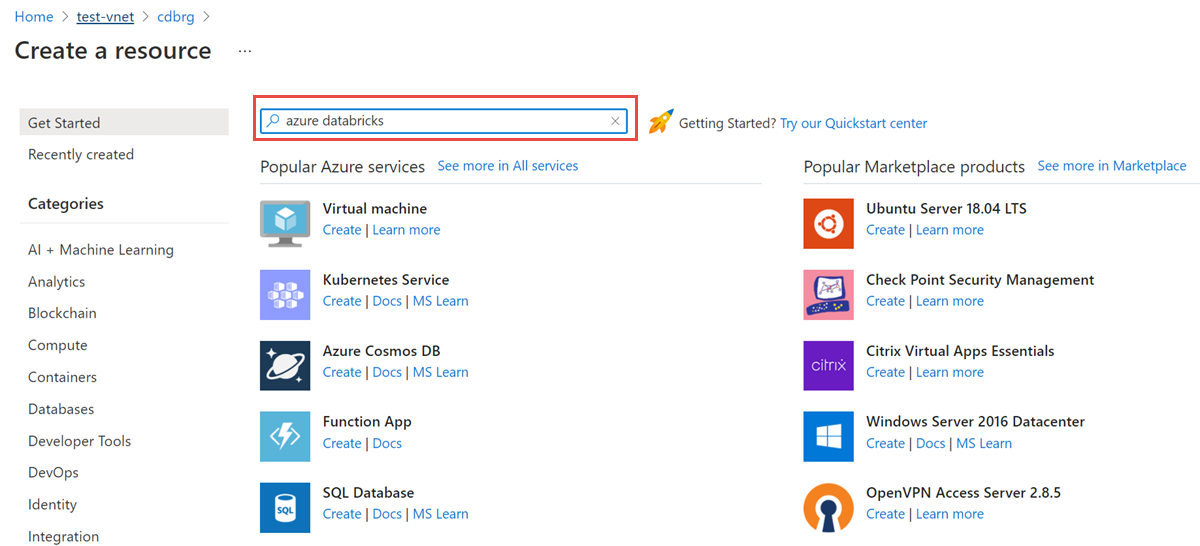
Select Create to create an Azure Databricks account.
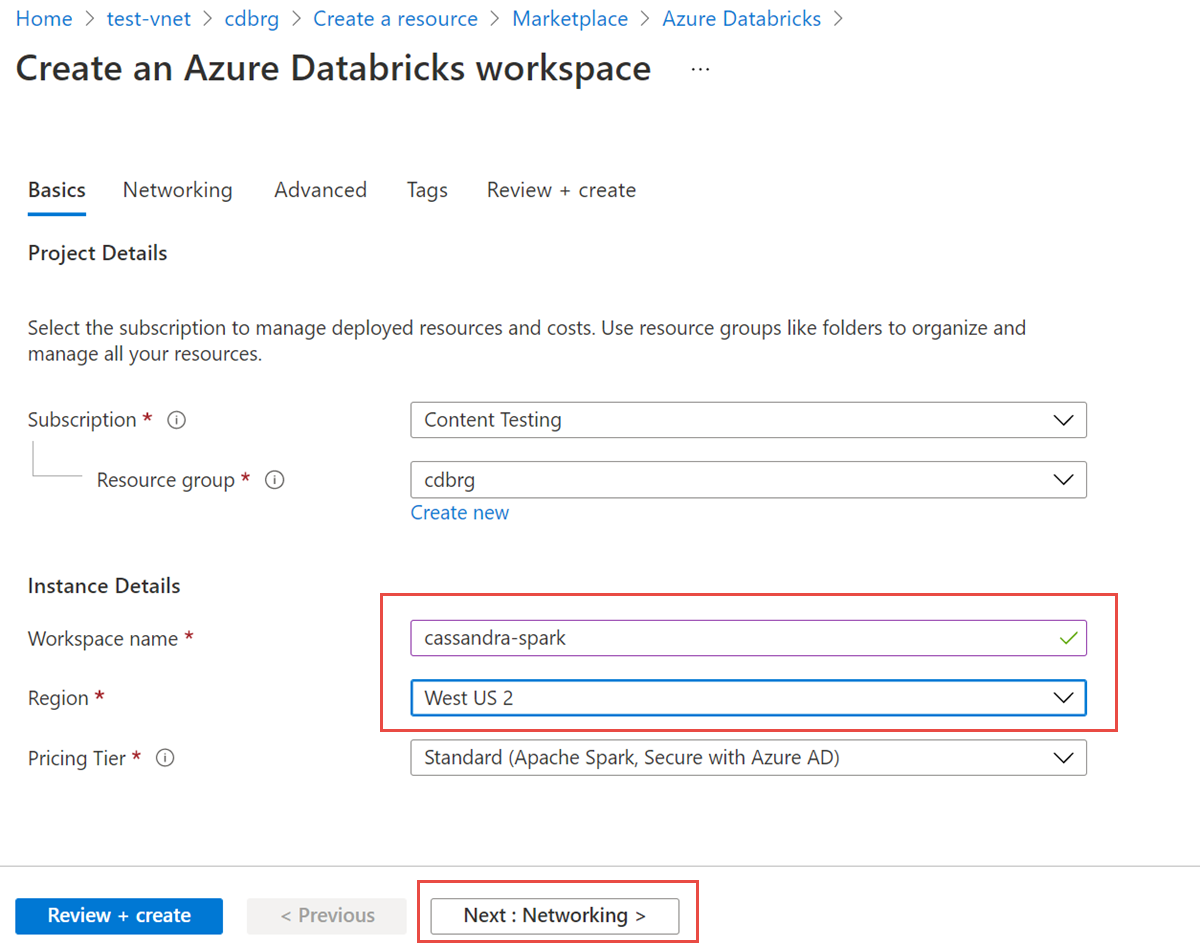
Enter the following values:
- Workspace name: Provide a name for your Azure Databricks workspace.
- Region: Make sure to select the same region as your virtual network.
- Pricing Tier: Select Standard, Premium, or Trial. For more information on these tiers, see the Azure Databricks pricing page.
Select the Networking tab, and enter the following details:
- Deploy Azure Databricks workspace in your Virtual Network (VNet): Select Yes.
- Virtual Network: From the dropdown list, choose the virtual network where your managed instance exists.
- Public Subnet Name: Enter a name for the public subnet.
- Public Subnet CIDR Range: Enter an IP range for the public subnet.
- Private Subnet Name: Enter a name for the private subnet.
- Private Subnet CIDR Range: Enter an IP range for the private subnet.
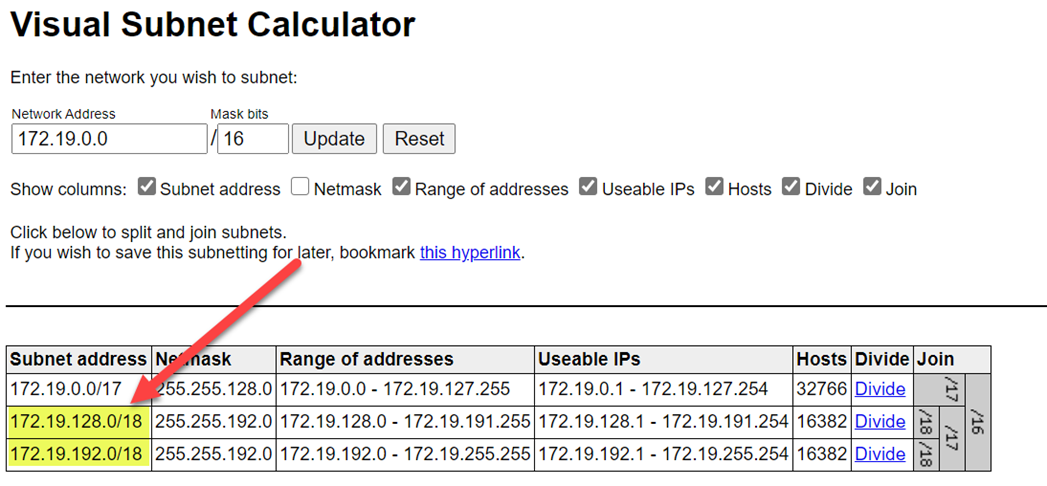
To avoid range collisions, ensure that you select higher ranges. If necessary, use a visual subnet calculator to divide the ranges.
The following screenshot shows example details on the networking pane.
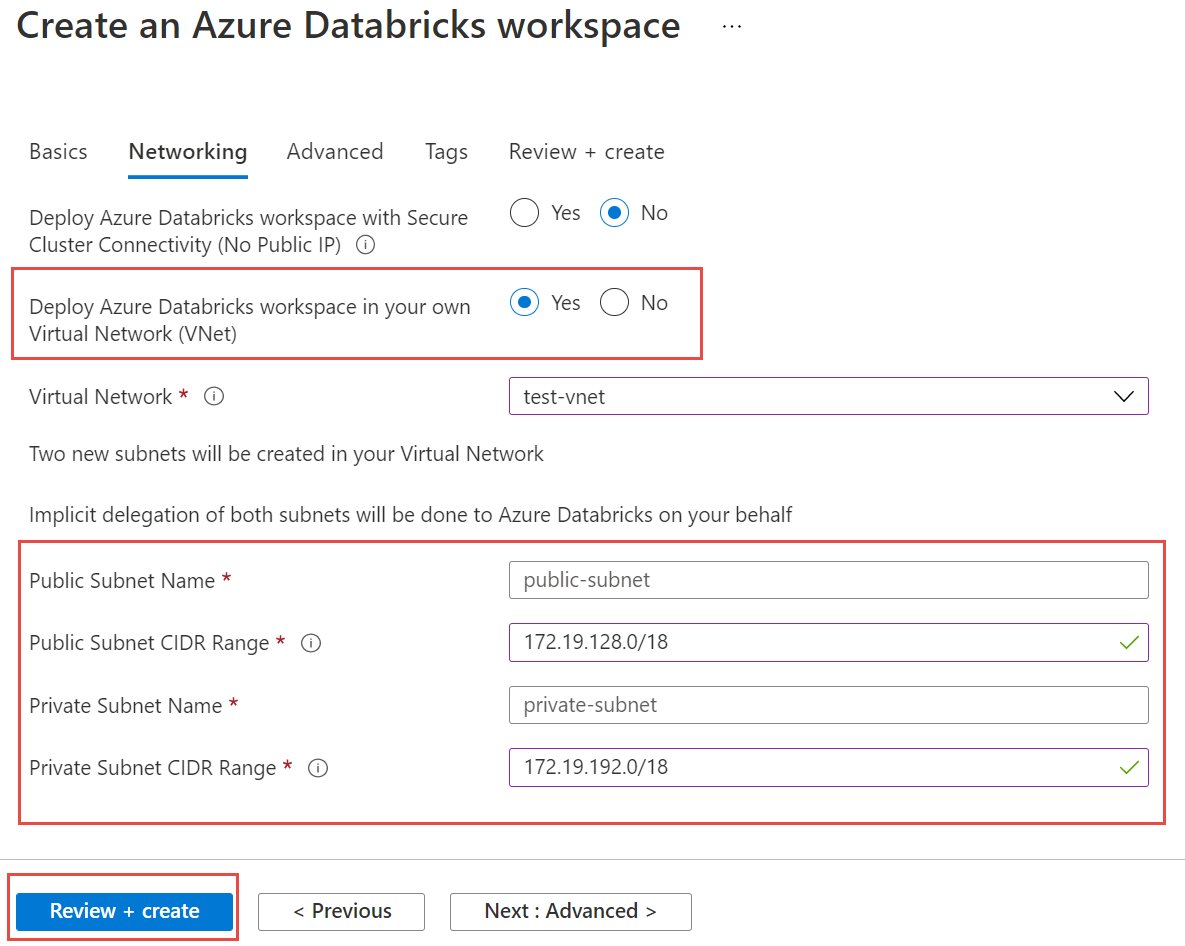
Select Review + create, and then select Create to deploy the workspace.
Open the workspace after the workspace is created.
You're redirected to the Azure Databricks portal. From the portal, select New Cluster.
On the New cluster pane, accept default values for all fields other than the following fields:
- Cluster Name: Enter a name for the cluster.
- Databricks Runtime Version: We recommend that you select Azure Databricks runtime version 7.5 or later, for Spark 3.x support.

Expand Advanced Options, and add the following configuration. Make sure to replace the node IPs and credentials.
spark.cassandra.connection.host <node1 IP>,<node 2 IP>, <node IP>
spark.cassandra.auth.password cassandra
spark.cassandra.connection.port 9042
spark.cassandra.auth.username cassandra
spark.cassandra.connection.ssl.enabled true
Add the Apache Spark Cassandra Connector library to your cluster to connect to both native and Azure Cosmos DB Cassandra endpoints. In your cluster, select Libraries > Install New > Maven, and then add
com.datastax.spark:spark-cassandra-connector-assembly_2.12:3.0.0in the Maven Coordinates field.
Select Install.
Clean up resources
If you aren't going to continue to use this managed instance cluster, follow these steps to delete it:
- On the left menu of the Azure portal, select Resource groups.
- From the list, select the resource group that you created for this quickstart.
- On the resource group Overview pane, select Delete resource group.
- On the next pane, enter the name of the resource group to delete, and then select Delete.
Next step
In this quickstart, you learned how to create a fully managed Apache Spark cluster inside the virtual network of your Azure Managed Instance for Apache Cassandra cluster. Next, learn how to manage the cluster and datacenter resources.