Note
Access to this page requires authorization. You can try signing in or changing directories.
Access to this page requires authorization. You can try changing directories.
In Azure IoT Operations, the connector for ONVIF (preview) enables you to discover and use an ONVIF compliant camera that's connected to your Azure IoT Operations cluster.
An asset in Azure IoT Operations is a logical entity that you create to represent a physical asset or device. An Azure IoT Operations asset can have custom properties, data points, streams, and events that describe its behavior and characteristics. An asset is associated with one or more devices. Azure IoT Operations stores asset definitions in the Azure Device Registry.
A device in Azure IoT Operations is a logical entity that defines the connections to physical assets or devices. Without a device, data can't flow from a physical device or asset to the MQTT broker. When you configure a device and asset, a connection is established to the physical asset or device and data point values, events, and streams arrive in Azure IoT Operations instance. A device has one or more inbound endpoints. Azure IoT Operations stores device definitions in the Azure Device Registry.
This article describes how to use the operations experience web UI to:
- Add a device that has an ONVIF endpoint for a compliant camera.
- View the namespace assets and devices discovered at the ONVIF endpoint.
- Create a device that represents the media endpoints exposed by the ONVIF camera.
- Create an asset that captures snapshots from the media endpoint and publishes them to the MQTT broker.
Prerequisites
To configure devices and assets, you need a running instance of Azure IoT Operations.
To sign in to the operations experience web UI, you need a Microsoft Entra ID account with at least contributor permissions for the resource group that contains your Kubernetes - Azure Arc instance. You can't sign in with a Microsoft account (MSA). To create a suitable Microsoft Entra ID account in your Azure tenant:
- Sign in to the Azure portal with the same tenant and user name that you used to deploy Azure IoT Operations.
- In the Azure portal, go to the Microsoft Entra ID section, select Users > +New user > Create new user. Create a new user and make a note of the password, you need it to sign in later.
- In the Azure portal, go to the resource group that contains your Kubernetes - Azure Arc instance. On the Access control (IAM) page, select +Add > Add role assignment.
- On the Add role assignment page, select Privileged administrator roles. Then select Contributor and then select Next.
- On the Members page, add your new user to the role.
- Select Review and assign to complete setting up the new user.
You can now use the new user account to sign in to the operations experience web UI.
An ONVIF compliant camera that you can reach from your Azure IoT Operations cluster.
Deploy the connector for ONVIF
When you deploy the preview version of Azure IoT Operations, the deployment includes the three preview connectors. You can verify that you have a preview instance of Azure IoT Operations by checking in the Azure portal that preview features are enabled for your instance:

Before you can use the preview connectors (ONVIF, media, and REST/HTTP) in the operations experience web UI, an administrator must add connector template instances to your Azure IoT Operations instance.
All three preview connectors can publish captured data to the MQTT broker.
To add a connector template instance to your Azure IoT Operations instance:
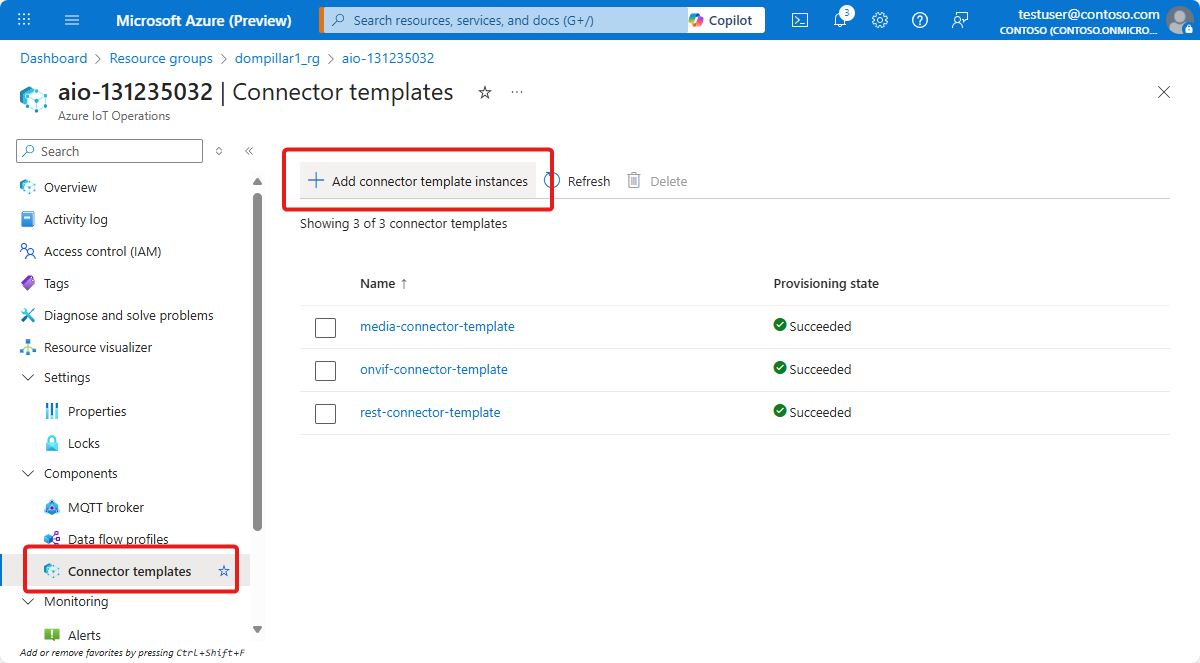
In the Azure portal, go to your Azure IoT Operations instance, select Connector templates, and then select Add connector template instances:
On the first page of the Add an Akri connector template wizard, select the type of connector template you want to add, such as ONVIF, Media, or HTTP REST. Then select Metadata.

On the Metadata page, accept the defaults, and then select Device inbound endpoint type.
On the Device inbound endpoint type page, accept the defaults, and then select Diagnostics configurations.
On the Diagnostics configurations page, accept the defaults, and then select Runtime configuration.
On the Runtime configuration page, accept the defaults, and then select Review:
On the Review page, review the details of the connector template instance, and then select Create to create the connector template instance.


An OT user can now use the operations experience web UI to create a device with a preview connector endpoint.
Create a device with an ONVIF endpoint
To add a device that includes an ONVIF endpoint for a compliant camera:
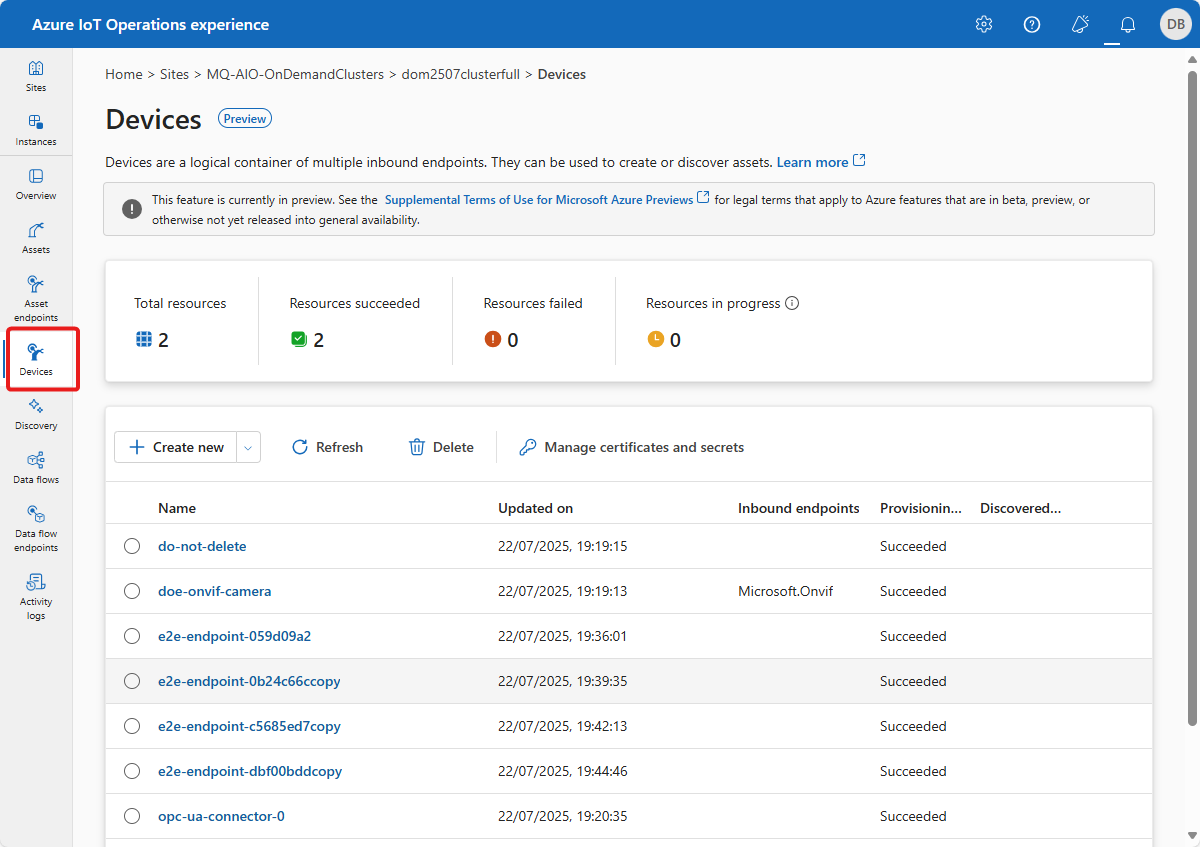
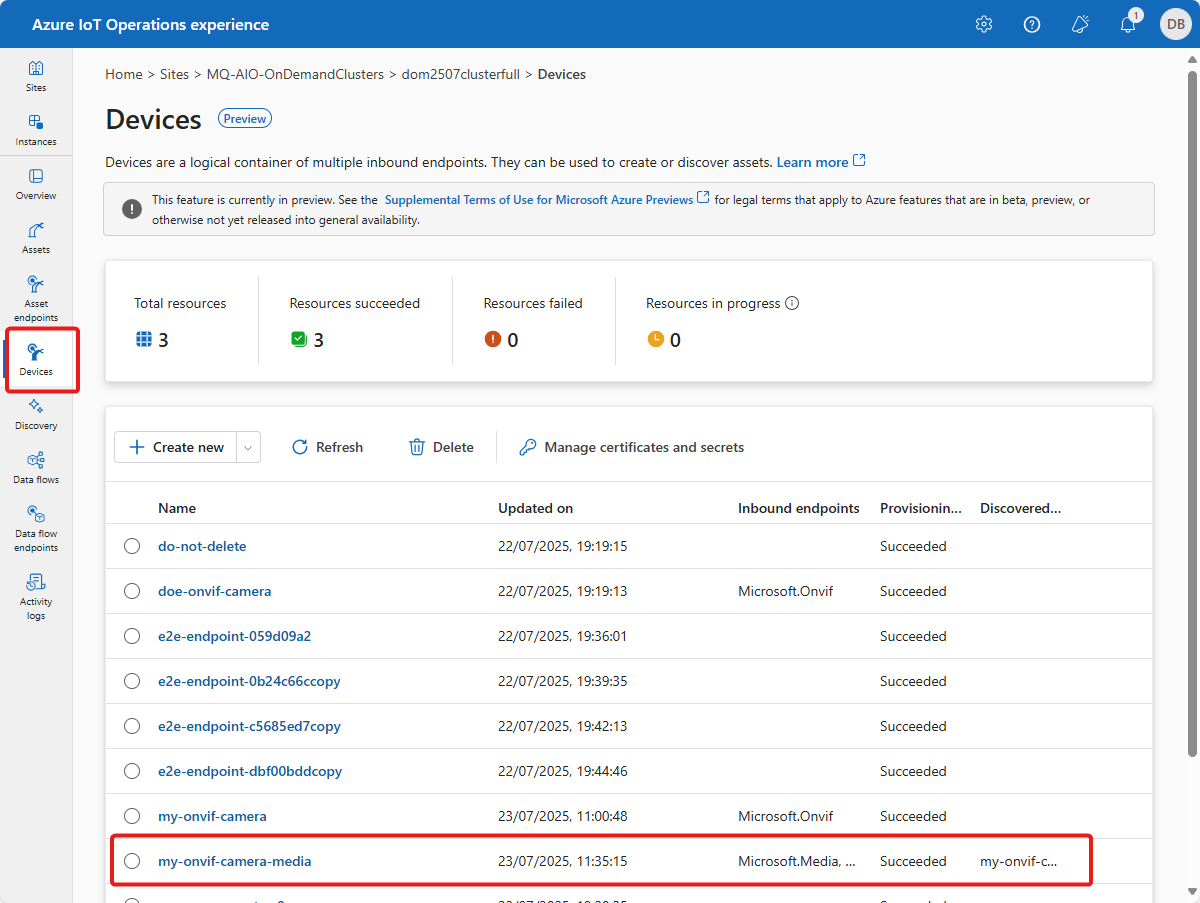
In the operations experience web UI, select Devices from the left navigation pane:
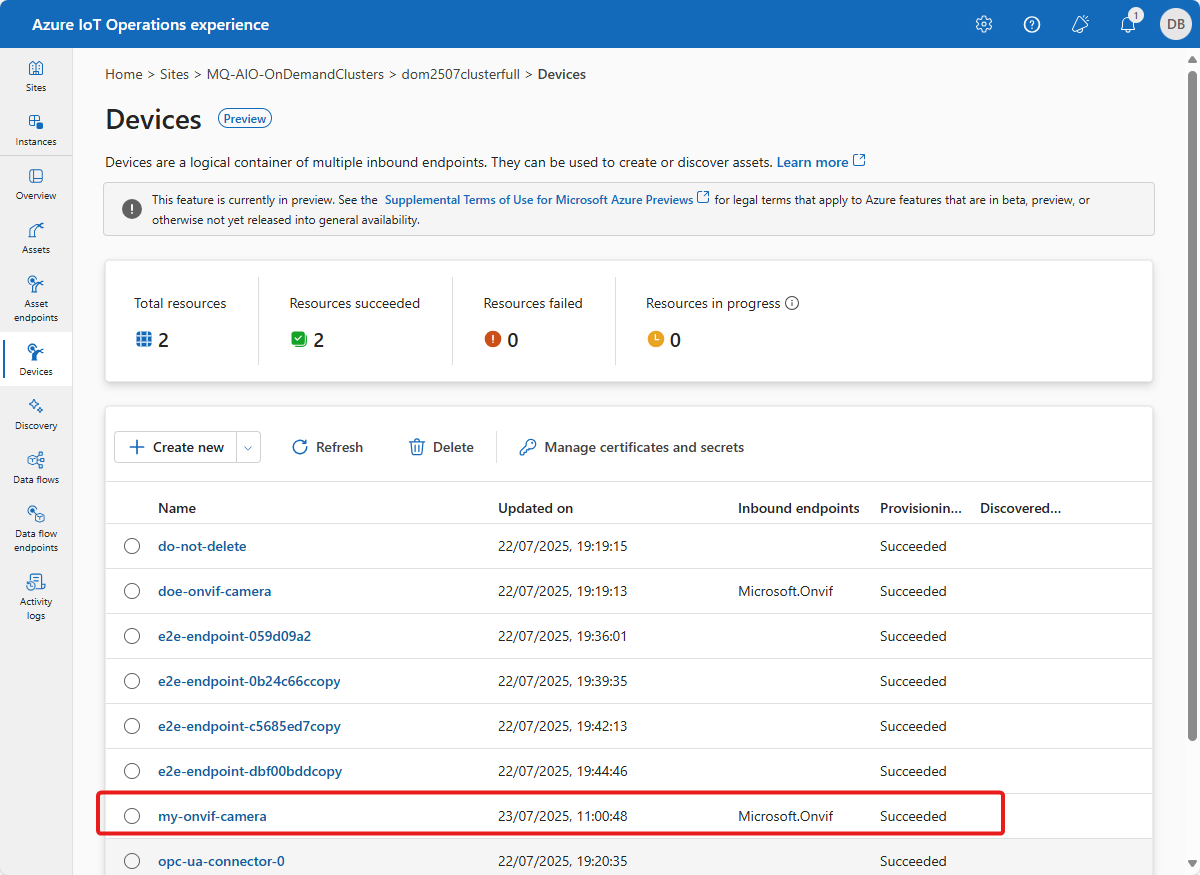
Select Create new. On the Device details page, enter a name for the device such as
my-onvif-camera. Then select New on the Microsoft.Onvif tile. Enter the details for your ONVIF camera, such as:
Select Apply to add the endpoint to the device. The Device details page now shows the ONVIF endpoint.
On the Device details page, select Next.
On the Add custom property page, you can optionally update or add custom properties to the device. Select Next when you're done.
The Summary page shows the details of the device. Review the details, and then select Create to create the device. After a few minutes, the Devices page shows the new device.


View the discovered assets and devices
After you create a device with an ONVIF endpoint, the connector for ONVIF automatically discovers the assets and devices that are available at the endpoint. To view the discovered assets and devices in the operations experience web UI, select Discovery from the left navigation pane:

If you choose to Import and create asset from the discovered ONVIF asset, you can create an asset that represents the capabilities of the ONVIF compliant camera. For example, you can create an asset that captures events from the ONVIF camera or enables you to control the ONVIF camera.
Create a device with media endpoints
To create a device with media endpoints from the discovered device, follow these steps:
In the operations experience web UI, select Discovery from the left navigation pane. Then select Discovered devices.
Select the device that you created in the previous section, such as
my-onvif-camera. Then select Import and create device.The Device details page shows the discovered media endpoints. Enter a name for the device, such as
my-onvif-camera-media, and select an Authentication method for each endpoint: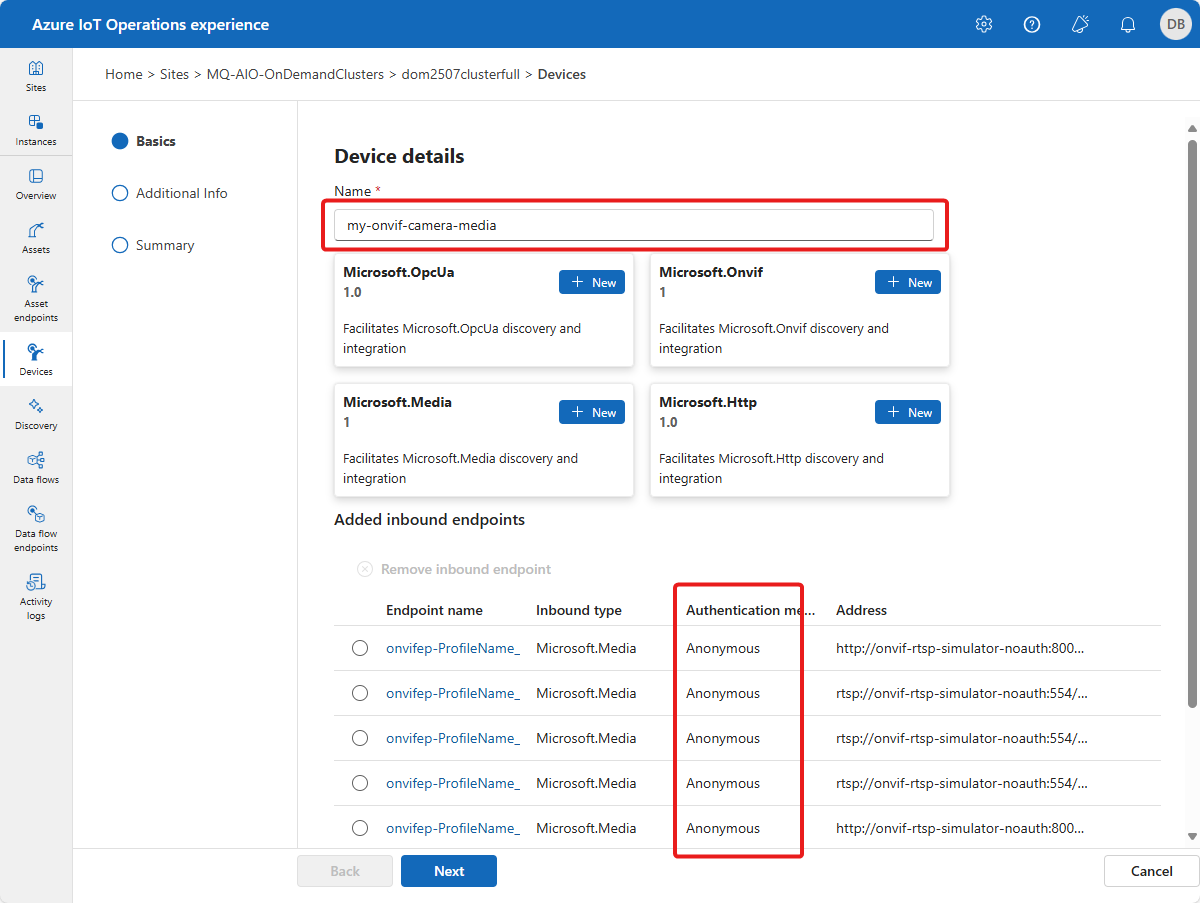
Tip
You can remove an inbound endpoint that you don't want to use by selecting it and then selecting Remove inbound endpoint.
Then select Next.
On the Add custom property page, you can optionally update, remove, or add custom properties to the device. Select Next when you're done.
On the Summary page, review the details of the device. Select Create to create the device. After a few minutes, the Devices page shows the new device.


Create a media asset to capture snapshots
You can now use the discovered media device to create an asset that captures snapshots from the camera and publishes them to the MQTT broker. To create the media asset, follow these steps:
In the operations experience web UI, select Assets from the left navigation pane. Then select Create namespace asset.
On the Asset details page, enter a name for the asset, such as
my-onvif-camera-media-asset. Then select the discovered endpoint you want to use to capture snapshots.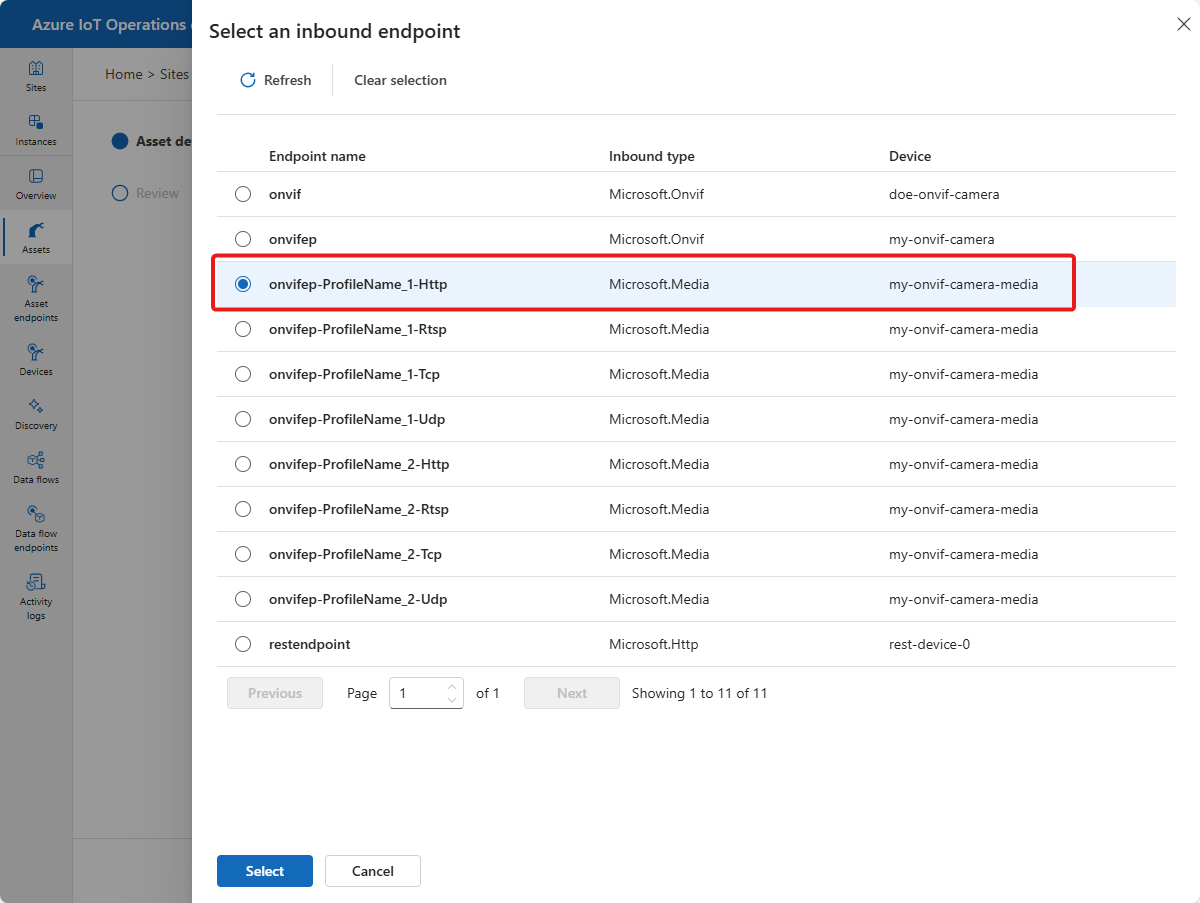
Update any custom properties for the media asset and then select Next.
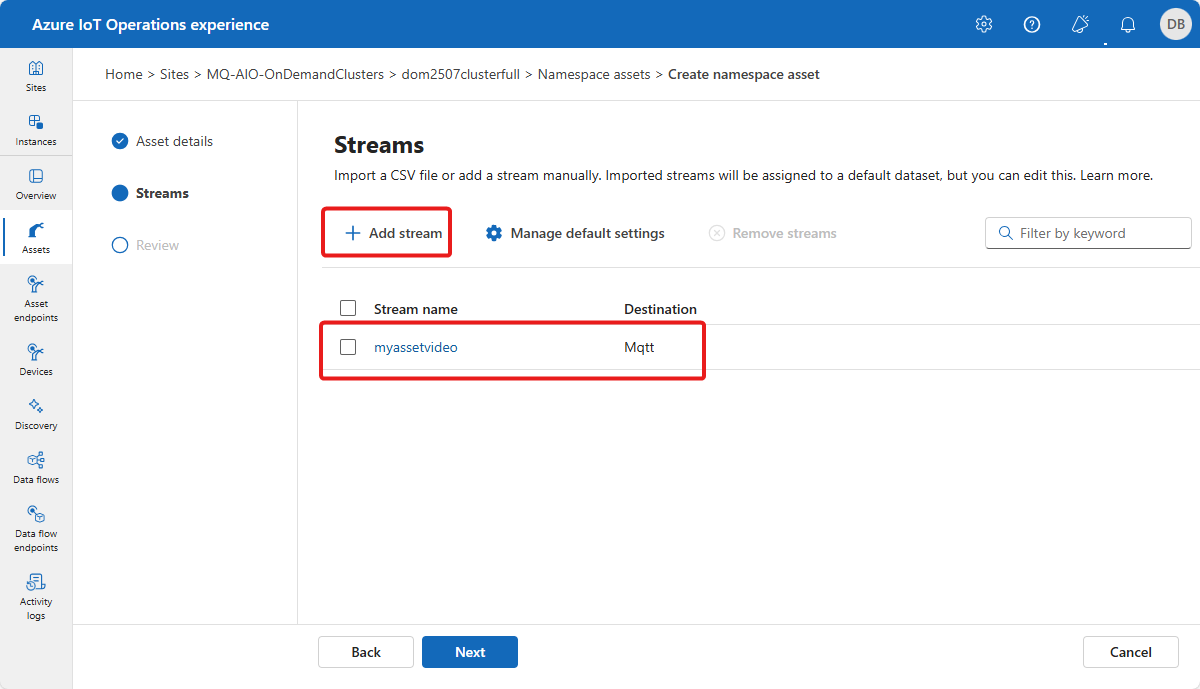
On the Streams page, select Add stream. Use the following settings to configure the stream:
- Stream name:
myassetvideo - Destination:
MQTT - Topic:
myassetvideo - Task type
- Stream type:
snapshot-to-mqtt
Leave the other settings as default. Then select Add. The stream is added to the asset configuration:
- Stream name:
Select Next to go to the Summary page. Review the details of the asset, and then select Create to create the asset. After a few minutes, the Assets page shows the new asset.
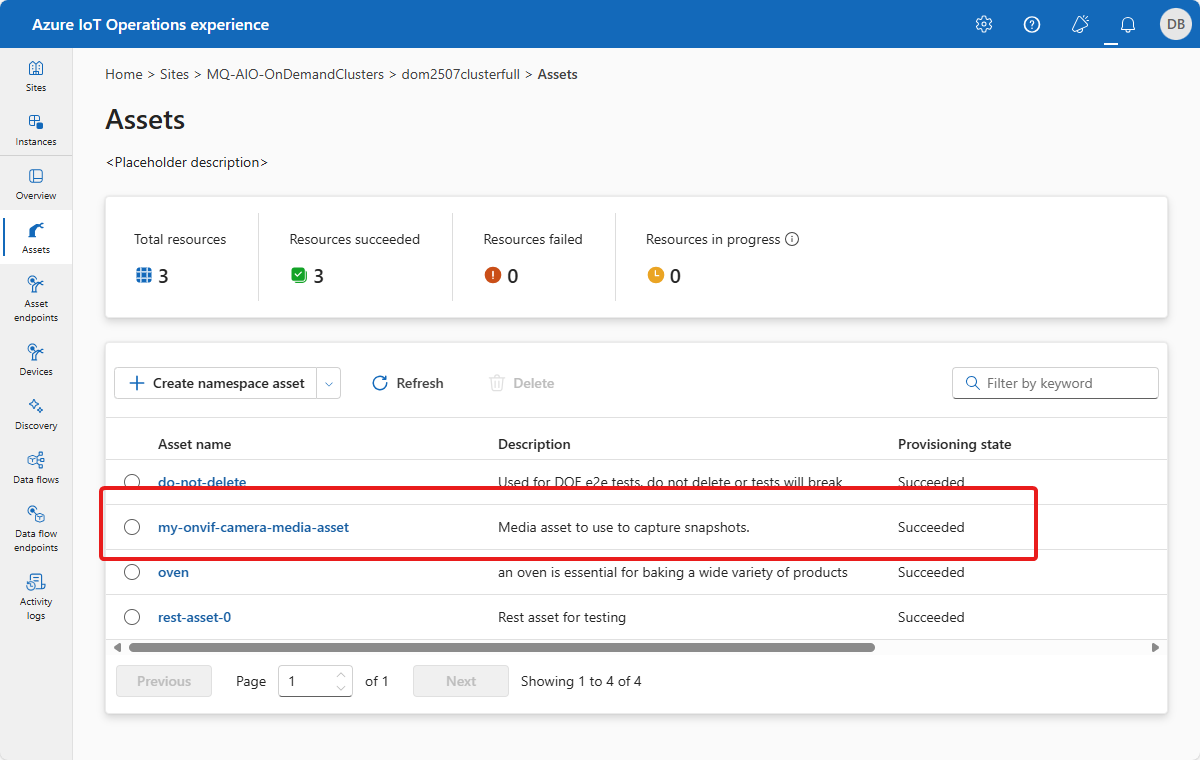


The media asset is now configured to capture snapshots from the ONVIF compliant camera and publish them to the MQTT broker.
Create an ONVIF asset for event management and control
ONVIF compliant cameras can generate events such as motion detection and respond to control commands such as pan, tilt, and zoom. You can create an ONVIF asset from the discovered ONVIF device that captures these events and enables you to control the camera.
After you add an ONVIF device in the operations experience, a discovered ONVIF asset is created automatically:

To create an ONVIF asset for event management and control:
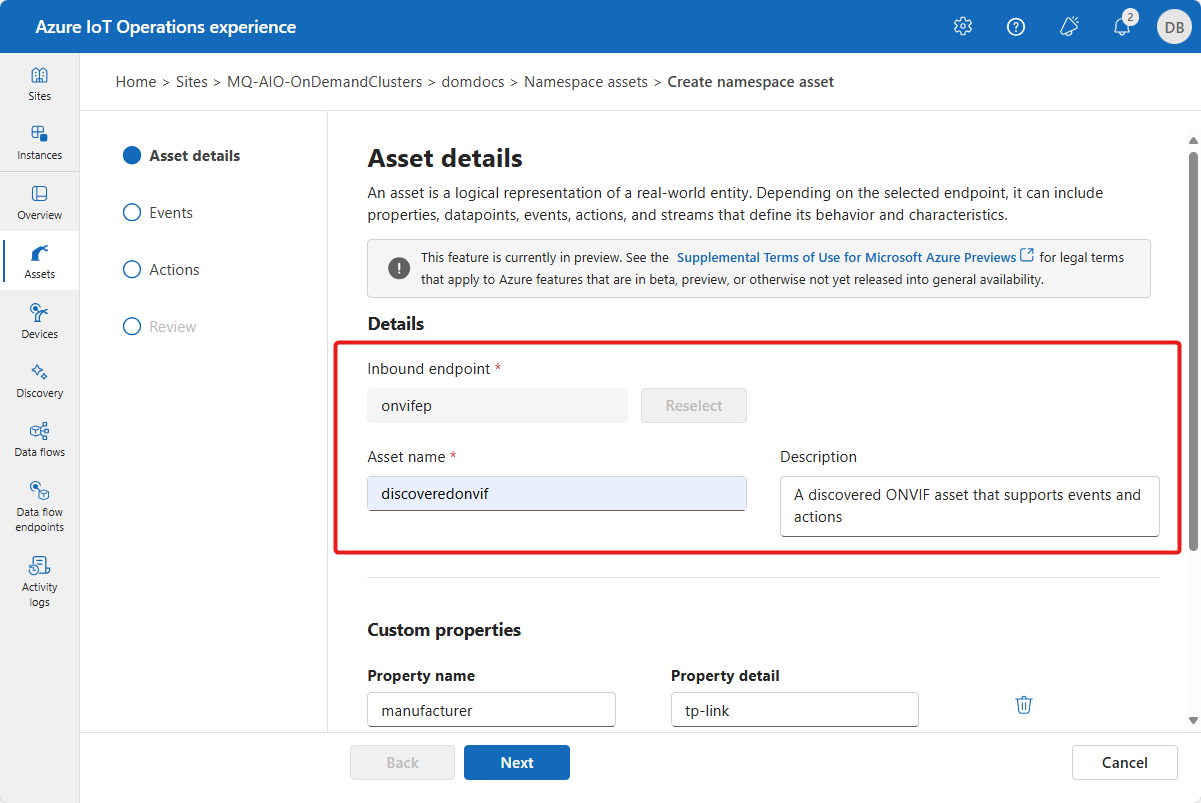
Select the discovered asset and then select Import and create asset.
On the Asset details page, enter a name and description for the asset. The device inbound endpoint is already selected for you.
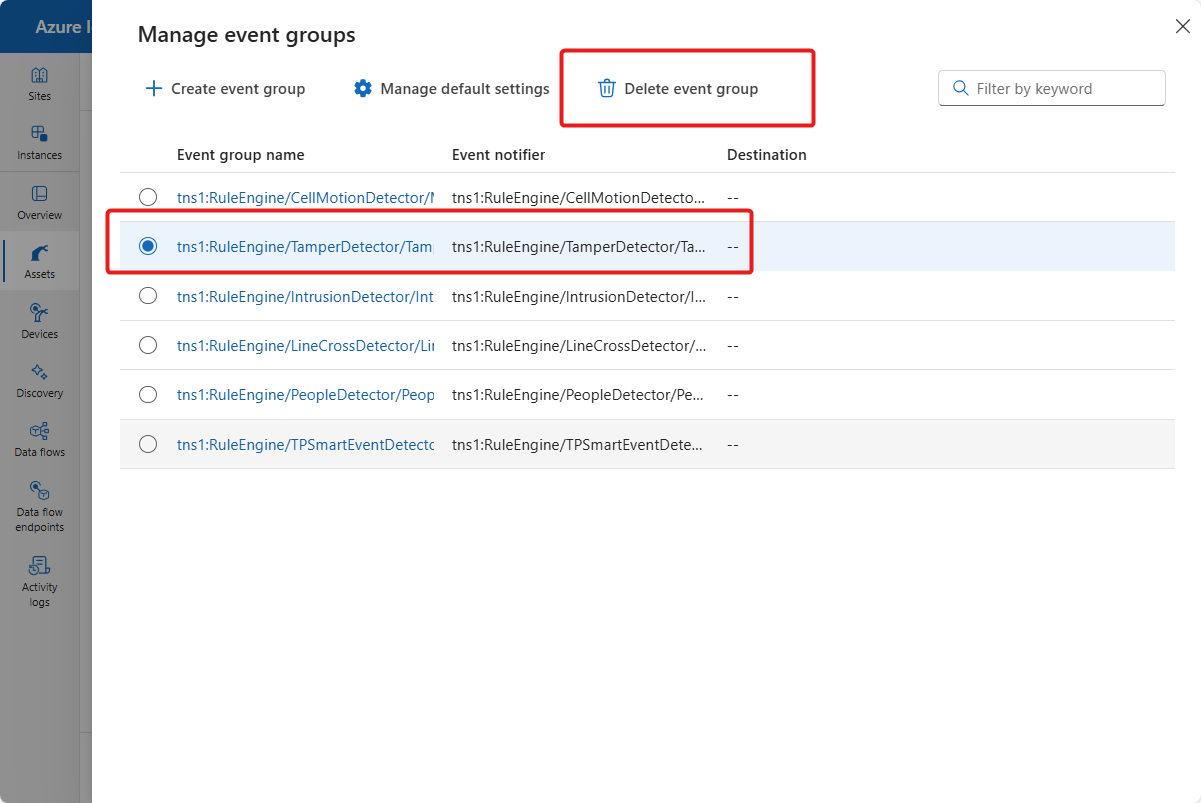
On the Events page, select Manage event groups to choose the types of event to capture from the camera. You can choose from event groups such as motion detection and camera tampering:
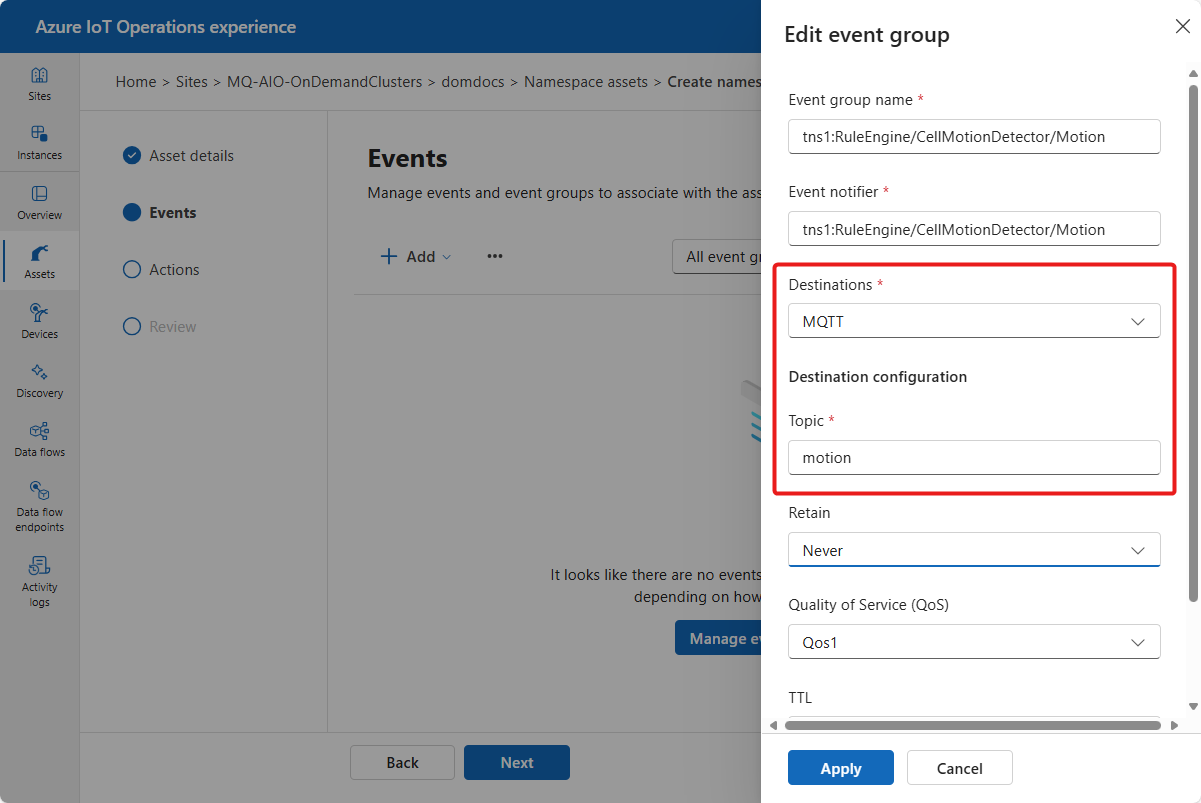
For each event group you keep, configure the MQTT topic it publishes to:
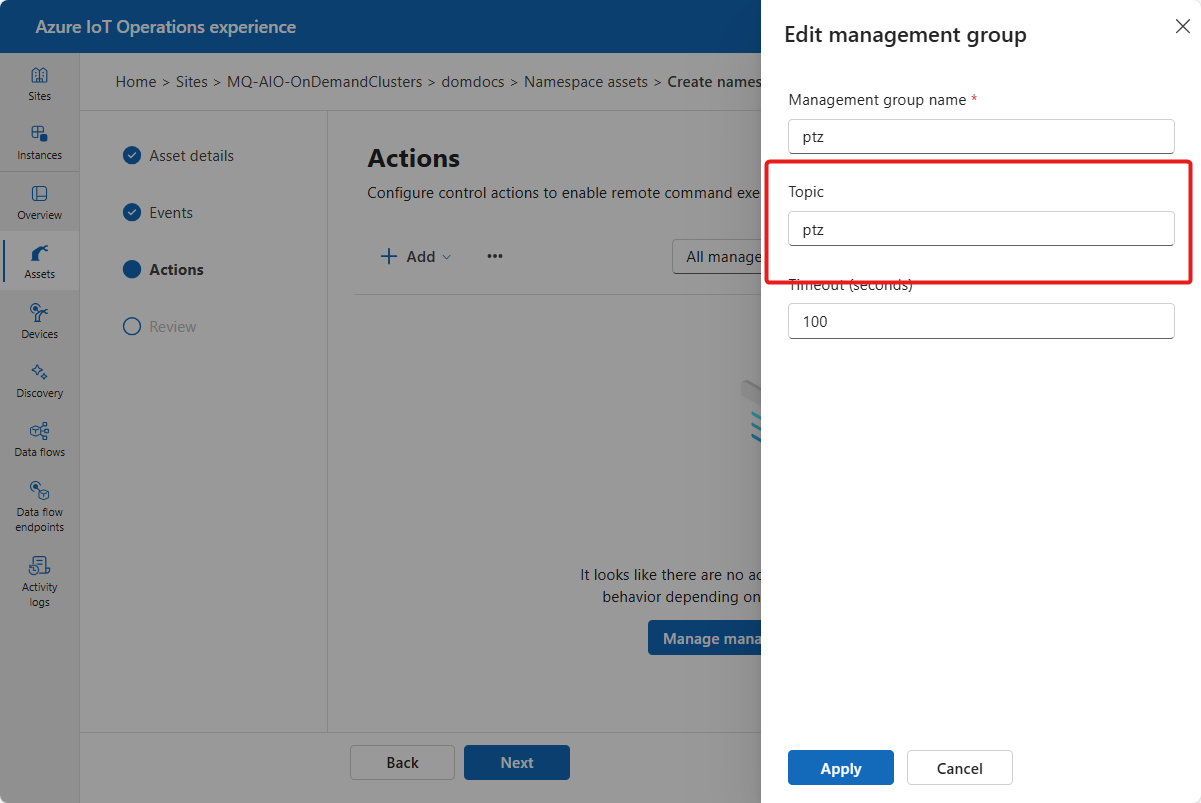
On the Actions page, select Manage management groups to choose the actions, such as pan, tilt, and zoom, that you want to use to control the ONVIF camera.
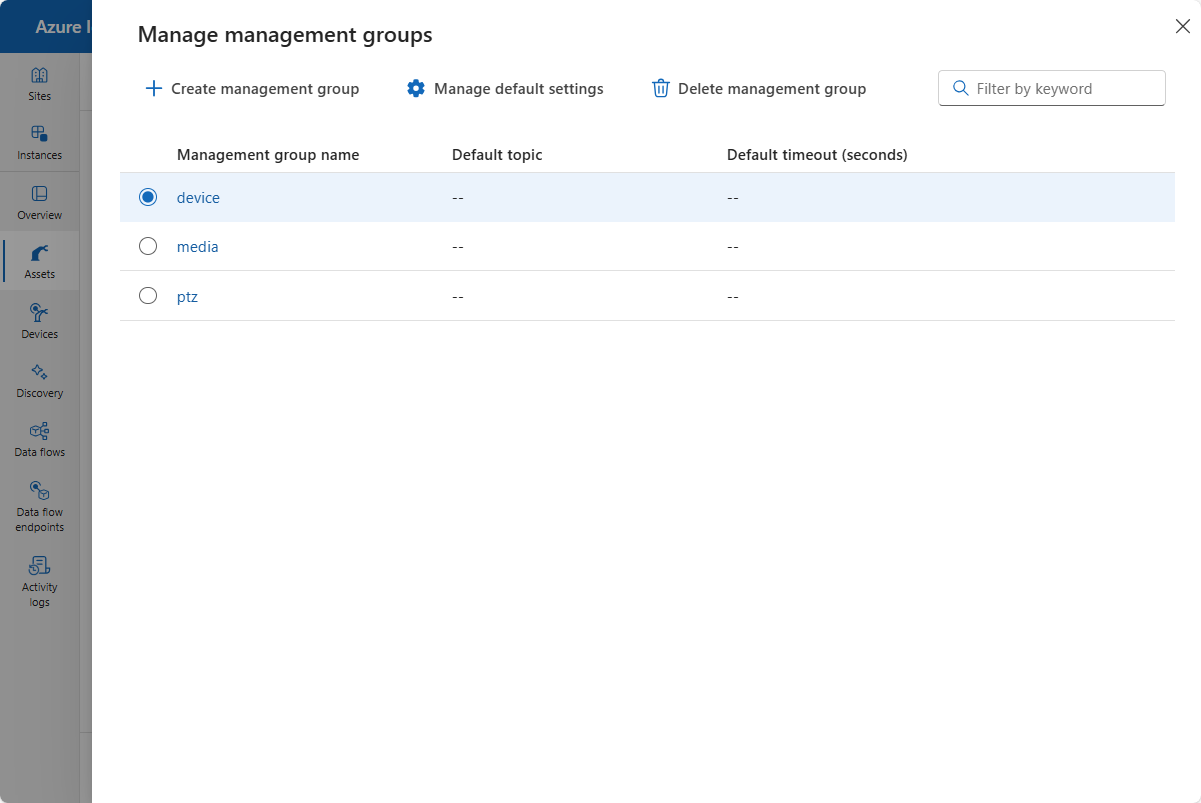
For each management group you keep, configure the MQTT topic it subscribes to:
Review the summary of the ONVIF asset configuration and then select Create to create the asset. After a few minutes, the Assets page shows the new asset.


Manage and control the camera
To interact with the ONVIF camera, you can publish MQTT messages that the connector for ONVIF subscribes to. The message format is based on the ONVIF network interface specifications.
The Azure IoT Operations connector for ONVIF PTZ Demo sample application shows how to use the connector for ONVIF to:
- Use the media asset definition to retrieve a profile token from the camera's media service.
- Use the profile token when you use the camera's PTZ capabilities control its position and orientation.
The sample application uses the Azure IoT Operations MQTT broker to send commands to interact with the connector for ONVIF. To learn more, see Publish and subscribe MQTT messages using MQTT broker.