Note
Access to this page requires authorization. You can try signing in or changing directories.
Access to this page requires authorization. You can try changing directories.
The FHIR® service supports the $import operation specified by HL7 for importing FHIR data from a FHIR server. In the FHIR service implementation, when you call the $import endpoint, the FHIR service imports data into a preconfigured Azure storage account. The storage account must be a Blob or Azure Data Lake Storage Gen2 (ADLS Gen2) account.
This article describes how to configure import settings for the FHIR service and give the FHIR service permission to access your storage account. If your FHIR service is outside the network boundary of your storage account, you can configure access by allowing the FHIR service as a Microsoft trusted service or by allowing specific IP addresses to access the storage account. For more information, see Secure the FHIR service $import operation.
Prerequisites
- A FHIR service. To create one, see Deploy the FHIR service.
- An Azure Blob or Azure Data Lake Storage Gen2 (ADLS Gen2) account.
- You need to have the FHIR Data importer role application role. To learn more about application roles, see Authentication and Authorization for FHIR service.
Step 1:Enable a managed identity on the FHIR service for import
First, enable a system-assigned managed identity on the service. Use this identity to grant the FHIR service access to the storage account. For more information about managed identities in Azure, see About managed identities for Azure resources.
To enable a managed identity on the FHIR service:
- In the Azure portal, browse to your FHIR service.
- On the left menu, select Identity.
- In the System assigned tab, set the Status option to On, and then select Save.
- When the Yes and No buttons display, select Yes to enable the managed identity for the FHIR service. After you enable the system identity, you see an Object (principal) ID value for your FHIR service.

Step 2: Assign storage permissions to the FHIR service
Use the following steps to assign permissions to access the storage account.
In the storage account, browse to Access Control (IAM).
Select Add role assignment. If the option for adding a role assignment is unavailable, ask your Azure administrator to assign you permission to perform this step.
For more information about assigning roles in the Azure portal, see Azure built-in roles.
Add the Storage Blob Data Contributor role to the FHIR service.
Select Save.

Now you're ready to select the storage account for import.
Step 3: Set the import configuration for the FHIR service
You can set the import configuration for the FHIR service through the import settings in the Azure portal, or by using an Azure Resource Manager template (ARM template), or a REST API.
Note
If you don't assign storage access permissions to the FHIR service, the import operation fails.
To set the import configuration through the portal:
- In the Azure portal, browse to your FHIR service.
- On the left menu, select Import.
- Enter the required information, such as the storage account name, and select the import mode. The import mode can be either initial or incremental. For more information about the two import modes, see Import FHIR data.
- Select Save to retain the settings.


Secure the FHIR service import operation
To securely import data from the FHIR service outside the network boundary of your storage account, use one of the following options:
- Enable the FHIR service as a trusted Microsoft service.
- Allow specific IP addresses associated with the FHIR service to access the storage account from other Azure regions.
- Allow specific IP addresses associated with the FHIR service to access the storage account in the same region as the FHIR service.
Enable the FHIR service as a trusted Microsoft service
To enable the FHIR workspace as a trusted Microsoft service, follow these steps:
Ensure that your storage account public network access scope is enabled for selected networks.
In the Azure portal, go to your Blob or Data Lake Storage Gen2 account.
On the left menu, select Security + Networking > Networking.
On the Public access tab under Public network access, select Manage.
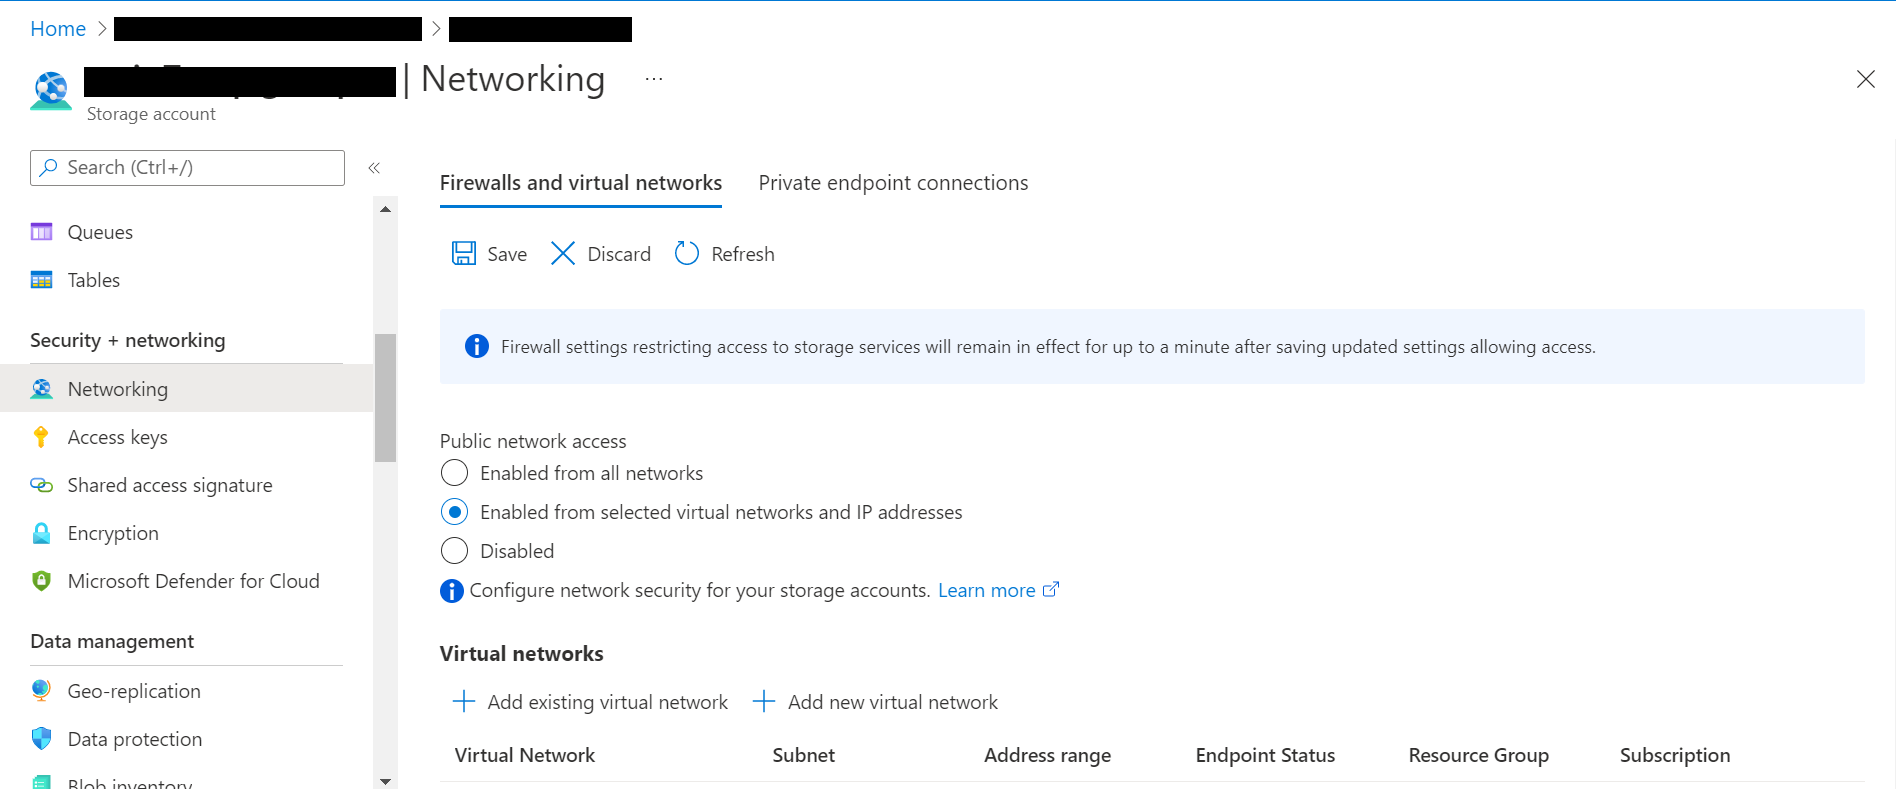
Select Enable from selected networks.
In the Resource type dropdown list, select Microsoft.HealthcareApis/workspaces. In the Instance name dropdown list, select your workspace.
In the Exceptions section, select the Allow trusted Microsoft services to access this storage account checkbox.
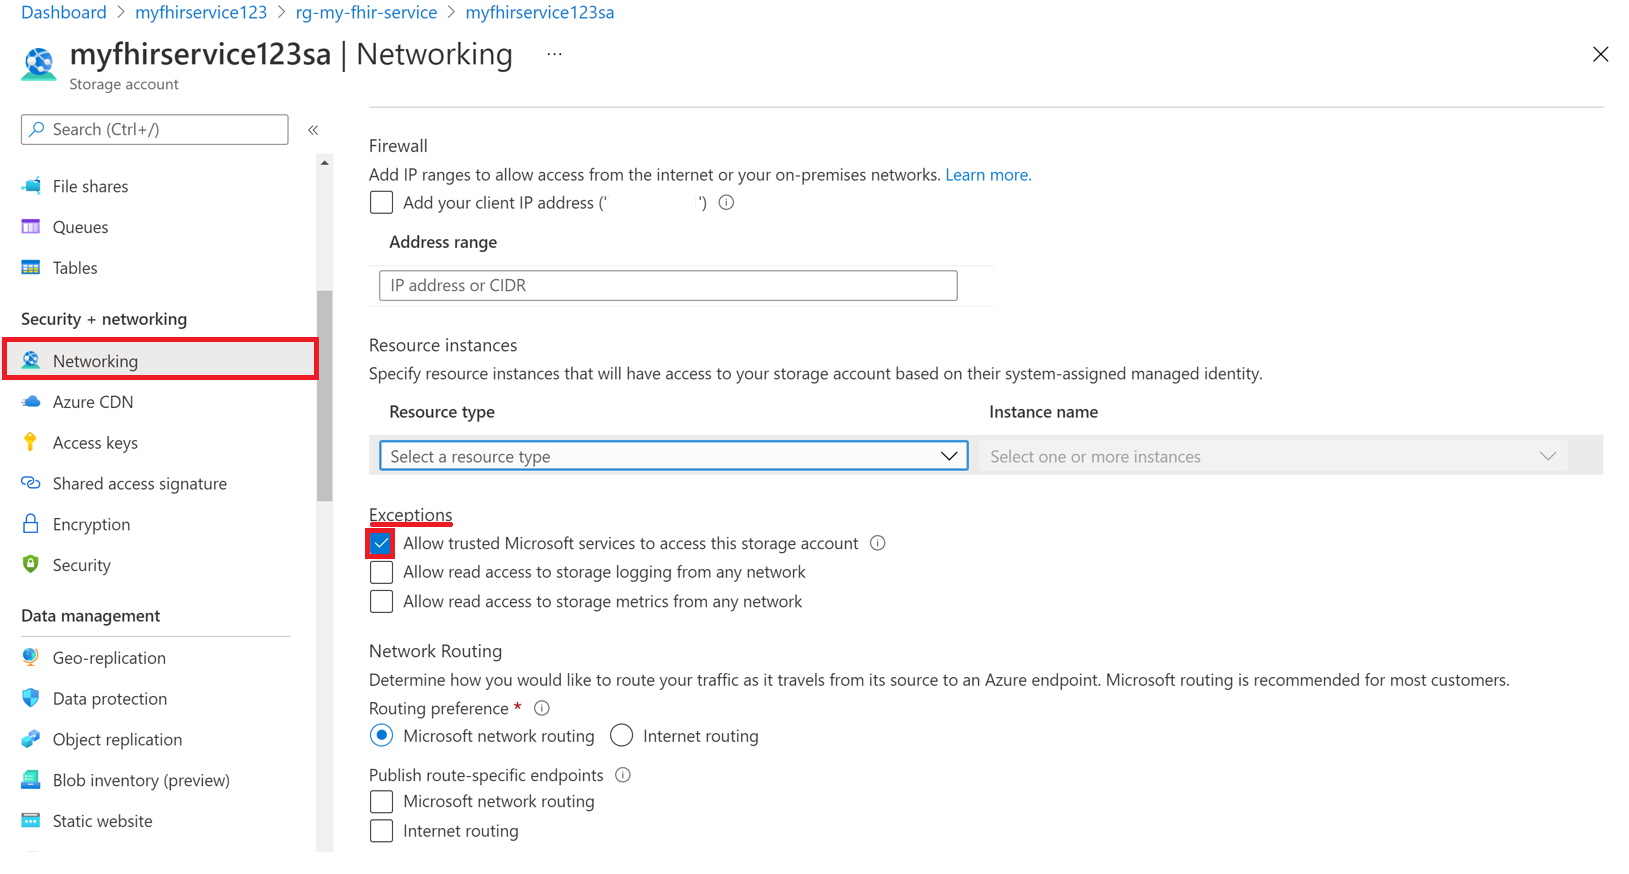
Select Save to retain the settings.


To enable the FHIR service as a trusted Microsoft service through PowerShell, use the following commands:
Run the following PowerShell command to install the
Az.StoragePowerShell module in your local environment. Use this module to configure your Azure storage accounts by using PowerShell.Install-Module Az.Storage -Repository PsGallery -AllowClobber -ForceUse the following PowerShell command to set the selected FHIR service instance as a trusted resource for the storage account. Make sure that all listed parameters are defined in your PowerShell environment.
You need to run the
Add-AzStorageAccountNetworkRulecommand as an administrator in your local environment. For more information, see Configure Azure Storage firewalls and virtual networks.$subscription="xxx" $tenantId = "xxx" $resourceGroupName = "xxx" $storageaccountName = "xxx" $workspacename="xxx" $fhirname="xxx" $resourceId = "/subscriptions/$subscription/resourceGroups/$resourceGroupName/providers/Microsoft.HealthcareApis/workspaces/$workspacename/fhirservices/$fhirname" Add-AzStorageAccountNetworkRule -ResourceGroupName $resourceGroupName -Name $storageaccountName -TenantId $tenantId -ResourceId $resourceId
You're now ready to securely import FHIR data from the storage account. The storage account is on selected networks and isn't publicly accessible. To securely access the files, use private endpoints for the storage account.
Allow specific IP addresses to access the Azure storage account from other Azure regions
- In the Azure portal, go to the storage account.
- On the left menu, select Security + Networking > Networking.
- On the Public access tab under Public network access, select Manage.
- Select Enabled from selected networks.
- Enter the IP addresses in the IPv4 Addresses section.

The following table lists the public IP addresses for the FHIR service in different Azure regions. You can use these IP addresses to allow access to the storage account from the FHIR service in other regions.
| Azure region | Public IP address |
|---|---|
| Australia East | 20.53.44.80 |
| Canada Central | 20.48.192.84 |
| Central US | 52.182.208.31 |
| East US | 20.62.128.148 |
| East US 2 | 20.49.102.228 |
| East US 2 EUAP | 20.39.26.254 |
| Germany North | 51.116.51.33 |
| Germany West Central | 51.116.146.216 |
| Japan East | 20.191.160.26 |
| Korea Central | 20.41.69.51 |
| North Central US | 20.49.114.188 |
| North Europe | 52.146.131.52 |
| South Africa North | 102.133.220.197 |
| South Central US | 13.73.254.220 |
| Southeast Asia | 23.98.108.42 |
| Switzerland North | 51.107.60.95 |
| UK South | 51.104.30.170 |
| UK West | 51.137.164.94 |
| West Central US | 52.150.156.44 |
| West Europe | 20.61.98.66 |
| West US 2 | 40.64.135.77 |
Allow specific IP addresses to access the Azure storage account in the same region
The configuration process for IP addresses in the same region is just like the previous procedure, except that you use a specific IP address range in Classless Inter-Domain Routing (CIDR) format (for example, 100.64.0.0/10). You must specify the IP address range (100.64.0.0 to 100.127.255.255) because the FHIR service allocates an IP address each time you make an operation request.
Note
You can use a private IP address within the range of 10.0.2.0/24, but there's no guarantee that the operation succeeds. If the operation request fails, you can retry. However, the request doesn't succeed until you use an IP address within the range of 100.64.0.0/10.
This network behavior for IP address ranges is by design. The alternative is to configure the storage account in a different region.
Next steps
Note
FHIR® is a registered trademark of HL7 and is used with the permission of HL7.