Note
Access to this page requires authorization. You can try signing in or changing directories.
Access to this page requires authorization. You can try changing directories.
Configure Azure DNS to host custom domains for your web apps and enable users to access them via personalized domain names. You can create Azure DNS records that allow users to access your web app using either www.contoso.com or contoso.com as a fully qualified domain name (FQDN).
To add a custom domain to your web app, you have to create three records:
- A root
Arecord pointing to contoso.com - A root
TXTrecord for verification - A
CNAMErecord for the www name that points to the A record
In this tutorial, you learn how to:
- Create an A and TXT record for your custom domain
- Create a CNAME record for your custom domain
- Test the new records
- Add custom host names to your web app
- Test the custom host names
If you don’t have an Azure subscription, create a free account before you begin.
Prerequisites
A domain name that you can host in Azure DNS. You must have full control of this domain. Full control includes the ability to set the name server (NS) records for the domain.
A web app. If you don't have one, you can create a web app for this tutorial.
An Azure DNS zone with delegation in your registrar to Azure DNS. If you don't have one, you can create a DNS zone, then delegate your domain to Azure DNS.
Note
In this tutorial, contoso.com is used as an example domain name. Replace contoso.com with your own domain name.
- An Azure account with an active subscription. Create an account for free.

Create the A record
An A record is used to map a name to its IP address. In the following example, assign "@" as an A record using your web app IPv4 address. @ typically represents the root domain.
Get the IPv4 address of your web app
Sign in to the Azure portal.
In the search box at the top of the portal, enter App Services, and select it from the results.
Select your web app from the list.
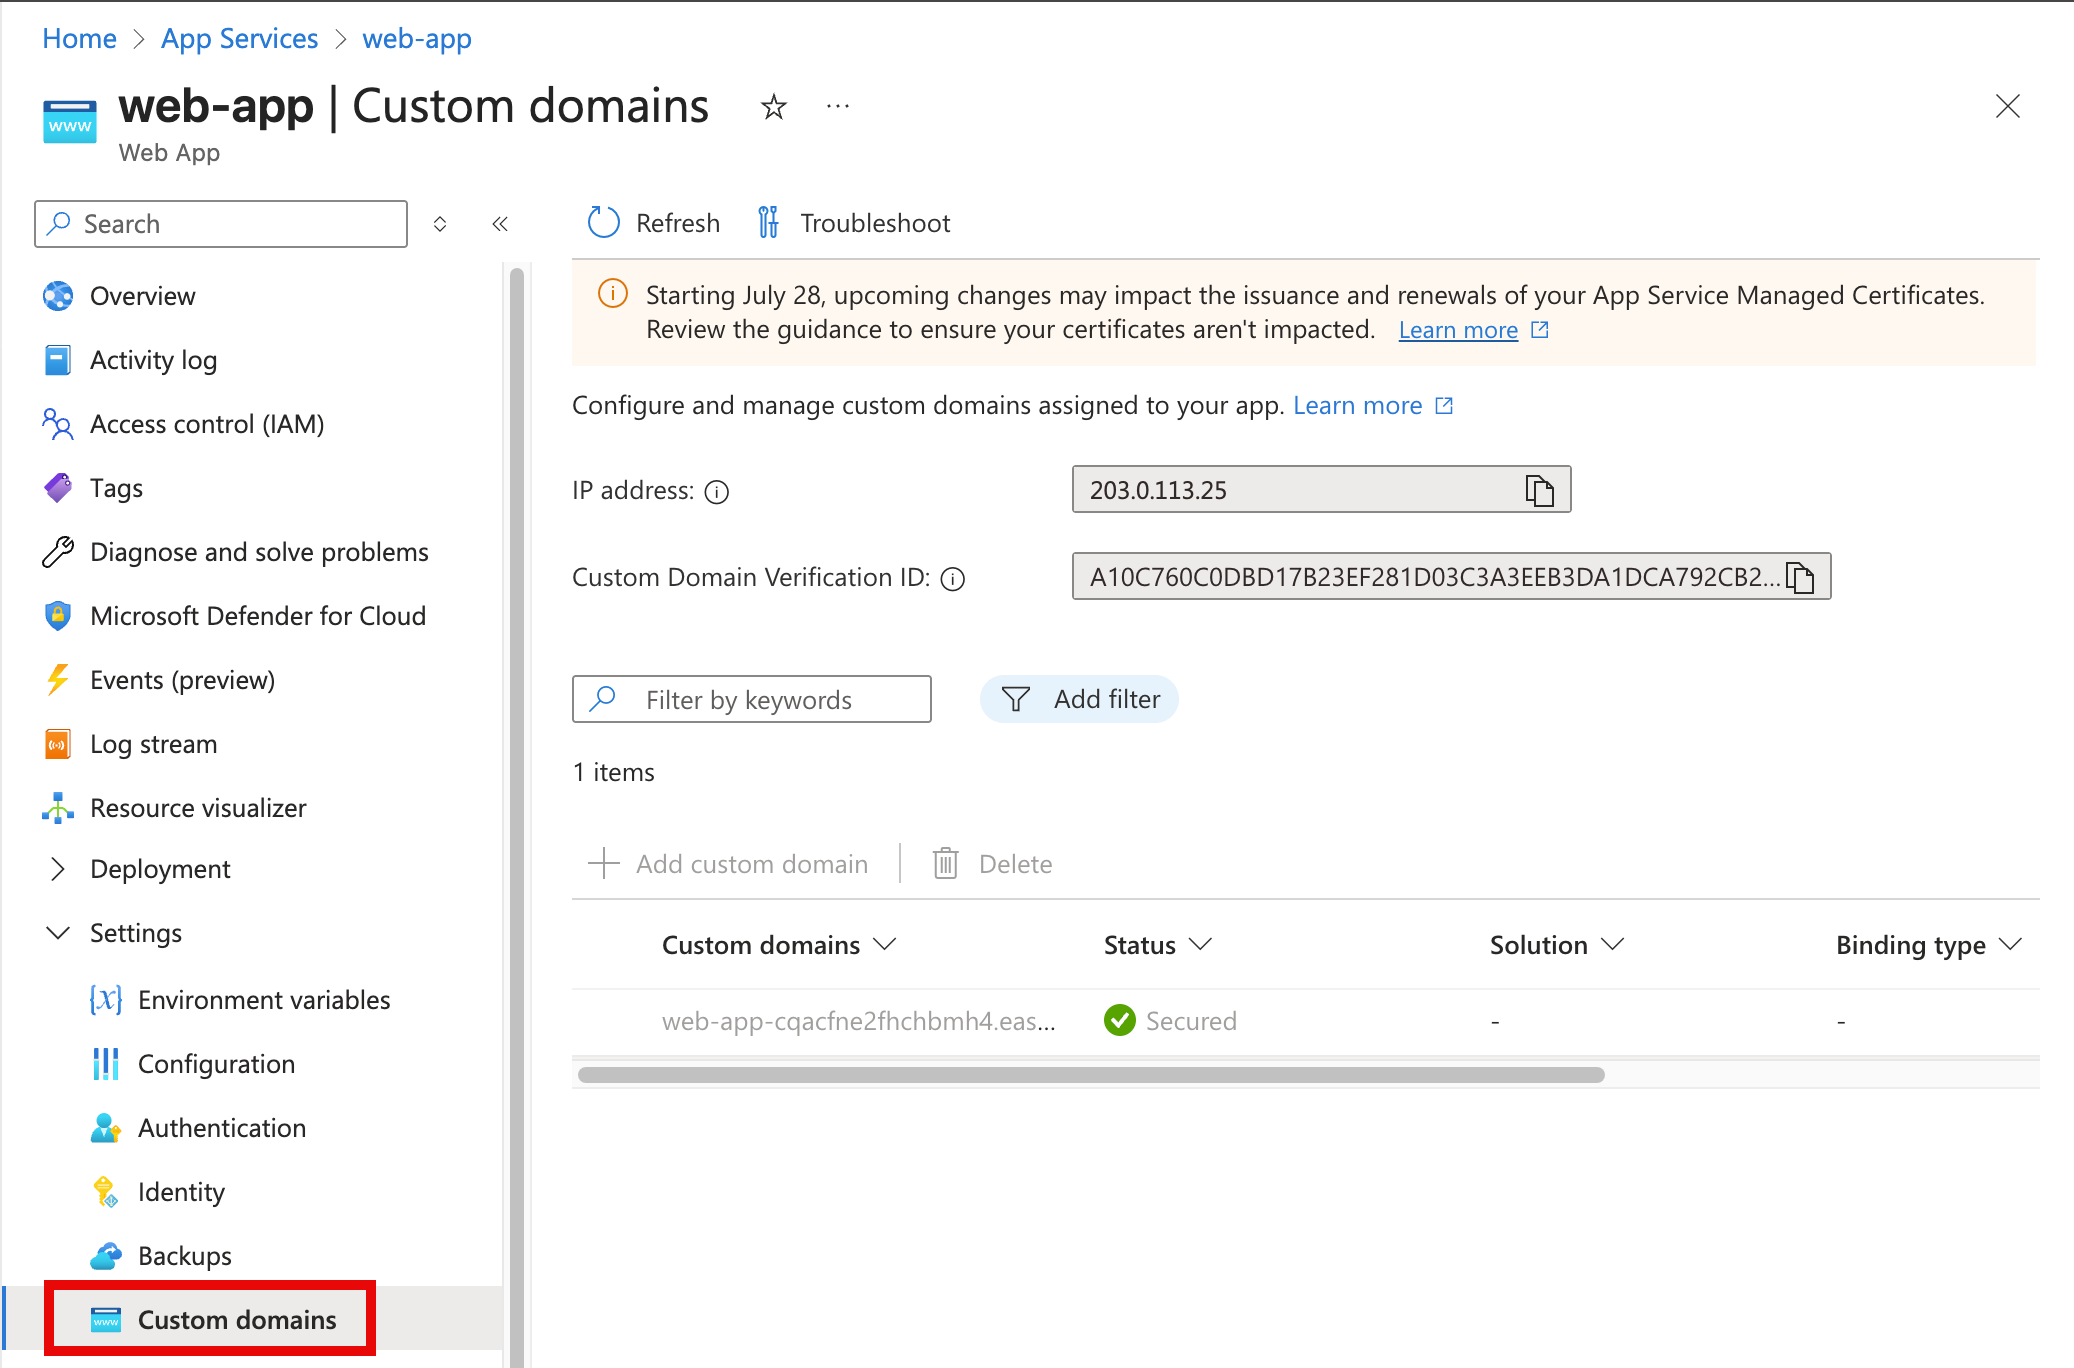
In the left navigation of the App Services page in the Azure portal, expand Settings, then select Custom domains, then copy the IP address of your web app:
Create the A record
In the search box at the top of the portal, enter DNS zones, and select it from the results.
Select your DNS zone from the list.
Select + Record sets at the top of the Overview page of your DNS zone.
Select + Add.
On the Add record set page, enter the following information:
Setting Value Name @ (represents the root domain) Type A TTL 600 TTL unit Seconds IP address Enter the IP address of your web app (copied from the previous step) Select Add to create the record.
Important
The A record must be manually updated if the underlying IP address for the web app changes.
Create the TXT record
App Services uses this record only at configuration time to verify that you own the custom domain. You can delete this TXT record after your custom domain is validated and configured in App Service.
Note
If you want to verify the domain name, but not route production traffic to the web app, you only need to specify the TXT record for the verification step. Verification doesn't require an A or CNAME record in addition to the TXT record.
In the search box at the top of the portal, enter DNS zones, and select it from the results.
Select your DNS zone from the list.
Select + Record sets at the top of the Overview page of your DNS zone.
Select + Add.
On the Add record set page, enter the following information:
Setting Value Name @ (represents the root domain) Type TXT TTL 600 TTL unit Seconds Value Enter your web app's default domain name (for example, contoso.azurewebsites.net) Select Add to create the record.
Create the CNAME record
You can create a CNAME record for contoso.azurewebsites.net if Azure DNS already manages your domain (see DNS domain delegation). This example creates a CNAME record with a "time to live" of 600 seconds in the DNS zone named "contoso.com" and sets the alias to contoso.azurewebsites.net.
In the search box at the top of the portal, enter DNS zones, and select it from the results.
Select your DNS zone from the list.
Select + Record sets at the top of the Overview page of your DNS zone.
Select + Add.
On the Add record set page, enter the following information:
Setting Value Name www Type CNAME TTL 600 TTL unit Seconds Alias Enter your web app's default domain name (for example, contoso.azurewebsites.net) Select Add to create the record.
Test the new records
You can validate that you created the records correctly by querying "www.contoso.com" and "contoso.com" using nslookup, as shown in the following example:
PS C:\> nslookup
Default Server:  Default
Address:  192.168.0.1

> www.contoso.com
Server:  default server
Address:  192.168.0.1

Non-authoritative answer:
Name:    <instance of web app service>.cloudapp.net
Address:  <ip of web app service>
Aliases:  www.contoso.com
contoso.azurewebsites.net
<instance of web app service>.vip.azurewebsites.windows.net

> contoso.com
Server:  default server
Address:  192.168.0.1

Non-authoritative answer:
Name:    contoso.com
Address:  <ip of web app service>

> set type=txt
> contoso.com

Server:  default server
Address:  192.168.0.1

Non-authoritative answer:
contoso.com text =

        "contoso.azurewebsites.net"
Add custom host names
Add the custom host names to your web app:
In the search box at the top of the portal, enter App Services, and select it from the results.
Select your web app from the list.
Expand Settings in the left navigation, then select Custom domains.
Select + Add custom domain.
In + Add custom domain dialog, enter the following information:
Setting Value Domain provider Select All other services TLS/SSL certificate Select None (you can add an TLS/SSL certificate later) TLS/SSL type Select SNI SSL Domain Enter your domain name (for example, contoso.com) The domain validation sees the records you created in the previous steps.
Select Validate. Azure validates that the DNS records you created are properly configured.
Select Add.
The domain you added is now listed in the Custom domains section.
Repeat steps 3-8 for each custom domain you want to add (both contoso.com and
www.contoso.com).
Test the custom host names
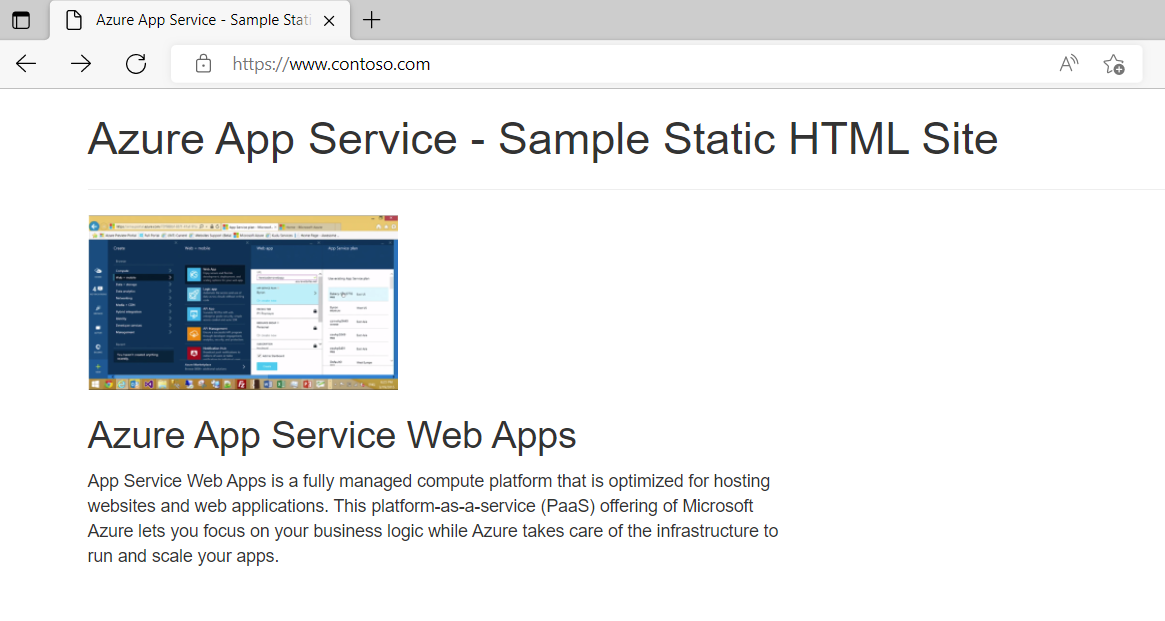
Open a browser and browse to http://www.<your domain name> and http://<your domain name>.
Note
Make sure you include the http:// prefix. Your browser might attempt to predict a URL for you.
You should see the same page for both URLs. For example:
Next steps
In this tutorial, you learned how to create DNS records in a custom domain for a web app. To learn how to create alias records to reference zone records, continue with the next tutorial: