Note
Access to this page requires authorization. You can try signing in or changing directories.
Access to this page requires authorization. You can try changing directories.
Azure DevOps Services
To use the Azure DevOps CLI in a hosted agent using a Release Pipeline, do the following steps:
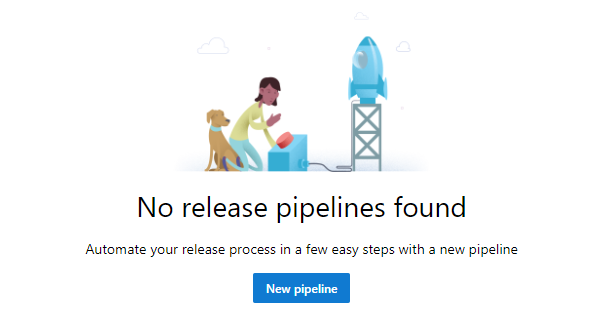
Create a release pipeline.
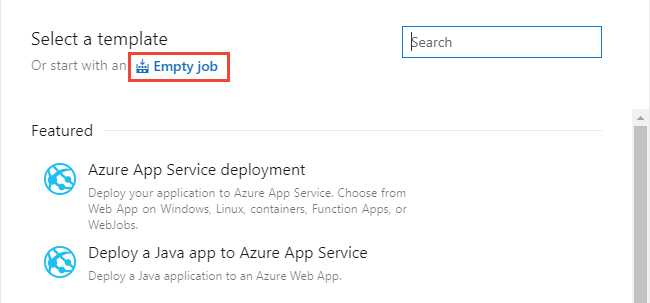
Select Empty job.
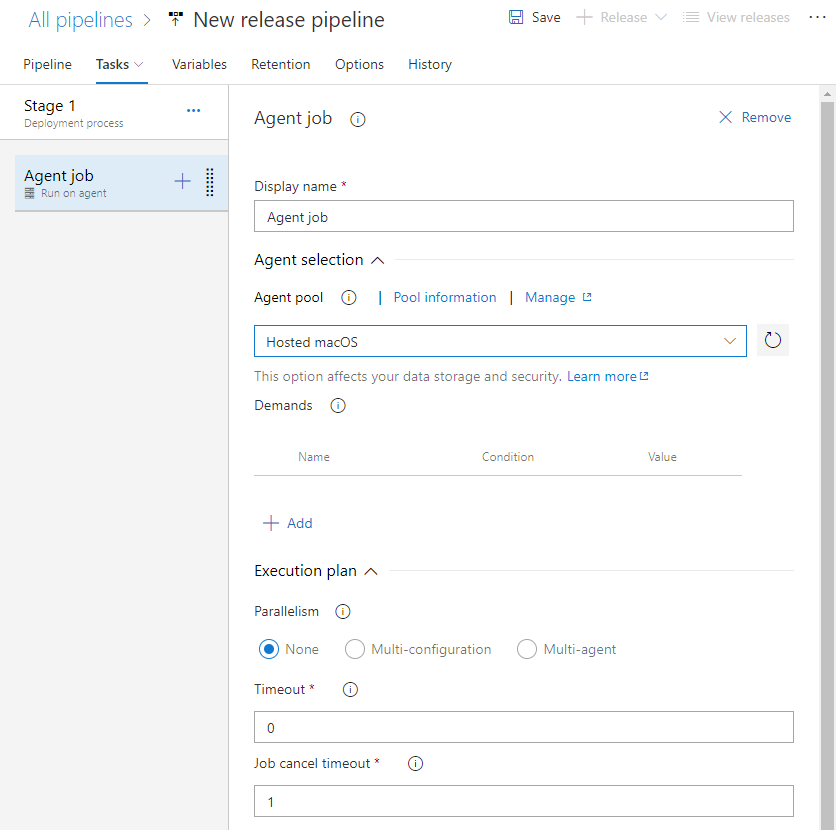
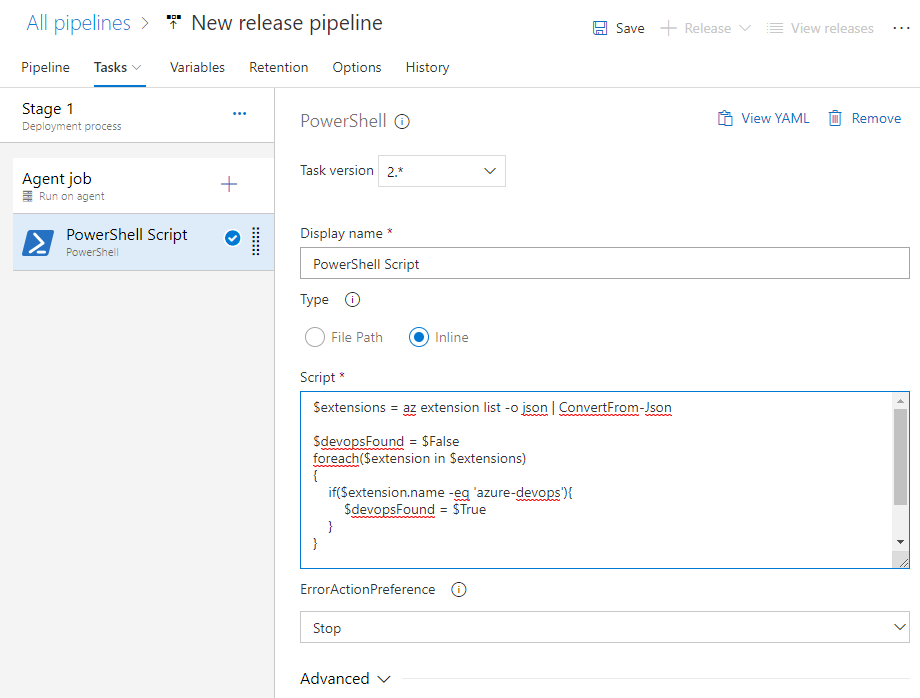
Select Stage 1 to configure the stage.

Select the Tasks page, and configure the job to use Hosted macOS in Agent Pools.
Select the
 plus icon to add another task and configure it as a PowerShell task. To filter the list, enter Power into the search box.
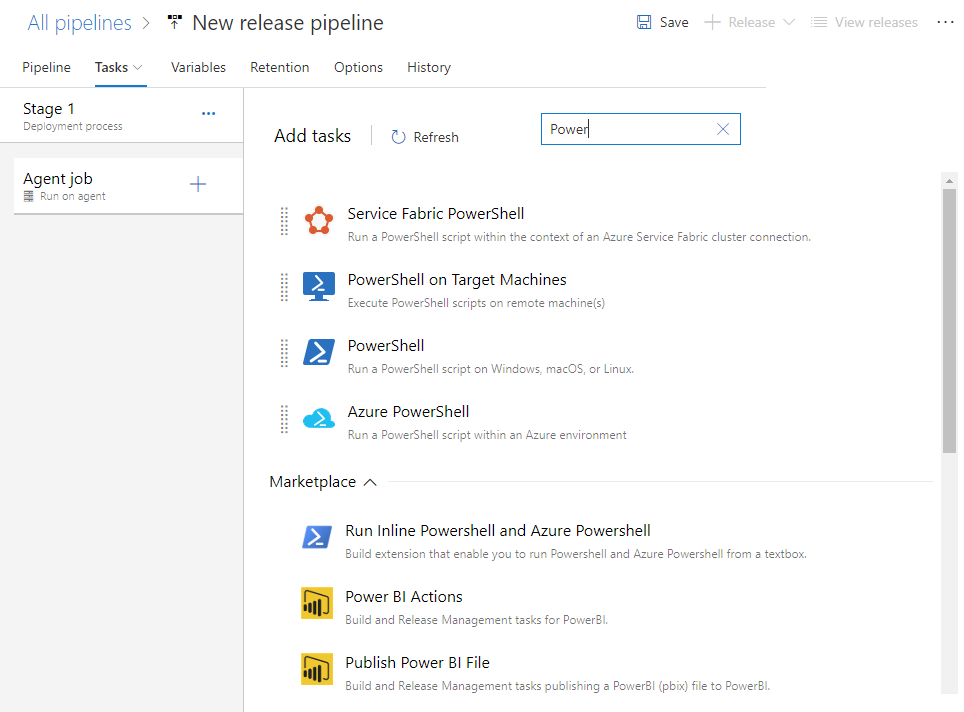
Add the script, either by using file or inline. For this example, the script is included inline.
There might be more configuration steps for your pipeline. When you finish all steps, select Save.


Here's the inline script for this example:
$extensions = az extension list -o json | ConvertFrom-Json

$devopsFound = $False
foreach($extension in $extensions)
{
    if($extension.name -eq 'azure-devops'){
        $devopsFound = $True
    }
}

if ($devopsFound -eq $False){
    az extension add -n azure-devops
}