Note
Access to this page requires authorization. You can try signing in or changing directories.
Access to this page requires authorization. You can try changing directories.
This quickstart shows you how to create and apply your own tasks when you use GitHub Copilot App Modernization for Java.
In code development, enterprises often have different processes and controls to adhere to their organizational policies and business needs. This area is where custom tasks come in. A custom task is generated by analyzing code commits from already-migrated code. The task then guides Copilot to remediate code, following the pattern established by the already-migrated code.
The following video demonstrates using GitHub Copilot App Modernization for Java to create and apply your own custom task to migrate a Java project to Azure:
Prerequisites
A GitHub account with GitHub Copilot enabled. A Pro, Pro+, Business, or Enterprise plan is required.
The latest version of Visual Studio Code. Must be version 1.101 or later.
The latest version of the GitHub Copilot extension in Visual Studio Code.
GitHub Copilot App Modernization extension pack. For install instructions, see Quickstart: assess and migrate a Java project using GitHub Copilot App Modernization for Java.
This extension pack bundles the following two extensions:
App Modernization doesn't require Java in your local environment. However, to build your project successfully, install the correct version of Java and Maven. We recommend the Microsoft Build of OpenJDK and Maven.
AppCAT. This tool is required for the app assessment feature.
Create a custom task
Use the following steps to create a custom task:
Clone the Java migration copilot samples repository.
In Visual Studio Code, open the rabbitmq-sender project folder in the samples repository. Then, check out the project to the source branch.
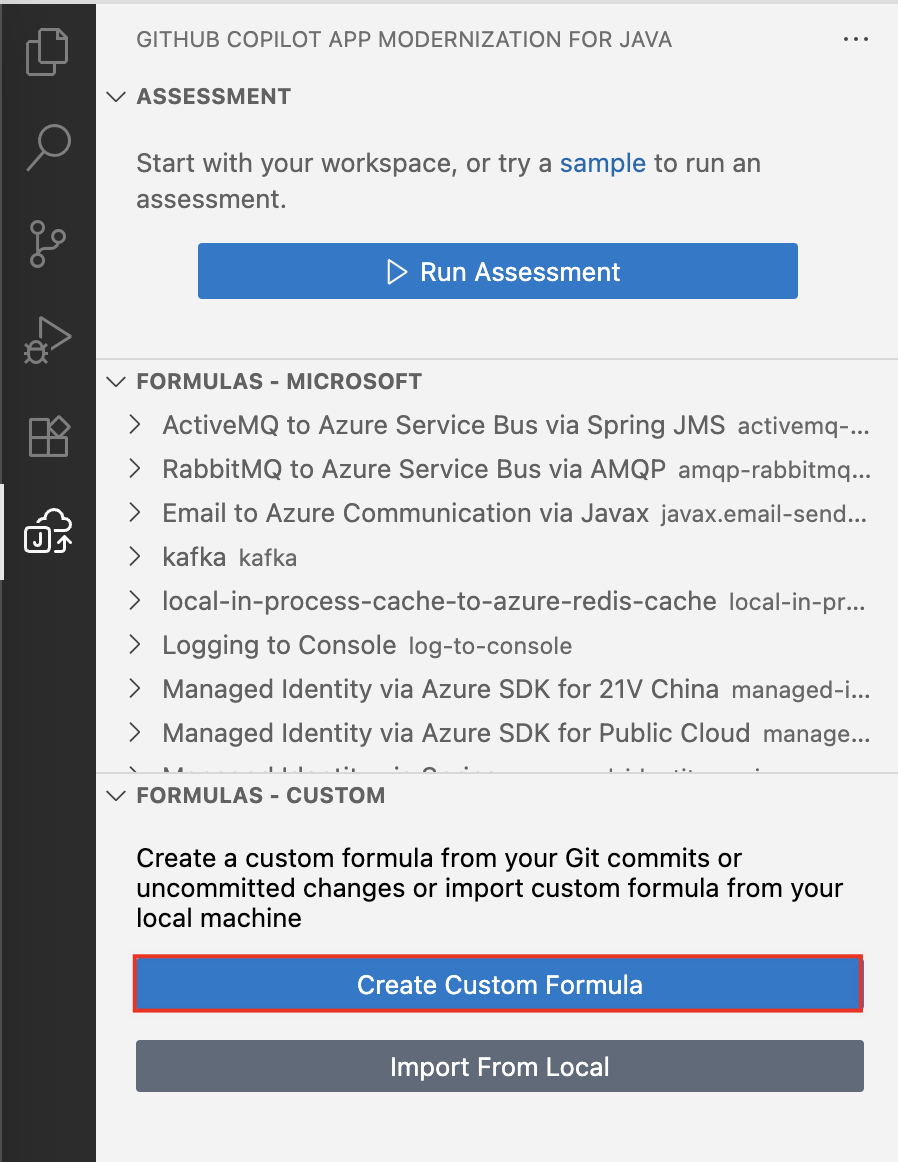
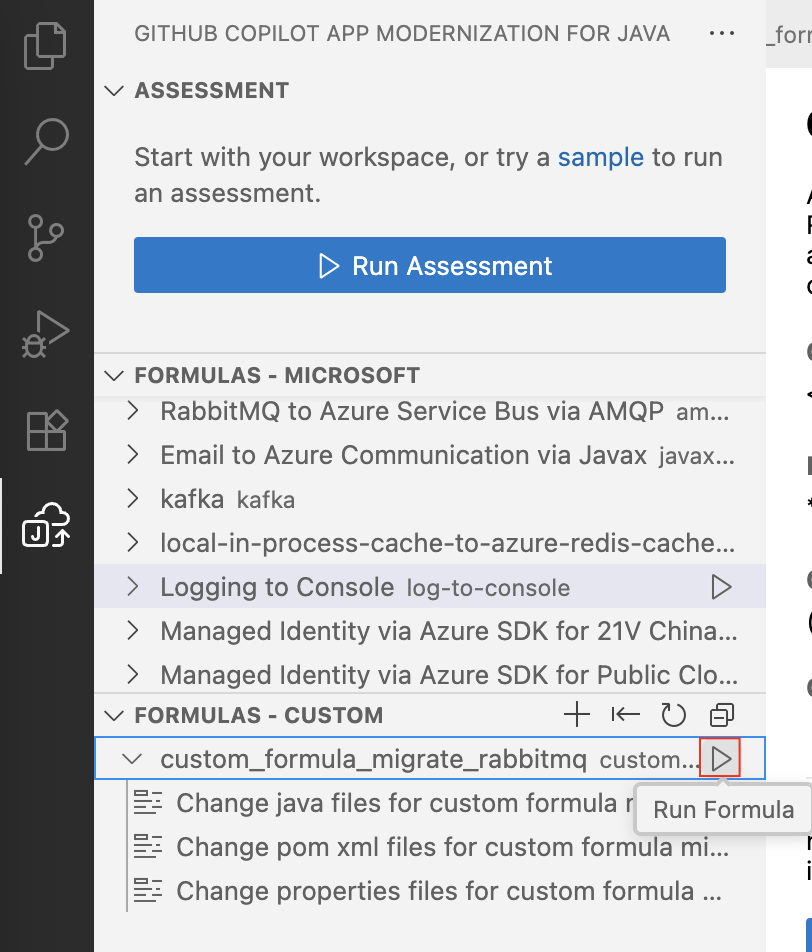
In the Activity sidebar, open the App Modernization for Java extension pane and then, in the Tasks - Custom section, select Create Custom Task.
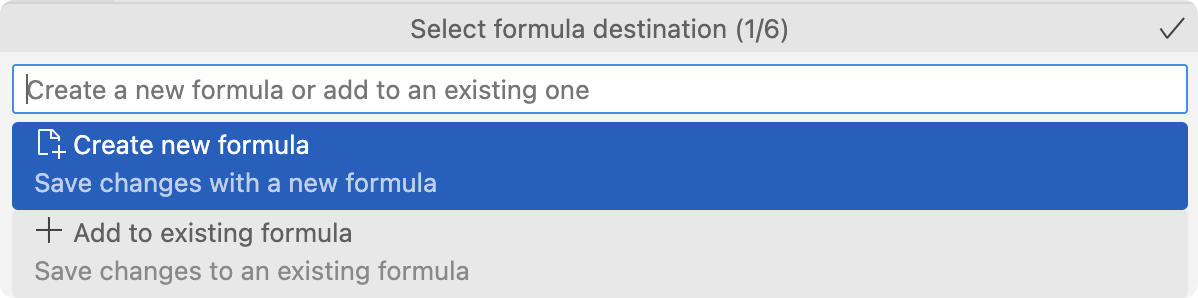
In the pop-up dialog box, select Create new task.
Type migrate rabbitmq to service bus to search for the commit that migrates RabbitMQ. Select the corresponding commit and then select OK.

Select any uncommitted changes from Working tree if they exist, then select OK.
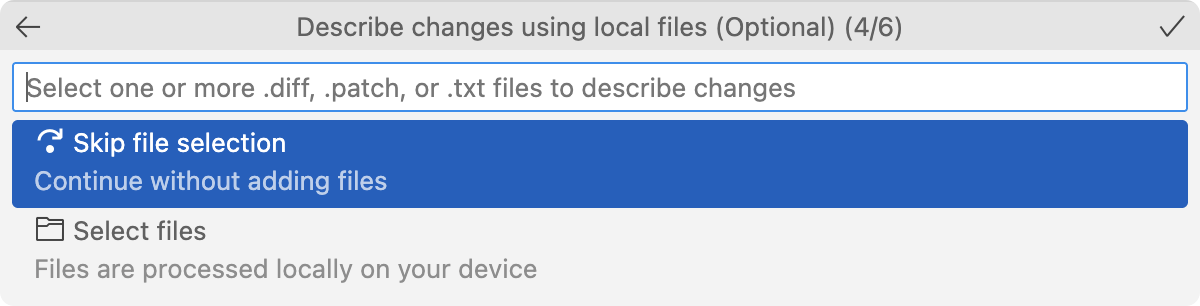
If you want to import the commits from a file, choose Select Files in the next pop-up dialog box. This option enables you to select files that contain the commit history you want to use for the custom task. Then select OK. The file you selected is processed locally.
A default task name is generated. Name it custom task migrate rabbitmq, then press Enter to confirm. A task description is generated. Press Enter to confirm.
Now, the custom task for migrating
rabbitmqis generated and shows in the Tasks - Custom section of the App Modernization for Java pane.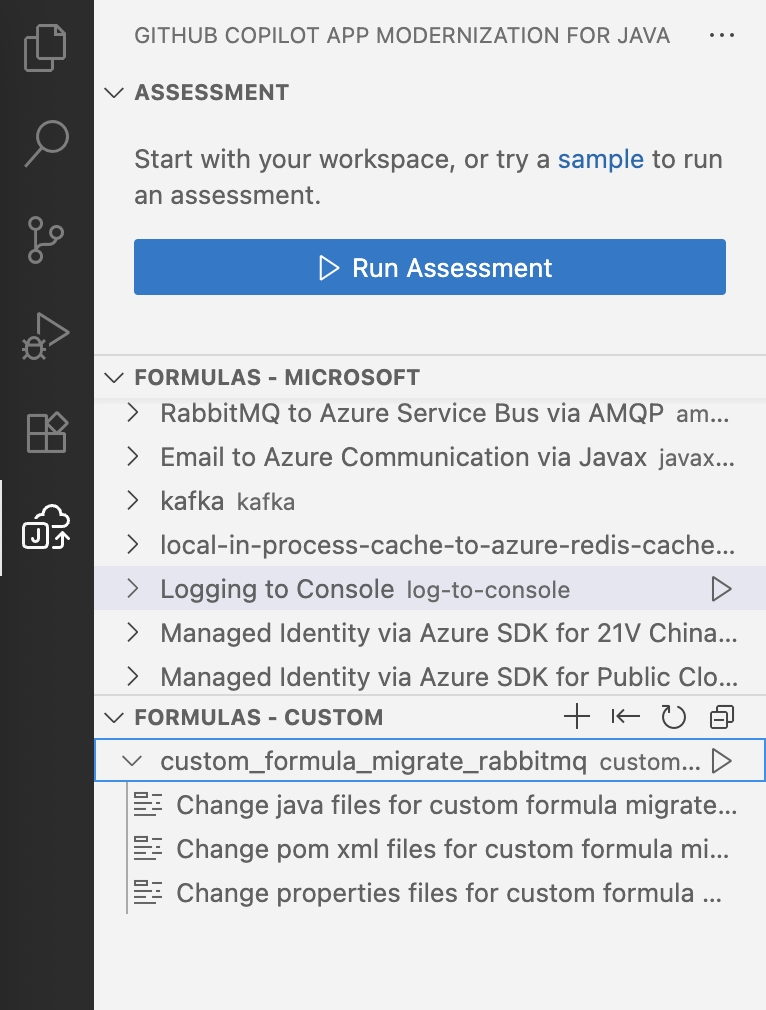


Apply the custom task
Use the following steps to apply the custom task:
Check out the project to the main branch. Find the custom task in the Tasks section of App Modernization for Java pane. Run this task by selecting Run Task.
After you select the task, the Copilot chat window with Agent Mode opens automatically.
Select Continue repeatedly to confirm each tool action in the Copilot Chat window. The Copilot Agent uses various tools to facilitate application modernization. Each tool's usage requires confirmation by selecting Continue.
After each step, manually input continue to confirm and proceed.
Wait for the code changes to be generated.
When you're prompted to run the Java Application Build-Fix tool, select Continue to build the project and fix errors. This tool attempts to resolve any build errors in up to 10 iterations.
After the Build-Fix tool begins, select Continue to proceed and show progress.
After the tool is finished, review the code changes and confirm them by selecting Keep.

See also
Predefined tasks for GitHub Copilot App Modernization for Java