Note
Access to this page requires authorization. You can try signing in or changing directories.
Access to this page requires authorization. You can try changing directories.
The Azure CycleCloud Command Line Interface (CLI) provides console access to the CycleCloud application, making functions seen in the GUI available from the command line. You can use it to control CycleCloud and CycleCloud Clusters directly or through a script.
Prerequisites
The CycleCloud CLI requires an existing installation of Python 3.6 or later. While most Linux and Mac systems already have a valid Python 3 installation, you need to install Python for Windows.
CycleCloud CLI installer file
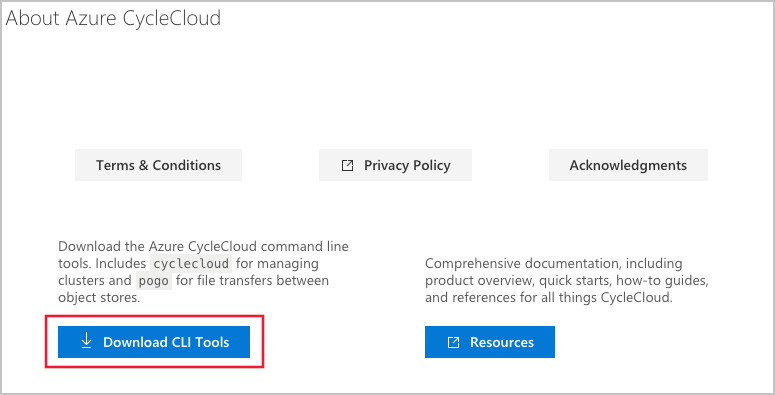
You get the CLI installer as part of the CycleCloud installation package. Select ? in the upper-right corner of the UI to access the about page. Use the Download CLI Tools button to download the installer in your browser.
You can also download the installer directly from the command line using the following command. If the CycleCloud instance doesn't have a certificate that matches its hostname, you might need to add the --no-check-certificate flag to the following wget command.
wget https://<your CycleCloud domain name>/static/tools/cyclecloud-cli.zip
CycleCloud CLI installation for Linux
Extract the contents of cyclecloud-cli.zip to a temporary directory:
cd /tmp
unzip /opt/cycle_server/tools/cyclecloud-cli.zip
This step creates a subdirectory named cyclecloud-cli-installer. To complete the installation, run the install.sh script in this directory:
cd /tmp/cyclecloud-cli-installer
./install.sh
The CycleCloud CLI installs to ${HOME}/bin. After installing the CLI, you can add the ${HOME}/bin directory to the PATH environment variable in your profile.
if [[ -d ${HOME}/bin ]]; then
  export PATH=${HOME}/bin:$PATH
fi
CycleCloud CLI installation for Windows
In Windows Explorer, copy the CLI installer zip file to a temporary directory such as Downloads or $env:TMP. Right-click on the copy of cyclecloud-cli.zip and select Extract All. This action creates a subfolder named cyclecloud-cli-installer-<VERSION>.
In the cyclecloud-cli-installer-<VERSION> subfolder, you find a PowerShell script named install.ps1. Double-click the install.ps1 script to complete the CLI installation.
The CycleCloud CLI is now available in the system PATH for new PowerShell or Command Prompt sessions.
Initialize CycleCloud CLI
After you install the CLI, connect it to your Azure CycleCloud server. The Azure CycleCloud CLI uses a REST API to communicate with the server. You need to initialize it with your Azure CycleCloud server URL:
- Run
cyclecloud initializeto set up the server. You're prompted for the CycleServer URL, which is the FQDN of your application server. Enter it in the formathttps://FQDN. - The installed Azure CycleCloud server uses either a Let's Encrypt SSL certificate or a self-signed certificate. Type
yeswhen asked to allow the certificate. - Sign in with the same username and password you use for the CycleCloud web interface.
- Run
cyclecloud show_clusterto test that the CycleCloud CLI is working.