Note
Access to this page requires authorization. You can try signing in or changing directories.
Access to this page requires authorization. You can try changing directories.
APPLIES TO:
![]() Cassandra
Cassandra
As a developer, you might have applications that use key/value pairs. You can use an API for Cassandra account in Azure Cosmos DB to store the key/value data. This tutorial describes how to use a Java application to create an API for Cassandra account in Azure Cosmos DB, add a database (also called a keyspace), and add a table. The Java application uses the Java driver to create a user database that contains details such as the user ID, username, and user city.
This tutorial covers the following tasks:
- Create a Cassandra database account.
- Get the account connection string.
- Create a Maven project and dependencies.
- Add a database and a table.
- Run the app.
Prerequisites
- If you don't have an Azure subscription, create a free account before you begin.
- Get the latest version of Java Development Kit (JDK).
- Download and install the Maven binary archive. On Ubuntu, you can run
apt-get install mavento install Maven.
Create a database account
From the Azure portal menu or the home page, select Create a resource.
On the New page, search for and select Azure Cosmos DB.
On the Azure Cosmos DB page, select Create.
On the API page, under the Cassandra section, select Create.
The API determines the type of account to create. Azure Cosmos DB provides five APIs: NoSQL for document databases, Gremlin for graph databases, MongoDB for document databases, Azure Table, and Cassandra. You must create a separate account for each API.
Select Cassandra because in this tutorial you're creating a table that works with the API for Cassandra.
To learn more about the API for Cassandra, see What is Azure Cosmos DB for Apache Cassandra?.
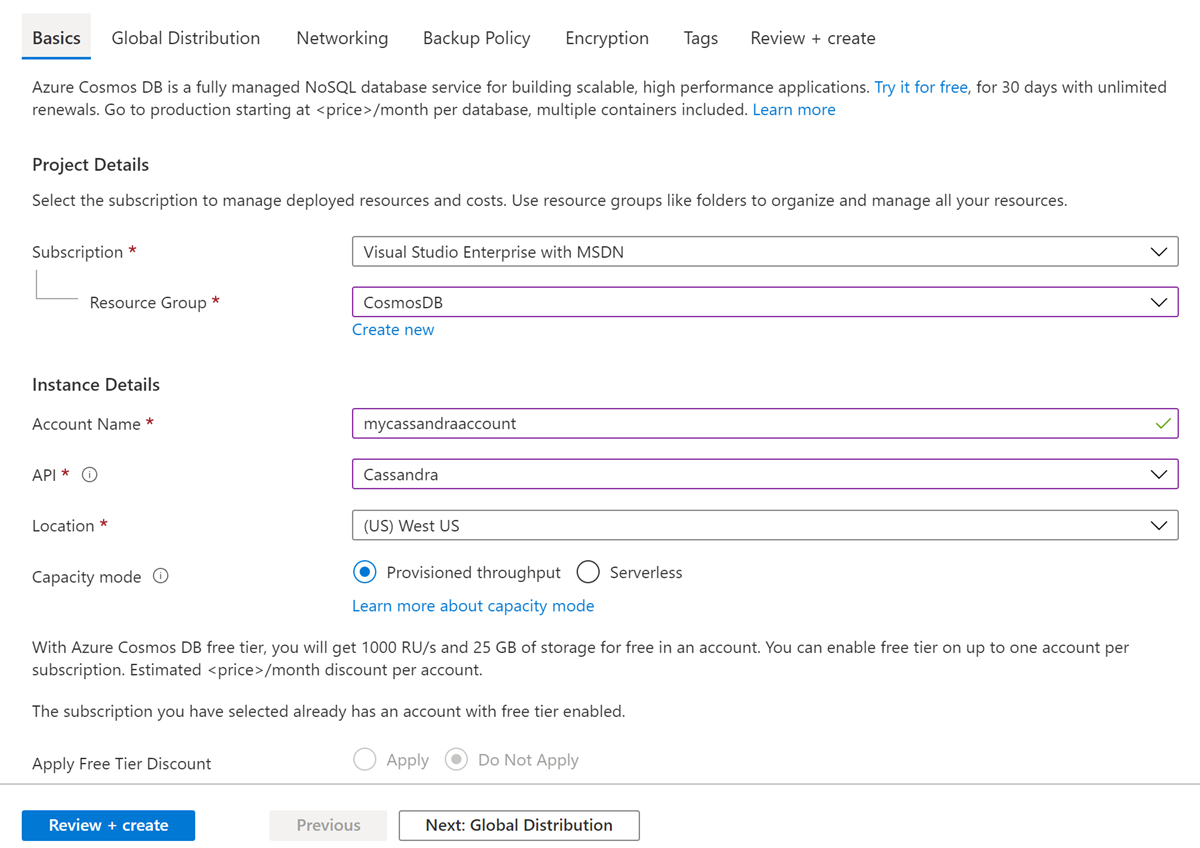
On the Create Azure Cosmos DB Account page, enter the basic settings for the new Azure Cosmos DB account.
Setting Value Description Subscription Your subscription. Select the Azure subscription that you want to use for this Azure Cosmos DB account. Resource Group Create new.
Then enter the same name as Account Name.Select Create new. Then enter a new resource group name for your account. For simplicity, use the same name as your Azure Cosmos DB account name. Account Name Enter a unique name. Enter a unique name to identify your Azure Cosmos DB account. Your account URI, cassandra.cosmos.azure.com, appended to your unique account name.
The account name can use only lowercase letters, numbers, and hyphens (-) and must be between 3 and 31 characters long.Location The region closest to your users. Select a geographic location to host your Azure Cosmos DB account. Use the location that's closest to your users to give them the fastest access to the data. Capacity mode Provisioned throughput or Serverless. Select Provisioned throughput to create an account in Provisioned throughput mode. Select Serverless to create an account in Serverless mode. Apply Azure Cosmos DB free tier discount Apply or Do not apply. With the Azure Cosmos DB free tier, you get the first 1,000 RU/s and 25 GB of storage for free in an account. Learn more about the free tier. Limit total account throughput Select to limit throughput of the account. This option is useful if you want to limit the total throughput of the account to a specific value. Note
You can have up to one free tier Azure Cosmos DB account per Azure subscription. You must opt in when you create the account. If you don't see the option to apply the free tier discount, another account in the subscription was enabled with the free tier.
On the Global Distribution tab, configure the following details. Use the default values for this tutorial.
Setting Value Description Geo-Redundancy Disable Enable or disable global distribution on your account by pairing your region with a pair region. You can add more regions to your account later. Multi-region Writes Disable With the multiregion writes capability, you can take advantage of the provisioned throughput for your databases and containers across the globe. Availability Zones Disable Availability zones are isolated locations within an Azure region. Each zone is made up of one or more datacenters equipped with independent power, cooling, and networking. The following options aren't available if you select Serverless as the Capacity mode:
- Apply Free Tier Discount
- Geo-redundancy
- Multi-region Writes
Optionally, you can configure other details on the following tabs:
- Networking: Configure access from a virtual network.
- Backup Policy: Configure either periodic or continuous backup policy.
- Encryption: Use either a service-managed key or a customer-managed key.
- Tags: Tags are name/value pairs that you can use to categorize resources and view consolidated billing by applying the same tag to multiple resources and resource groups.
Select Review + create.
Review the account settings, and then select Create. It takes a few minutes to create the account. Wait for the portal page to display Your deployment is complete.
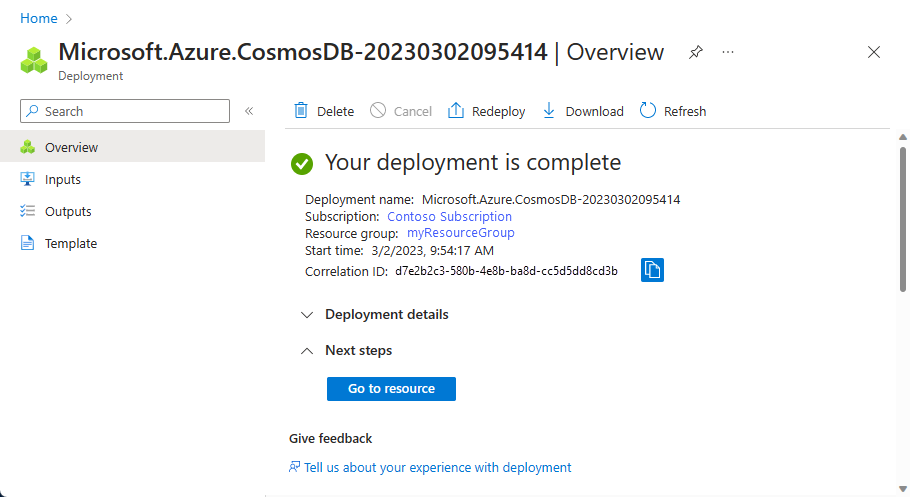
Select Go to resource to go to the Azure Cosmos DB account page.
Get the connection details of your account
Get the connection string information from the Azure portal, and copy it into the Java configuration file. The connection string enables your app to communicate with your hosted database.
From the Azure portal, go to your Azure Cosmos DB account.
Open the Connection String pane.
Copy the CONTACT POINT, PORT, USERNAME, and PRIMARY PASSWORD values to use in the next steps.
Create the project and the dependencies
The Java sample project that you use in this article is hosted in GitHub. You can run the steps in this article or download the sample from the azure-cosmos-db-cassandra-java-getting-started repository.
After you download the files, update the connection string information within the java-examples\src\main\resources\config.properties file and run it.
cassandra_host=<FILLME_with_CONTACT POINT>
cassandra_port = 10350
cassandra_username=<FILLME_with_USERNAME>
cassandra_password=<FILLME_with_PRIMARY PASSWORD>
To build the sample from scratch, follow these steps:
From the terminal or command prompt, create a new Maven project called
cassandra-demo.mvn archetype:generate -DgroupId=com.azure.cosmosdb.cassandra -DartifactId=cassandra-demo -DarchetypeArtifactId=maven-archetype-quickstart -DinteractiveMode=falseLocate the
cassandra-demofolder. By using a text editor, open thepom.xmlfile that was generated.Add the Cassandra dependencies and build plugins that your project requires, as shown in the pom.xml file.
Under the
cassandra-demo\src\mainfolder, create a new folder namedresources. Under theresourcesfolder, add theconfig.propertiesandlog4j.propertiesfiles:- The config.properties file stores the connection endpoint and key values of the API for Cassandra account.
- The log4j.properties file defines the level of logging required for interacting with the API for Cassandra.
Browse to the
src/main/java/com/azure/cosmosdb/cassandra/folder. Within thecassandrafolder, create another folder namedutils. The new folder stores the utility classes that are required to connect to the API for Cassandra account.Add the CassandraUtils class to create the cluster and to open and close Cassandra sessions. The cluster connects to the API for Cassandra account in Azure Cosmos DB and returns a session to access. Use the Configurations class to read connection string information from the
config.propertiesfile.The Java sample creates a database with user information such as the username, user ID, and user city. You need to define
getandsetmethods to access user details in the main function.Create a User.java class under the
src/main/java/com/azure/cosmosdb/cassandra/folder withgetandsetmethods.
Add a database and a table
This section describes how to add a database (keyspace) and a table by using the Cassandra Query Language (CQL).
Under the
src\main\java\com\azure\cosmosdb\cassandrafolder, create a new folder namedrepository.Create the
UserRepositoryJava class and add the following code to it:package com.azure.cosmosdb.cassandra.repository; import java.util.List; import com.datastax.driver.core.BoundStatement; import com.datastax.driver.core.PreparedStatement; import com.datastax.driver.core.Row; import com.datastax.driver.core.Session; import org.slf4j.Logger; import org.slf4j.LoggerFactory; /** * Create a Cassandra session */ public class UserRepository { private static final Logger LOGGER = LoggerFactory.getLogger(UserRepository.class); private Session session; public UserRepository(Session session) { this.session = session; } /** * Create keyspace uprofile in cassandra DB */ public void createKeyspace() { final String query = "CREATE KEYSPACE IF NOT EXISTS uprofile WITH REPLICATION = { 'class' : 'NetworkTopologyStrategy', 'datacenter1' : 1 }"; session.execute(query); LOGGER.info("Created keyspace 'uprofile'"); } /** * Create user table in cassandra DB */ public void createTable() { final String query = "CREATE TABLE IF NOT EXISTS uprofile.user (user_id int PRIMARY KEY, user_name text, user_bcity text)"; session.execute(query); LOGGER.info("Created table 'user'"); } }Locate the
src\main\java\com\azure\cosmosdb\cassandrafolder, and create a new subfolder namedexamples.Create the
UserProfileJava class. This class contains the main method that calls thecreateKeyspaceandcreateTablemethods that you defined earlier.package com.azure.cosmosdb.cassandra.examples; import java.io.IOException; import com.azure.cosmosdb.cassandra.repository.UserRepository; import com.azure.cosmosdb.cassandra.util.CassandraUtils; import com.datastax.driver.core.PreparedStatement; import com.datastax.driver.core.Session; import org.slf4j.Logger; import org.slf4j.LoggerFactory; /** * Example class which will demonstrate following operations on Cassandra Database on CosmosDB * - Create Keyspace * - Create Table * - Insert Rows * - Select all data from a table * - Select a row from a table */ public class UserProfile { private static final Logger LOGGER = LoggerFactory.getLogger(UserProfile.class); public static void main(String[] s) throws Exception { CassandraUtils utils = new CassandraUtils(); Session cassandraSession = utils.getSession(); try { UserRepository repository = new UserRepository(cassandraSession); //Create keyspace in cassandra database repository.createKeyspace(); //Create table in cassandra database repository.createTable(); } finally { utils.close(); LOGGER.info("Please delete your table after verifying the presence of the data in portal or from CQL"); } } }
Run the app
Open a command prompt or terminal window. Paste the following code block.
This code changes the directory (
cd) to the folder path where you created the project. Then, it runs themvn clean installcommand to generate thecosmosdb-cassandra-examples.jarfile within the target folder. Finally, it runs the Java application.cd cassandra-demo mvn clean install java -cp target/cosmosdb-cassandra-examples.jar com.azure.cosmosdb.cassandra.examples.UserProfileThe terminal window displays notifications that the keyspace and table are created.
In the Azure portal, open Data Explorer to confirm that the keyspace and table were created.
Next step
In this tutorial, you learned how to create an API for Cassandra account in Azure Cosmos DB, a database, and a table by using a Java application. You can now proceed to the next article: