Note
Access to this page requires authorization. You can try signing in or changing directories.
Access to this page requires authorization. You can try changing directories.
Get started with Azure Communication Services UI Library to quickly integrate communication experiences into your applications. This article describes how to integrate UI Library chat composites into an application and set up the experience for your app users.
Azure Communication Services UI Library renders a full chat experience right in your application. It takes care of connecting to Azure Communication Services chat services and updates a participant's presence automatically. As a developer, you need to decide where in your app's user experience you want the chat experience to start and create only the Azure Communication Services resources as required.
Note
For more information about the web UI Library, see the web UI Library storybook.
Prerequisites
- An Azure account with an active subscription. Create an account for free.
- A deployed Azure Communication Services resource. Create an Azure Communication Services resource.
- An Azure Communication Services token. See this example.
Access these quickstarts
Access these storybooks
Important
This feature of Azure Communication Services is currently in preview. Features in preview are publicly available and can be used by all new and existing Microsoft customers.
Preview APIs and SDKs are provided without a service-level agreement. We recommend that you don't use them for production workloads. Certain features might not be supported or capabilities might be constrained.
For more information, see Supplemental Terms of Use for Microsoft Azure Previews.
Get the sample Android application at Azure Samples Android SDK for chat in the open-source Azure Communication Services UI Library for Android.
Prerequisites
- An Azure account and an active Azure subscription. Create an account for free.
- An OS running Android Studio.
- A deployed Azure Communication Services resource. Note the endpoint URL.
- An Azure Communication Services access token and user identifier.
- An Azure Communication Services chat thread with the user from the previous step added to it.
Set up the project
Complete the following sections to set up the project.
Create a new Android project
In Android Studio, create a new project.
On the File menu, select New > New Project.
On New Project, select the Empty Views Activity project template.
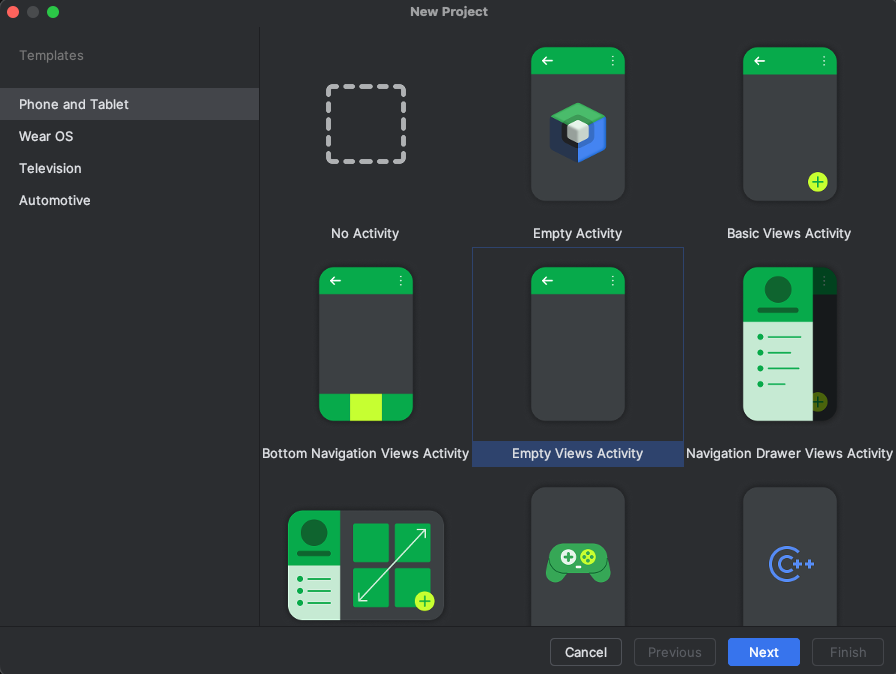
Select Next.
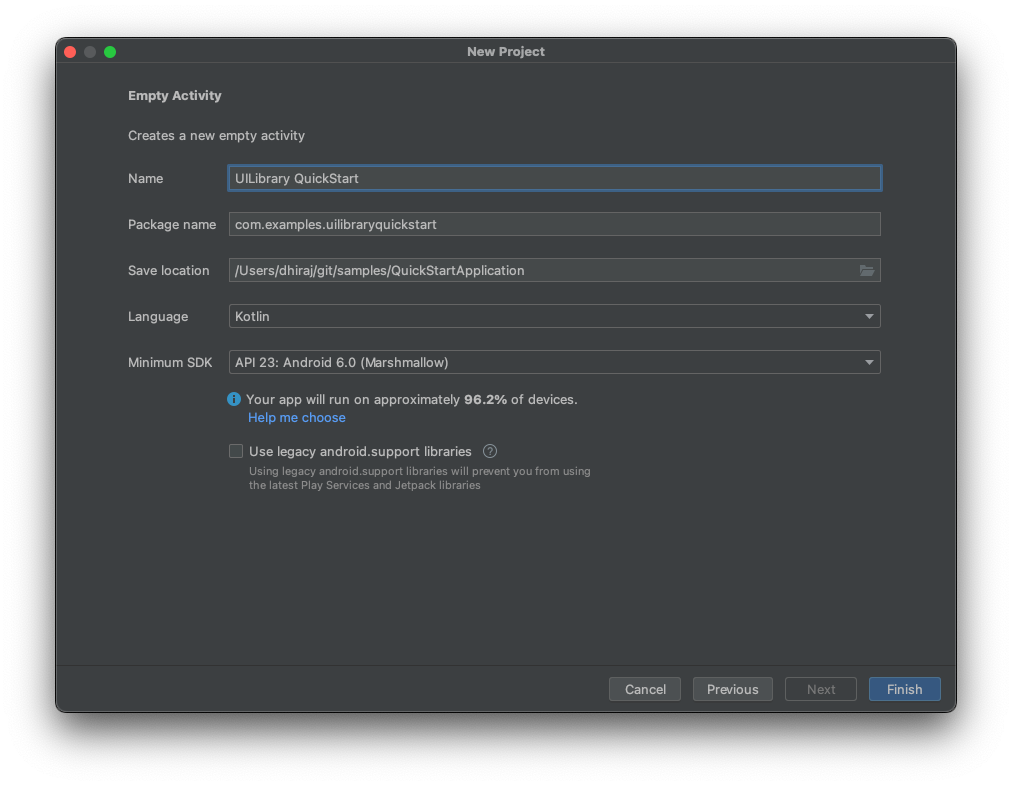
Name the project UILibraryQuickStart. For language, select Java/Kotlin. For the minimum SDK, select API 23: Android 6.0 (Marshmallow) or later.
Select Finish.
Install the packages
Complete the following sections to install the required application packages.
Add a dependency
In your app-level UILibraryQuickStart/app/build.gradle file (in the app folder), add the following dependency:
dependencies {
    ...
    implementation 'com.azure.android:azure-communication-ui-chat:+'
    ...
}
Add Maven repositories
The Azure package repository is required to integrate the library.
To add the repository:
- In your project Gradle scripts, ensure that the following repositories are added. For Android Studio (2020.*),
repositoriesis insettings.gradle, underdependencyResolutionManagement(Gradle version 6.8 or greater). For earlier versions of Android Studio (4.*),repositoriesis in the project-levelbuild.gradle, underallprojects{}.
    // dependencyResolutionManagement
    repositories {
        ...
        maven {
            url "https://pkgs.dev.azure.com/MicrosoftDeviceSDK/DuoSDK-Public/_packaging/Duo-SDK-Feed/maven/v1"
        }
        ...
    }
Run the code
In Android Studio, build and start the application.
- Select Launch.
- The chat client joins the chat thread, and you can start typing and sending messages.
- If the client can't join the thread and you see
chatJoinfailed errors, verify that your user's access token is valid and that the user was added to the chat thread by REST API call or by using theazcommand-line interface.
Important
This feature of Azure Communication Services is currently in preview. Features in preview are publicly available and can be used by all new and existing Microsoft customers.
Preview APIs and SDKs are provided without a service-level agreement. We recommend that you don't use them for production workloads. Certain features might not be supported or capabilities might be constrained.
For more information, see Supplemental Terms of Use for Microsoft Azure Previews.
Get the sample iOS application at Azure Samples iOS SDK for chat in the open-source Azure Communication Services UI Library for iOS.
Prerequisites
- An Azure account and an active Azure subscription. Create an account for free.
- A Mac running Xcode 13 or later and a valid developer certificate installed in your keychain. CocoaPods must also be installed to fetch dependencies.
- A deployed Azure Communication Services resource. Note the endpoint URL.
- An Azure Communication Services access token and user identifier.
- An Azure Communication Services chat thread. Add the user you created in the previous step to this chat thread.
Set up the project
Complete the following sections to set up the quickstart project.
Create a new Xcode project
In Xcode, create a new project.
On the File menu, select New > Project.
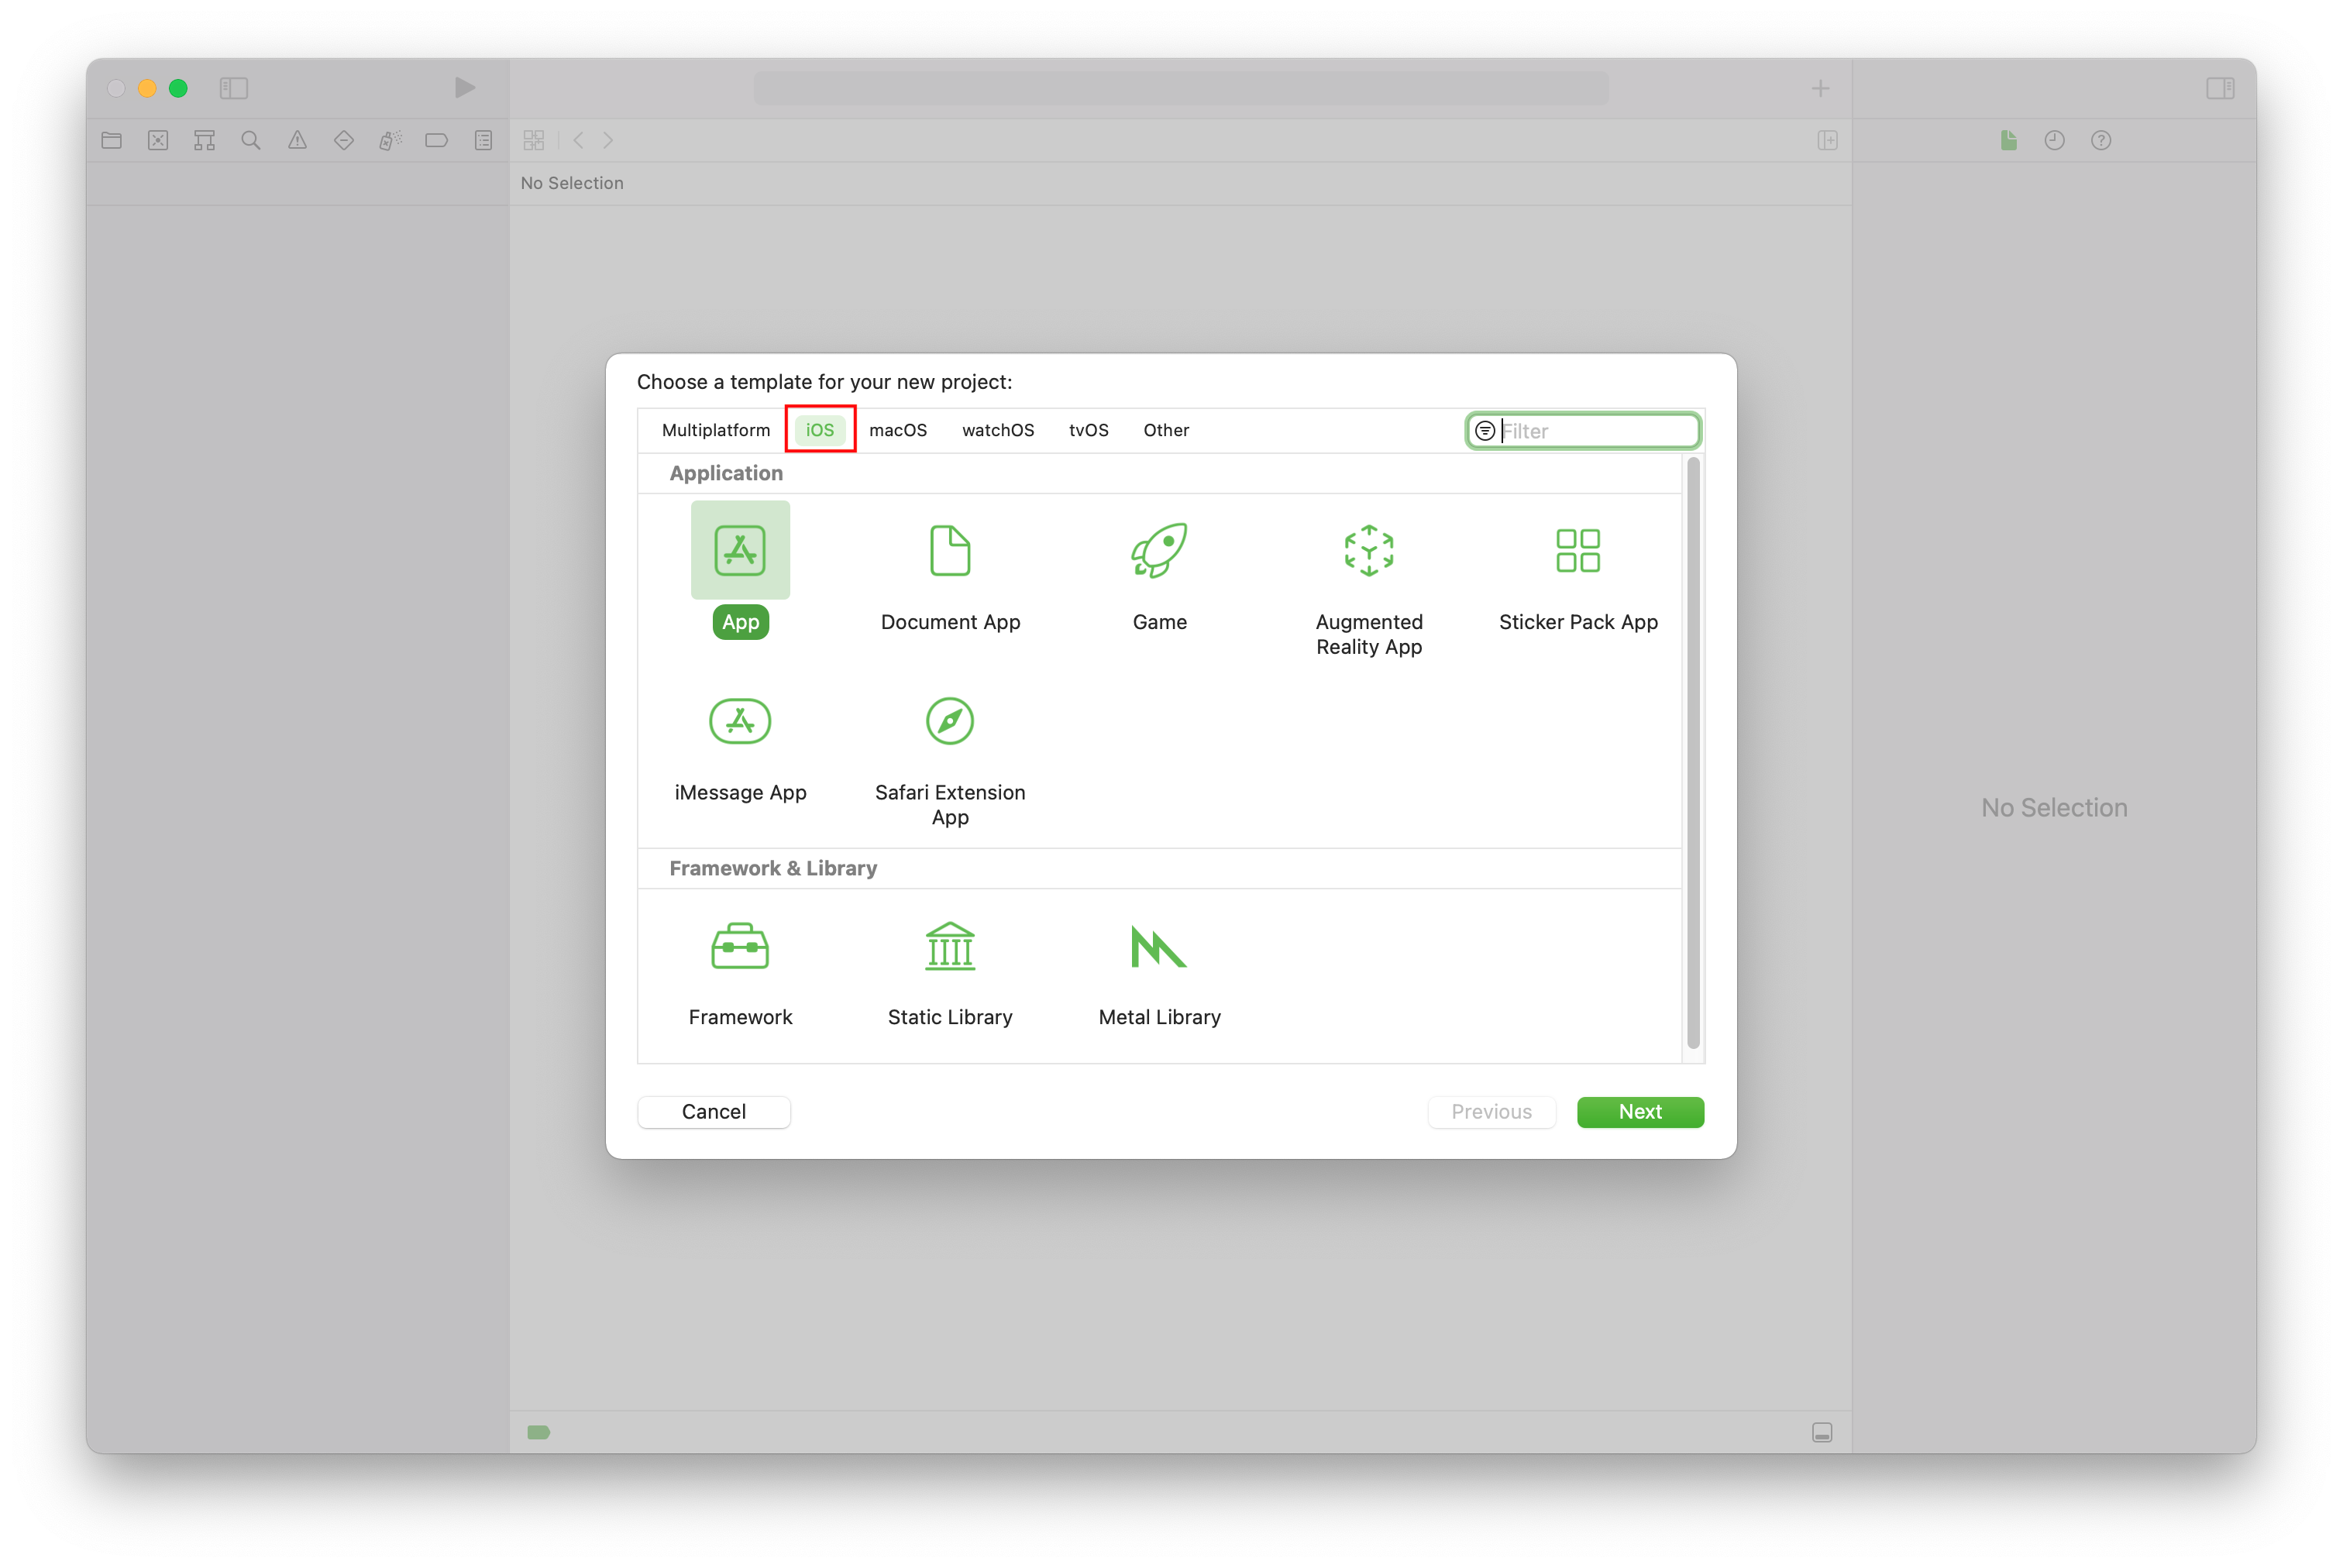
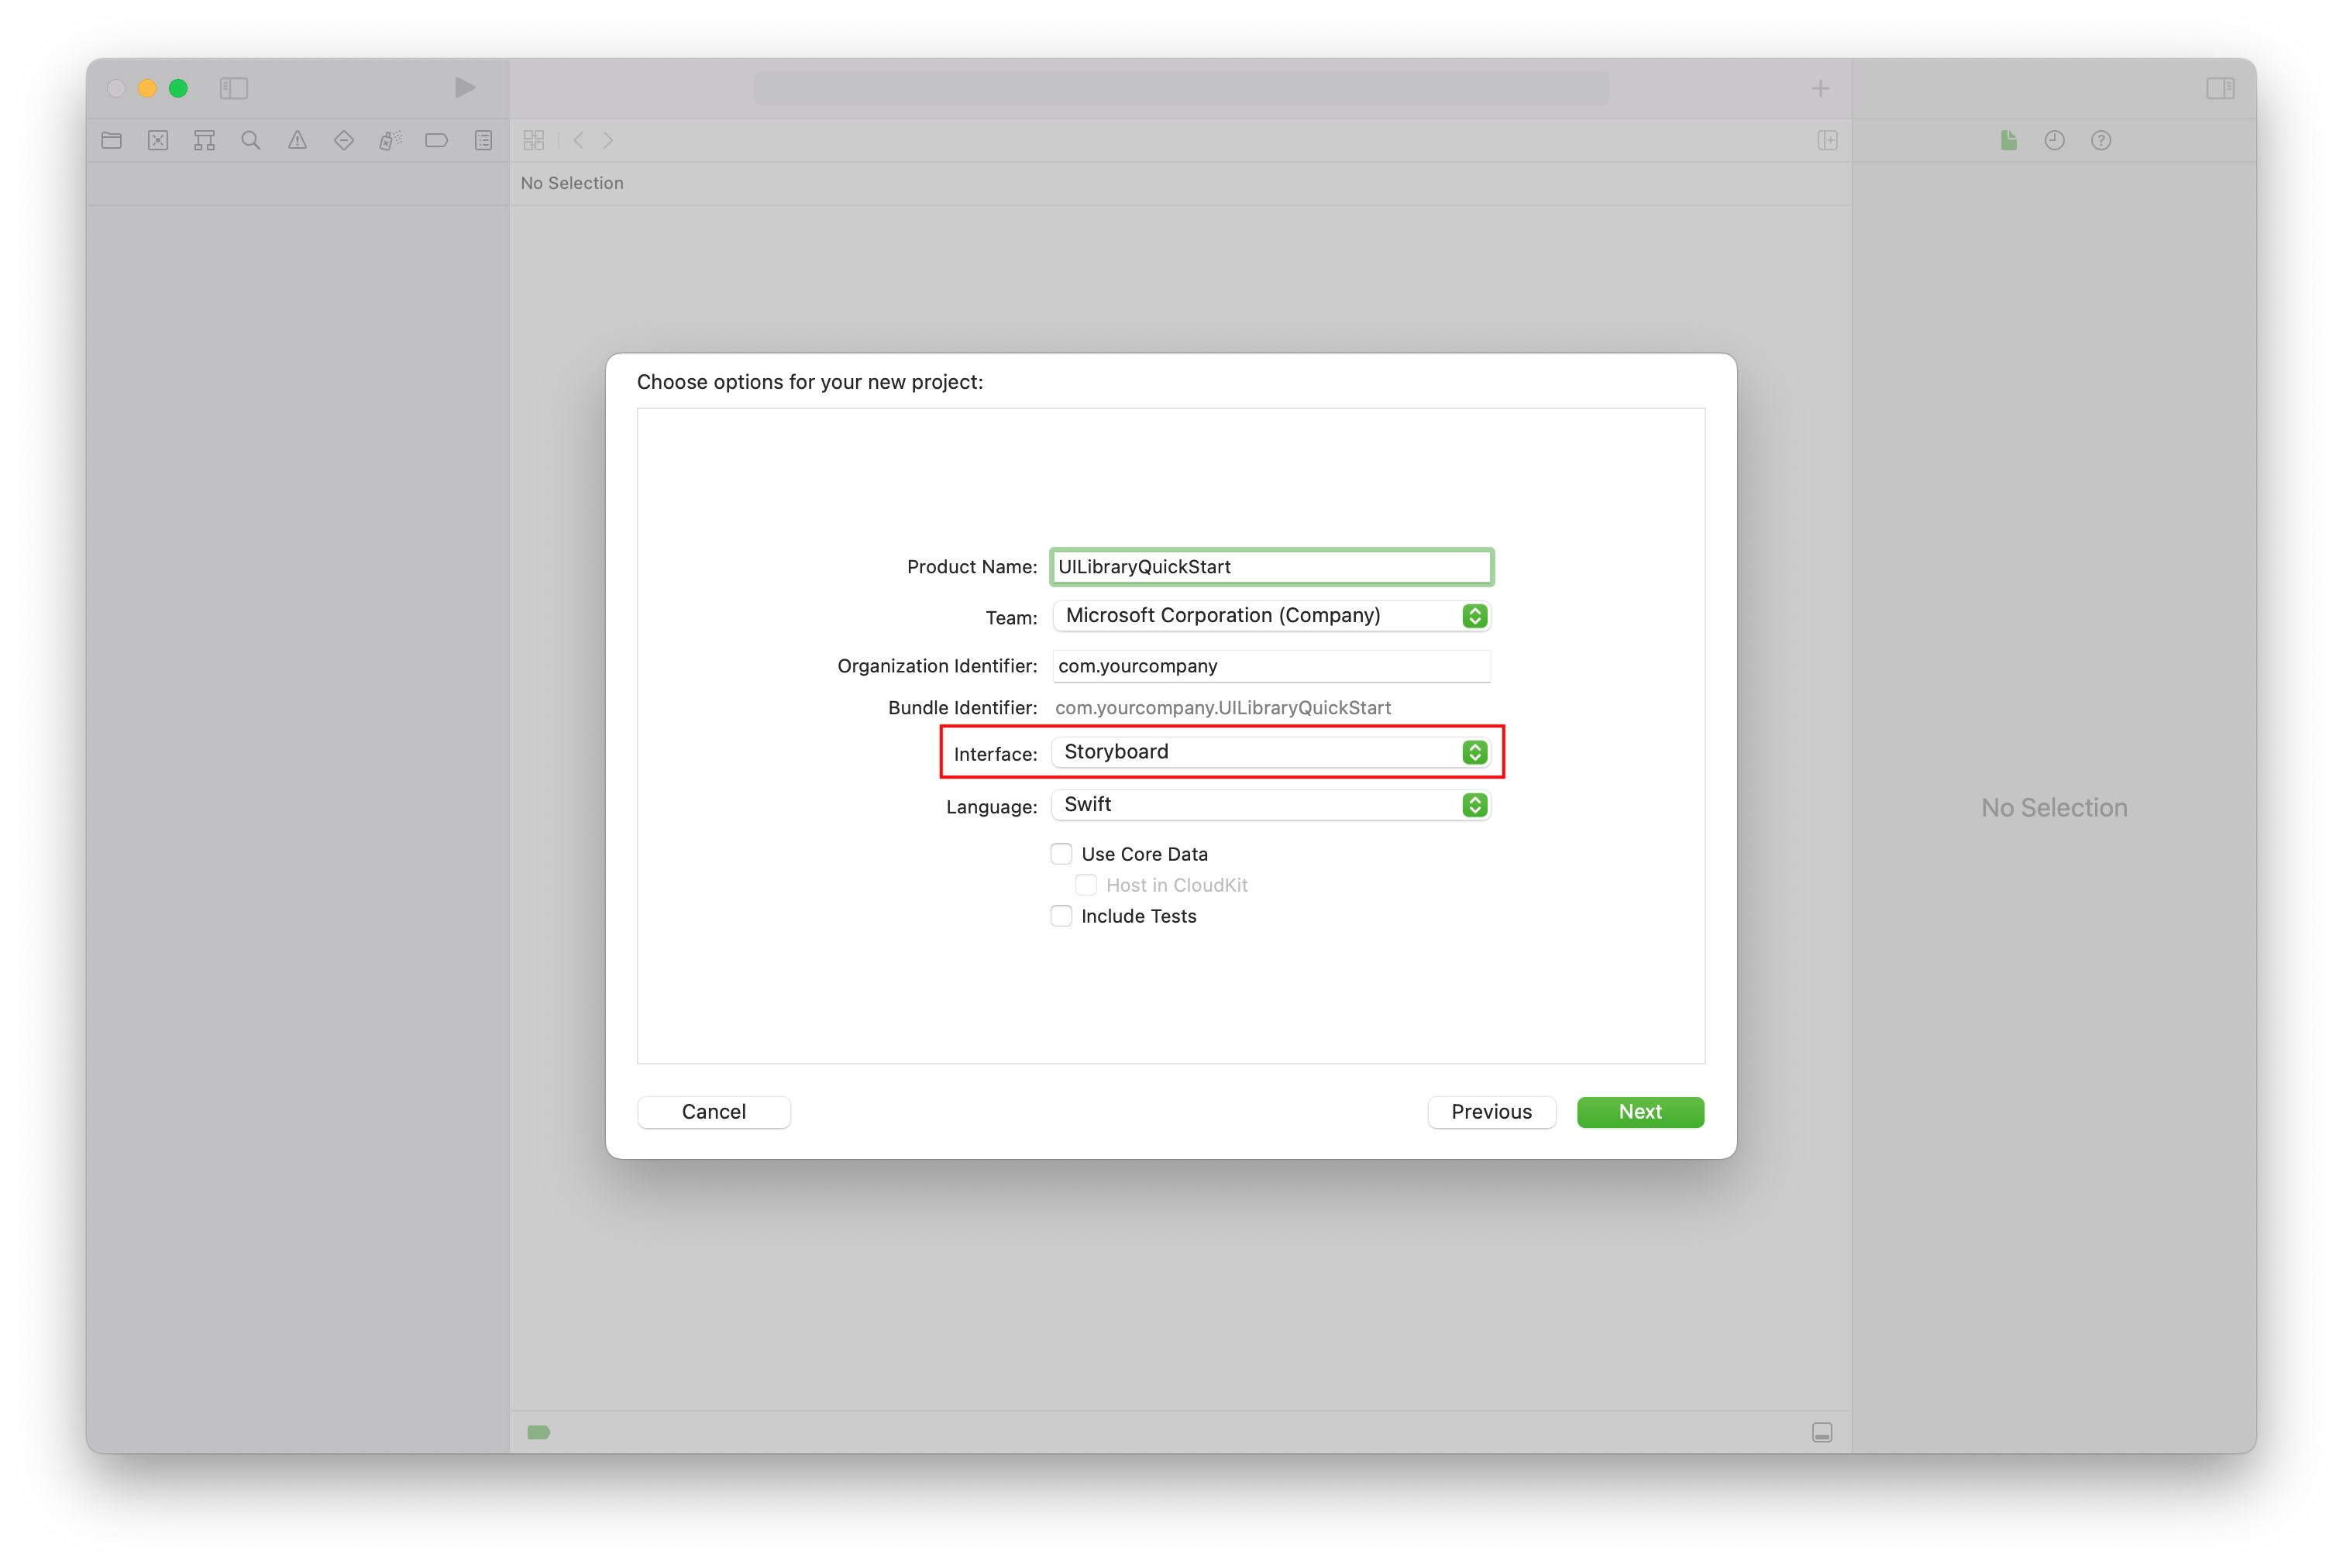
On Choose a template for your new project, select the iOS platform and select the App application template. The quickstart uses the UIKit storyboards.
On Choose options for your new project, for the product name, enter UILibraryQuickStart. For the interface, select Storyboard. The quickstart doesn't create tests, so you can clear the Include Tests checkbox.
Install the package and dependencies
(Optional) For MacBook with M1, install, and enable Rosetta in Xcode.
In your project root directory, run
pod initto create a Podfile. If you encounter an error, update CocoaPods to the current version.Add the following code to your Podfile. Replace
UILibraryQuickStartwith your project name.platform :ios, '14.0' target 'UILibraryQuickStart' do use_frameworks! pod 'AzureCommunicationUIChat', '1.0.0-beta.5' endRun
pod install --repo-update.In Xcode, open the generated xcworkspace file.
Turn off User Script Sandboxing
Some of the scripts within the linked libraries write files during the build process. To enable file writing, disable the User Script Sandboxing in Xcode.
In the Xcode project, under Build Settings, set the User Script Sandboxing option to No. To find the setting, change the filter from Basic to All or use the search bar.

Initialize the composite
To initialize the composite:
Go to
ViewController.Add the following code to initialize your composite components for a chat. Replace
<USER_ID>with user identifier. Replace<USER_ACCESS_TOKEN>with your access token. Replace<ENDPOINT_URL>with your endpoint URL. Replace<THREAD_ID>with your chat thread ID. Replace<DISPLAY_NAME>with your name. (The string length limit for<DISPLAY_NAME>is 256 characters).import UIKit import AzureCommunicationCommon import AzureCommunicationUIChat class ViewController: UIViewController { var chatAdapter: ChatAdapter? override func viewDidLoad() { super.viewDidLoad() let button = UIButton() var configuration = UIButton.Configuration.filled() configuration.contentInsets = NSDirectionalEdgeInsets(top: 10.0, leading: 20.0, bottom: 10.0, trailing: 20.0) configuration.baseBackgroundColor = .systemBlue button.configuration = configuration button.layer.cornerRadius = 10 button.setTitle("Start Experience", for: .normal) button.addTarget(self, action: #selector(startChatComposite), for: .touchUpInside) button.translatesAutoresizingMaskIntoConstraints = false self.view.addSubview(button) button.widthAnchor.constraint(equalToConstant: 200).isActive = true button.heightAnchor.constraint(equalToConstant: 50).isActive = true button.centerXAnchor.constraint(equalTo: view.centerXAnchor).isActive = true button.centerYAnchor.constraint(equalTo: view.centerYAnchor).isActive = true } @objc private func startChatComposite() { let communicationIdentifier = CommunicationUserIdentifier("<USER_ID>") guard let communicationTokenCredential = try? CommunicationTokenCredential( token: "<USER_ACCESS_TOKEN>") else { return } self.chatAdapter = ChatAdapter( endpoint: "<ENDPOINT_URL>", identifier: communicationIdentifier, credential: communicationTokenCredential, threadId: "<THREAD_ID>", displayName: "<DISPLAY_NAME>") Task { @MainActor in guard let chatAdapter = self.chatAdapter else { return } try await chatAdapter.connect() let chatCompositeViewController = ChatCompositeViewController( with: chatAdapter) let closeItem = UIBarButtonItem( barButtonSystemItem: .close, target: nil, action: #selector(self.onBackBtnPressed)) chatCompositeViewController.title = "Chat" chatCompositeViewController.navigationItem.leftBarButtonItem = closeItem let navController = UINavigationController(rootViewController: chatCompositeViewController) navController.modalPresentationStyle = .fullScreen self.present(navController, animated: true, completion: nil) } } @objc func onBackBtnPressed() { self.dismiss(animated: true, completion: nil) Task { @MainActor in self.chatAdapter?.disconnect(completionHandler: { [weak self] result in switch result { case .success: self?.chatAdapter = nil case .failure(let error): print("disconnect error \(error)") } }) } } }If you choose to put chat view in a frame that's smaller than the screen size, we recommend the minimum width of 250 and the minimum height of 300.
Run the code
To build and run your app on the iOS simulator, select Product > Run. You can also use the (⌘-R) keyboard shortcut. Then, try out the chat experience on the simulator.
- Select Start Experience.
- The chat client joins the chat thread, and you can start typing and sending messages.
- If the client can't join the thread and you see
chatJoinfailed errors, verify that your user's access token is valid and that the user was added to the chat thread by REST API call or by using the az command-line interface.
Clean up resources
If you want to clean up and remove an Azure Communication Services subscription, you can delete the resource or resource group.
Deleting the resource group also deletes any other resources associated with it.
Learn more about cleaning up resources.