Note
Access to this page requires authorization. You can try signing in or changing directories.
Access to this page requires authorization. You can try changing directories.
If the built-in roles of Azure Arc-enabled SCVMM don't meet the specific needs of your organization, you can create your own custom roles to provide permissions at a granular level to your end users.
Just like built-in roles, you can assign custom roles to users at subscription and resource group scopes to control access. Custom roles are stored in a Microsoft Entra directory and can be shared across subscriptions. Each directory can have up to 5,000 custom roles. Custom roles can be created using the Azure portal, Azure PowerShell, Azure CLI, or the REST API. This article describes how to create custom roles using the Azure portal for Azure Arc-enabled SCVMM.
To understand more about Azure custom roles, refer to the following:
- Understand Azure role definitions
- Create or update Azure custom roles using the Azure portal
- Steps to assign an Azure role
Prerequisites
Ensure you have permissions to create custom roles, such as Owner or User Access Administrator.
Create custom role
To create a custom role with Azure Arc-enabled SCVMM, follow these steps:
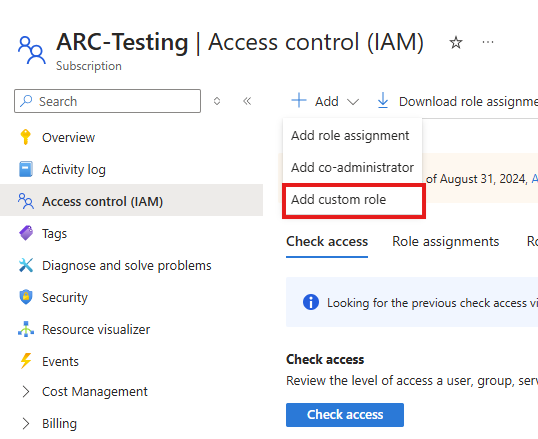
- Sign in to the Azure portal, open the subscription where you want the custom role to be created, and then open Access control (IAM).
- Select + Add and then select Add custom role.
- On the Basics tab, fill the details such as Custom role name, Description, and choose the baseline permissions and then select Next.
- On the Permissions tab, select + Add permissions to add actions to your baseline permissions or Exclude permissions to remove actions from your baseline permissions. If you are creating a new role from scratch, select Add permissions.
- On the Add permissions or Exclude permissions window, search scvmm and select Microsoft.SCVMM.

- On the Microsoft.SCVMM permissions page, select the desired permissions to add or exclude and then select Add.
- Add permissions from other Resource Providers to this custom role, if needed, and select Next.
- On the Assignable scopes tab, you can optionally choose additional subscription(s) and/or the resource group(s) in which this custom role can be available for assignment and then select Next.
- On the JSON tab, you can optionally download the JSON format of the custom role to create more custom roles from a baseline permission set. Once done, select Next.
- On the Review + create tab, select Create to create your custom role for Azure Arc-enabled SCVMM.
- Once created, you can view, update, and delete the custom roles by following these steps:
To manage custom roles using Azure PowerShell, Azure CLI, REST APIs, ARM, or Bicep templates, refer the detailed documentation on Azure Role based Access Control.