Note
Access to this page requires authorization. You can try signing in or changing directories.
Access to this page requires authorization. You can try changing directories.
After you complete the prerequisites steps, complete the steps in this article to deploy Edge RAG extension.
Important
Edge RAG Preview, enabled by Azure Arc is currently in PREVIEW. See the Supplemental Terms of Use for Microsoft Azure Previews for legal terms that apply to Azure features that are in beta, preview, or otherwise not yet released into general availability.
Prerequisites
Before you begin, complete the deployment prerequisites for Edge RAG Preview.
Deploy the extension
Deploy Edge RAG by using either the Azure portal or Azure CLI with a Microsoft supplied language model or add your own language model.
In the Azure portal, go to the Azure Kubernetes cluster on Azure Local.
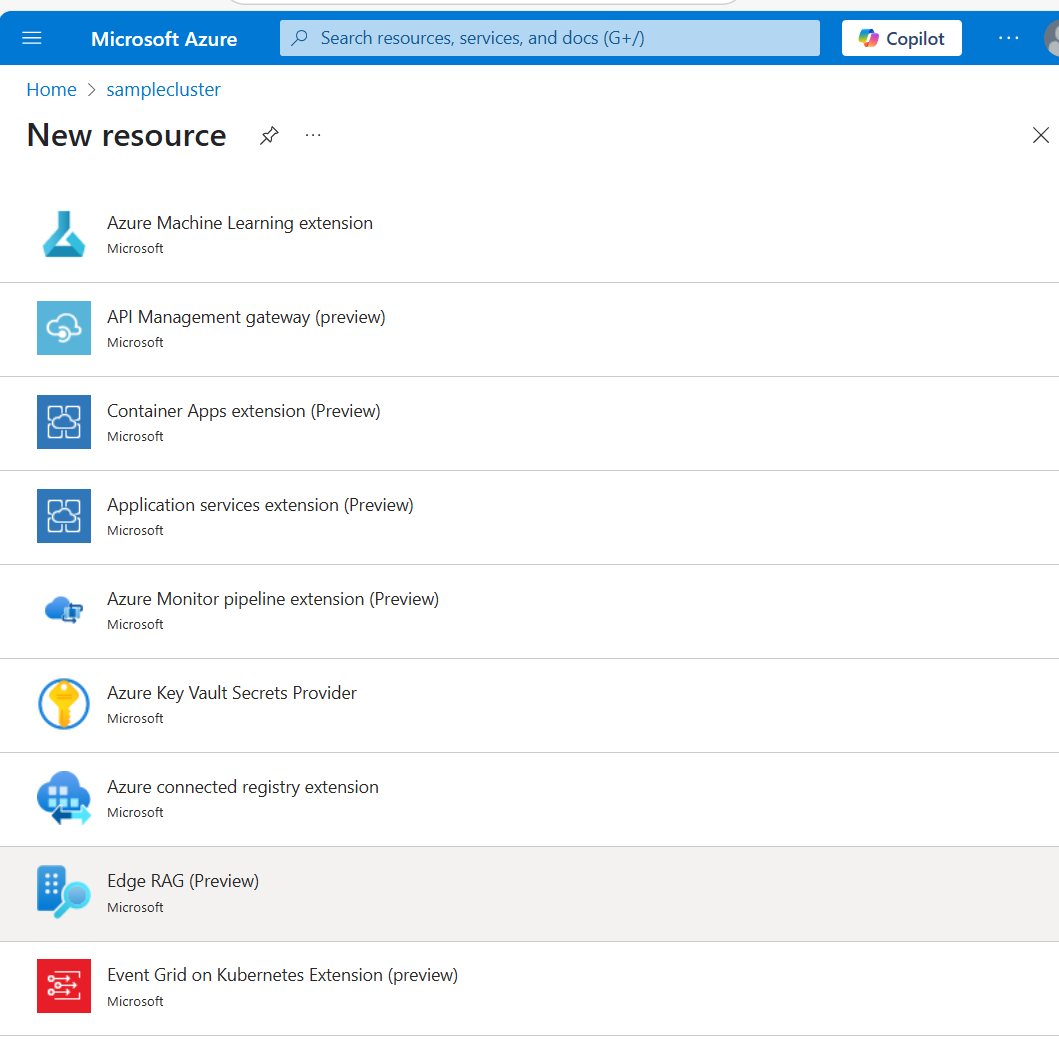
Select Settings > Extensions > + Add, and Edge RAG from the list.
On the Basics tab, provide the following information:
Field Value Subscription Select the subscription that contains your Azure Kubernetes Service (AKS) cluster on Azure Local. Resource group Select the resource group that contains your AKS Arc cluster. Deployment name Provide a name for the deployment. Region Select the region to deploy Edge RAG. Cluster Select the cluster that you want to deploy Edge RAG to. 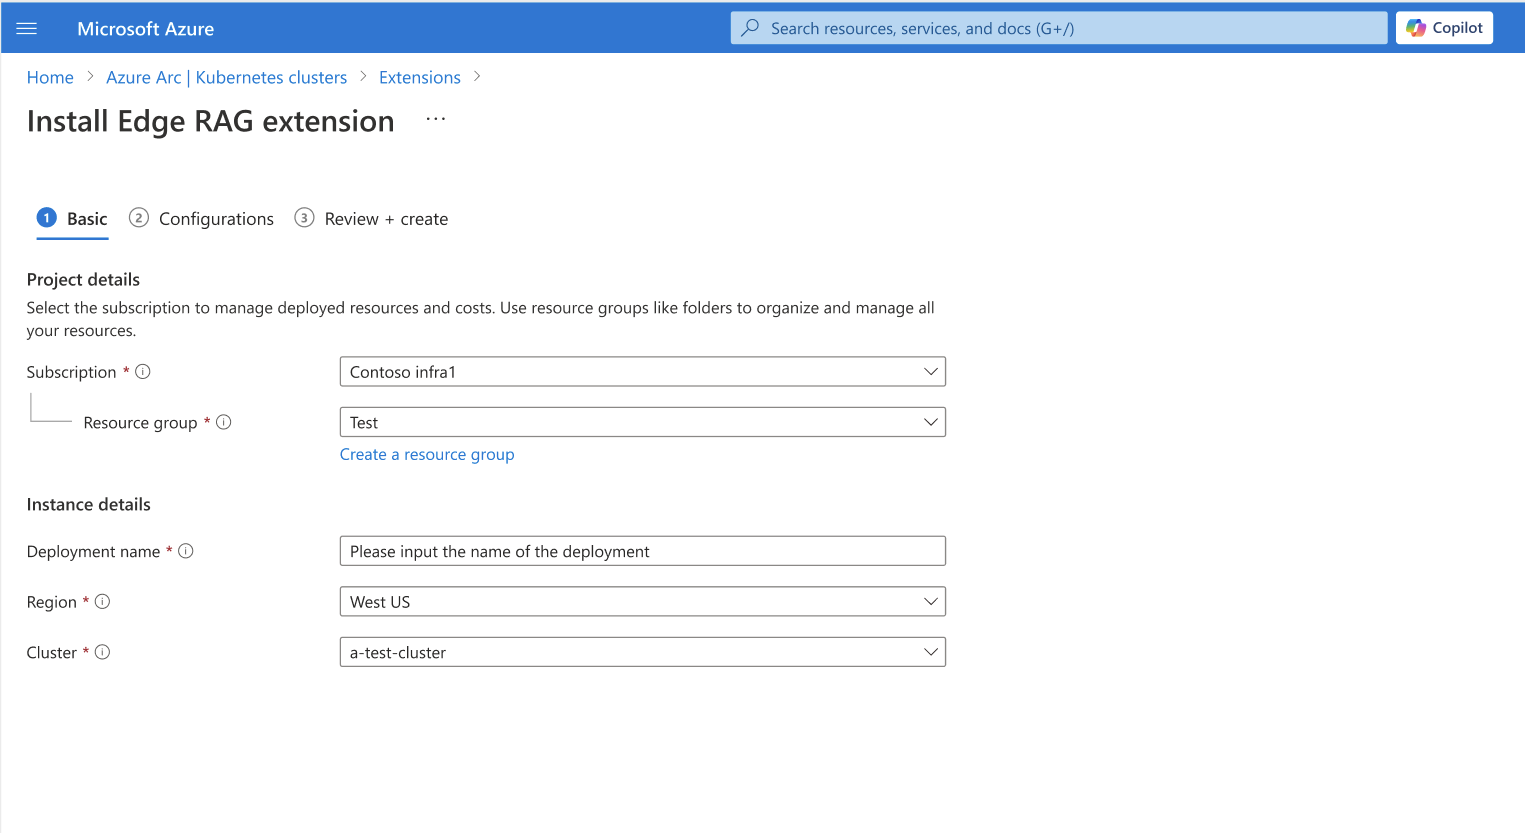
Select Next: Configuration.
On the Configuration tab, provide the following information:
Field Value Deployment mode Select GPU mode or CPU mode depending on your available hardware. Model The information you enter in this section depend on the language model you select. Language model Select the language model that you want to deploy. Choose either Microsoft provided or your own language model. Microsoft language model If you chose Microsoft provided, select one of the Microsoft provided language models. Add your own language model If you chose to provide your own language model, enter the following information. Model name Enter the name of your language model. LLM endpoint Enter the name of your large language model (LLM) endpoint in the format http://some-endpointorhttps://some-endpoint. For example,https://<Endpoint_Name>.openai.azure.com/openai/deployments/<model_name> /chat/completions?api-version=<API_VERSION>.Max token (k) Enter a number range between 4K to 2048 K for your language model. SSL settings SSL CNAME Provide the domain name for your system. This domain name is the same as redirect URI provided during app registration. Kubernetes SSL secret name Provide a friendly name for the SSL secret to be used by the application. By default, Edge RAG uses a self-signed SSL certificate to store under this name in the kubernetes secret store. After installation, you can update the certificate with an official signed certificate. Access Entra app ID Provide the application ID from the app you registered as part of configuring authentication (App Registrations > Your app > Overview). Entra tenant ID Provide tenant ID from the app you registered as part of configuring authentication (App Registrations > Your app > Overview). 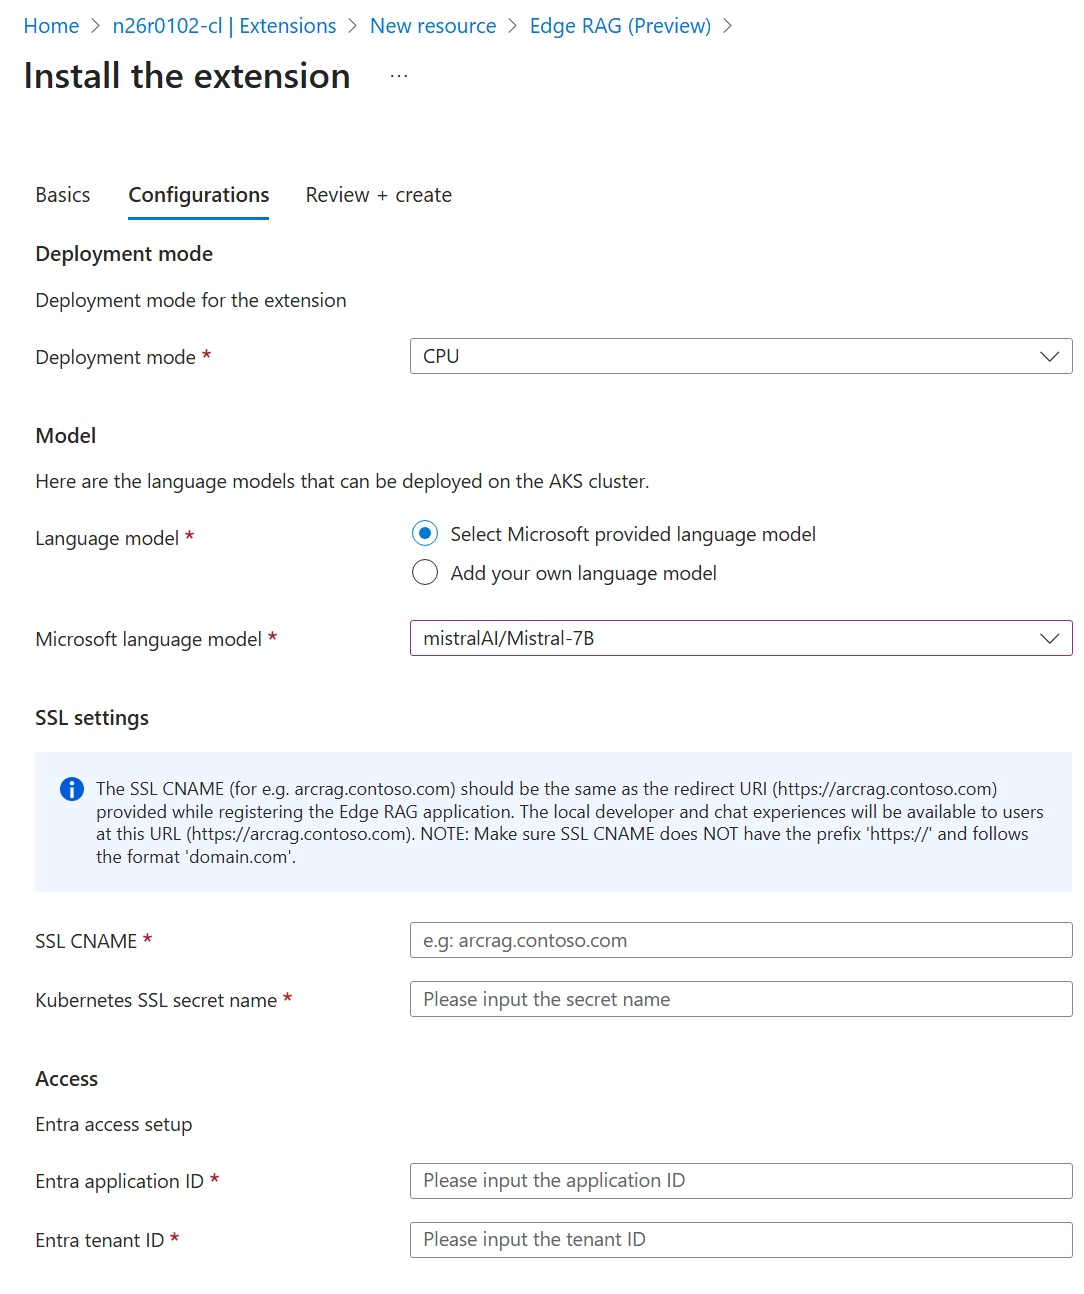
Select Next: Review + create.
Review and validate the parameters you provided.
Select Create to complete the Edge RAG deployment.
When the deployment is complete, under Extensions, validate that the extension types microsoft.arc.rag and microsoft.extensiondiagnostics are listed.

The Edge RAG extension deployment typically takes about 30 minutes but can take longer depending on your connectivity.
Add your own language model
If you added your own language model when you deployed the Edge RAG extension, complete the steps in Configure "BYOM" endpoint authentication for Edge RAG.