Note
Access to this page requires authorization. You can try signing in or changing directories.
Access to this page requires authorization. You can try changing directories.
Quota provides the flexibility to actively manage the allocation of rate limits across the deployments within your subscription. This article walks through the process of managing quota for your Azure AI Foundry virtual machines and Azure AI Foundry Models.
Azure uses limits and quotas to prevent budget overruns due to fraud, and to honor Azure capacity constraints. It's also a good way to control costs for admins. Consider these limits as you scale for production workloads.
In this article, you learn about:
- Default limits on Azure resources
- Creating Azure AI Foundry hub-level quotas.
- Viewing your quotas and limits
- Requesting quota and limit increases
Quota provides the flexibility to actively manage the allocation of rate limits across the deployments within your subscription. This article walks through the process of managing quota for your Azure AI Foundry Models.
Azure uses limits and quotas to prevent budget overruns due to fraud, and to honor Azure capacity constraints. It's also a good way to control costs for admins. Consider these limits as you scale for production workloads.
In this article, you learn about:
- Viewing your quotas and limits
- Requesting quota and limit increases
Special considerations
Quotas are applied to each subscription in your account. If you have multiple subscriptions, you must request a quota increase for each subscription.
A quota is a credit limit on Azure resources, not a capacity guarantee. If you have large-scale capacity needs, contact Azure support to increase your quota.
Note
Azure AI Foundry compute has a separate quota from the core compute quota.
Default limits vary by offer category type, such as free trial, serverless API deployment, and virtual machine (VM) series (such as Dv2, F, and G).
Azure AI Foundry quota
The following actions in Azure AI Foundry portal consume quota:
- Creating a compute instance.
- Building a vector index.
- Deploying open models from model catalog.
Azure AI Foundry compute
Azure AI Foundry compute has a default quota limit on both the number of cores and the number of unique compute resources that are allowed per region in a subscription.
- The quota on the number of cores is split by each VM Family and cumulative total cores.
- The quota on the number of unique compute resources per region is separate from the VM core quota, as it applies only to the managed compute resources
To raise the limits for compute, you can request a quota increase in the Azure AI Foundry.
Available resources include:
- Dedicated cores per region have a default limit of 24 to 300, depending on your subscription offer type. You can increase the number of dedicated cores per subscription for each VM family. Specialized VM families like NCv2, NCv3, or ND series start with a default of zero cores. GPUs also default to zero cores.
- Total compute limit per region has a default limit of 500 per region within a given subscription. The limit can be increased up to a maximum value of 2500 per region. This limit is shared between compute instances, and managed online endpoint deployments. A compute instance is considered as a single-node cluster for quota purposes. In order to increase the total compute limit, open an online customer support request.
When opening the support request to increase the total compute limit, provide the following information:
Select Technical for the issue type.
Select the subscription for which you want to increase the quota.
Select Machine Learning as the service type.
Select the resource for which you want to increase the quota.
In the Summary field, enter "Increase total compute limits"
Select Compute instance as the problem type and Other features (Setup scripts, shutdown, Identity etc.) as the problem subtype.
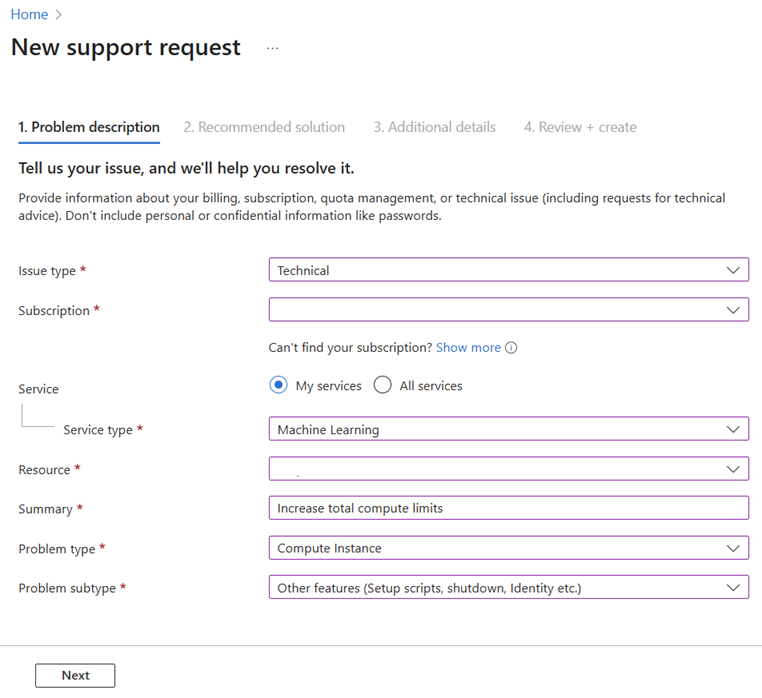
Select Next to see the Recommended solution page.
After viewing the recommended solution, select Return to support request.
Select Next to go to the Additional details page and provide the required information to help the support team resolve your issue.
Select Next to review the support request ticket.
Select Create to submit the ticket.

Azure AI Foundry shared quota
Azure AI Foundry provides a pool of shared quota that is available for different users across various regions to use concurrently. Depending upon availability, users can temporarily access quota from the shared pool and use the quota to perform testing for a limited amount of time. The specific time duration depends on the use case. By temporarily using quota from the quota pool, you no longer need to file a support ticket for a short-term quota increase or wait for your quota request to be approved before you can proceed with your workload.
Use of the shared quota pool is available for testing inferencing for Foundry Models from the model catalog. You should use the shared quota only for creating temporary test endpoints, not production endpoints. For endpoints in production, you should request dedicated quota. Billing for shared quota is usage-based.
Container Instances
For more information, see Container Instances limits.
Storage
Azure Storage has a limit of 250 storage accounts per region, per subscription. This limit includes both Standard and Premium storage accounts.
View and request quotas in Azure AI Foundry portal
Use quotas to manage compute target allocation and model quota between multiple hub-based projects in the same subscription.
By default, all hubs share the same quota as the subscription-level quota for VM families. However, you can set a maximum quota for individual VM families for more granular cost control and governance on hubs in a subscription. Quotas for individual VM families let you share capacity and avoid resource contention issues.
Use quotas to manage model quota allocation between multiple Foundry projects in the same subscription
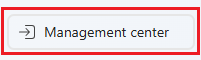
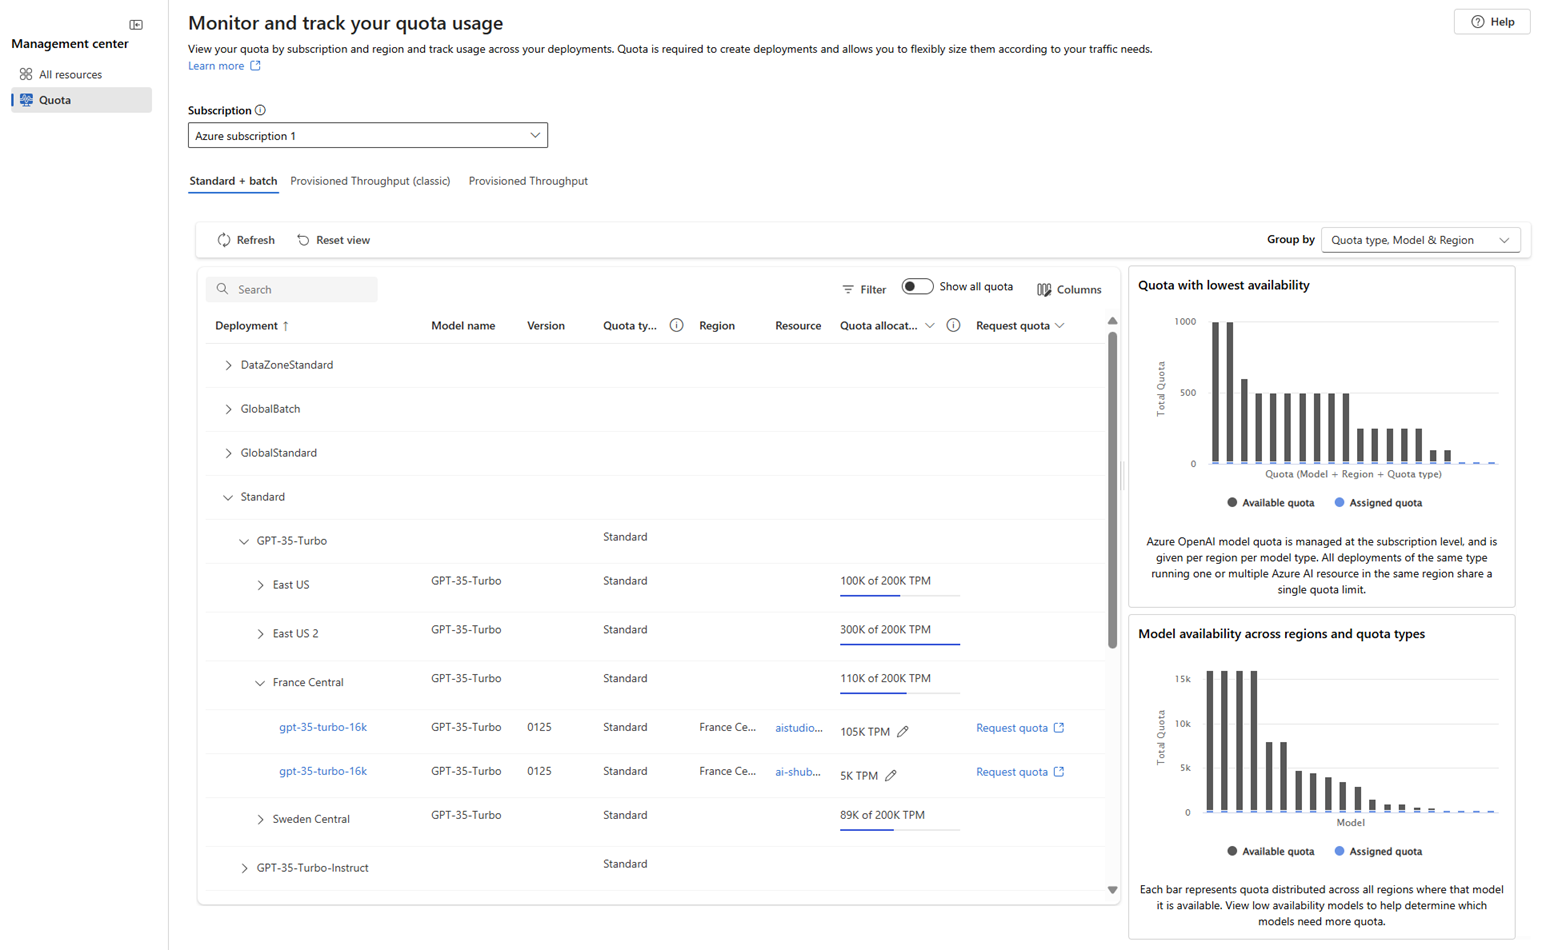
In Azure AI Foundry portal, select Management center from the bottom of the left menu.
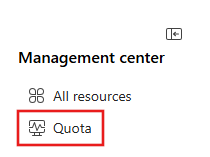
Select Quota from the left menu to open the quota view, where you can see the quota for the models in specific Azure regions.
To request quota from the quota view, expand any of the groupings listed in the deployment column until you see the model deployments and their associated information.
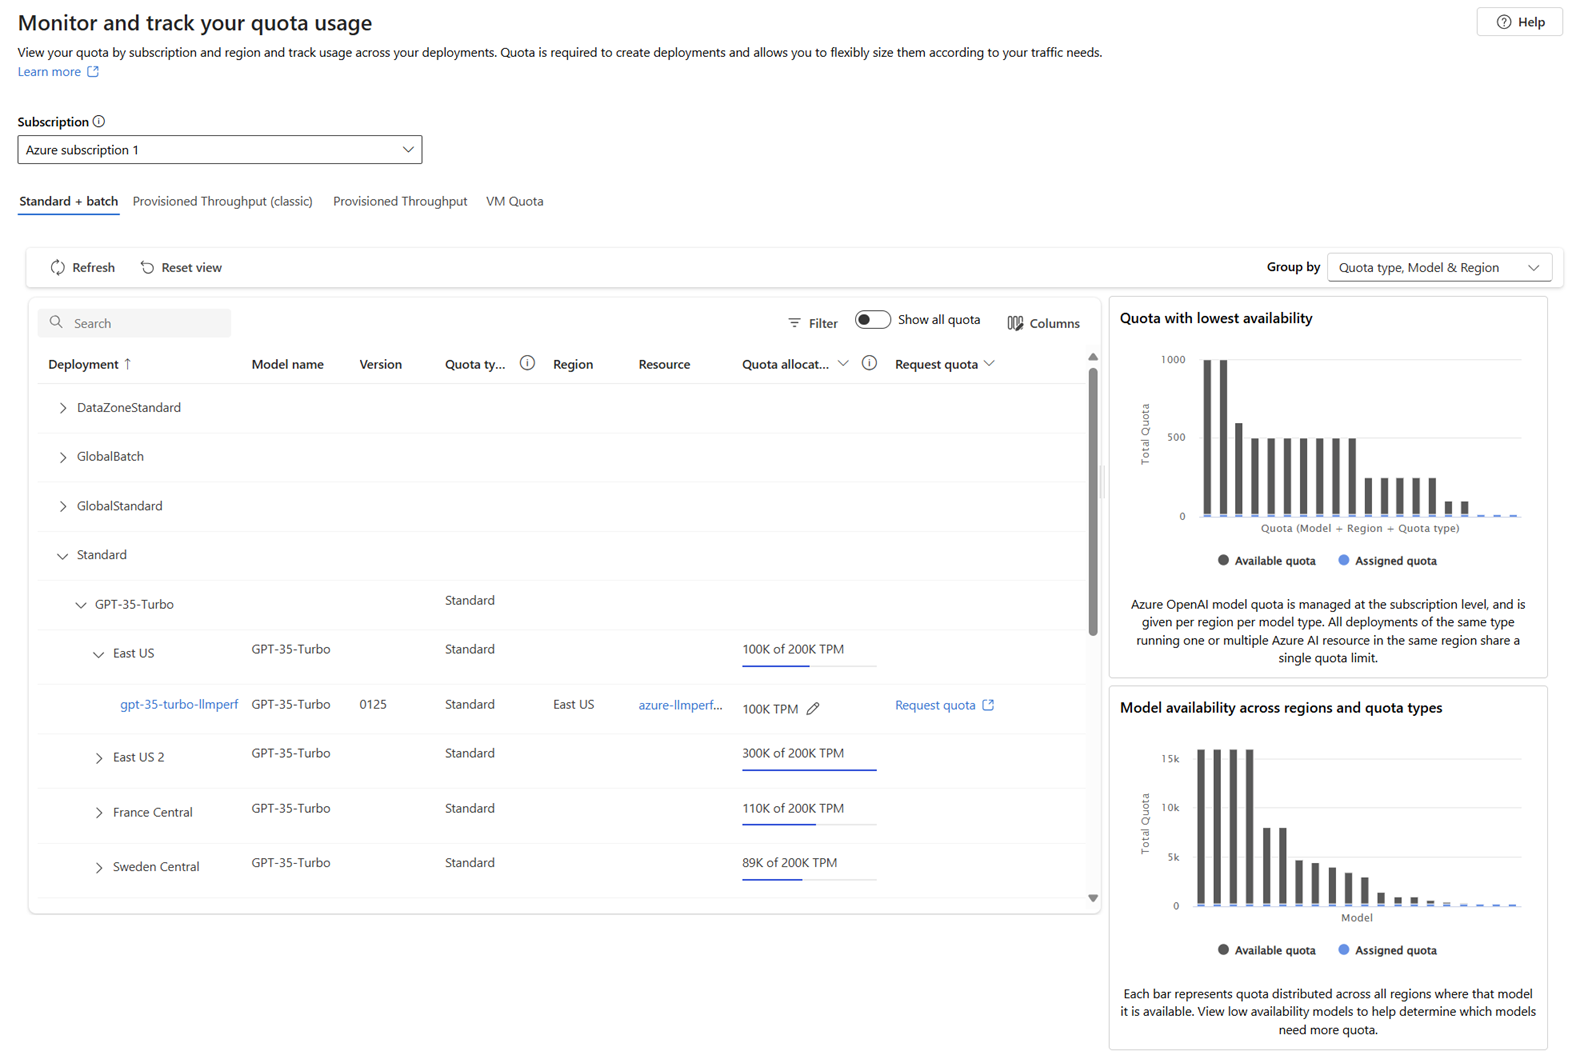
- Use the Show all quota toggle to display all quota or only the currently allocated quota.
- Use the Group by dropdown to group the list by Quota type, Region & Model, or Quota type, Model & Region, or None. The None option displays a flat list of model deployments, rather than a nested list.
- On the line entry for a given model deployment, select the pencil icon in the Quota allocation column to edit the quota allocation for the model deployment.
- Select Request quota in the Request quota column to request increases in quota for the standard deployment type.
- Use the charts along the side of the page to view more details about quota usage. The charts are interactive; hovering over a section of the chart displays more information, and selecting the chart filters the list of models. Selecting the chart legend filters the data displayed in the chart.
- Use the Provisioned Throughput link to view information about provisioned models, including a Capacity calculator that you can use to estimate the number of PTUs needed for your workload.
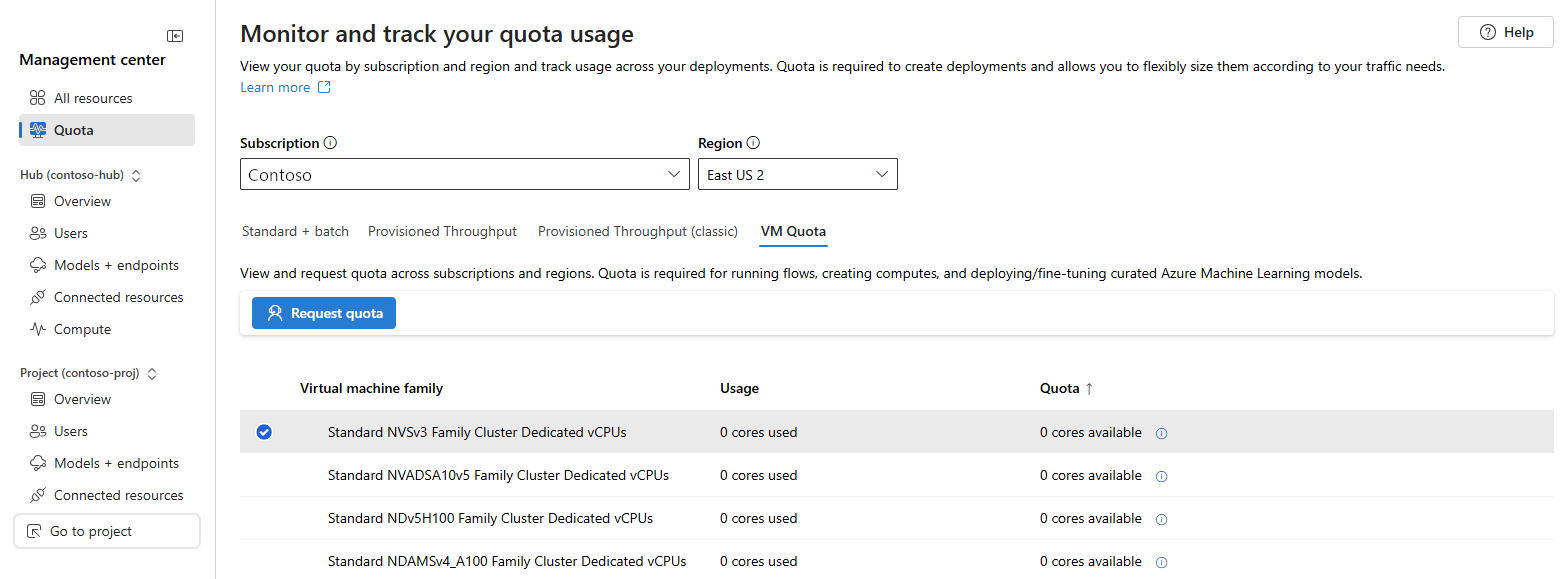
When you select the VM Quota link, you can view the quota and usage for the virtual machine families in the selected Azure region. To request quota, select the VM family and then select Request quota.
Tip
If you don't see the VM quota link, you were viewing a Foundry project project when you selected Management center. Use the All resources link and then select a project where the Type contains Parent resource : name (Hub). Finally, select Management center then Quota from the left menu.


In Azure AI Foundry portal, select Management center from the bottom of the left menu.
Select Quota from the left menu to open the quota view, where you can see the quota for the models in specific Azure regions.
To request quota from the quota view, expand any of the groupings listed in the deployment column until you see the model deployments and their associated information.
- Use the Show all quota toggle to display all quota or only the currently allocated quota.
- Use the Group by dropdown to group the list by Quota type, Region & Model, or Quota type, Model & Region, or None. The None option displays a flat list of model deployments, rather than a nested list.
- On the line entry for a given model deployment, select the pencil icon in the Quota allocation column to edit the quota allocation for the model deployment.
- Select Request quota in the Request quota column to request increases in quota for the standard deployment type.
- Use the charts along the side of the page to view more details about quota usage. The charts are interactive; hovering over a section of the chart displays more information, and selecting the chart filters the list of models. Selecting the chart legend filters the data displayed in the chart.
- Use the Provisioned Throughput link to view information about provisioned models, including a Capacity calculator that you can use to estimate the number of PTUs needed for your workload.
