Note
Access to this page requires authorization. You can try signing in or changing directories.
Access to this page requires authorization. You can try changing directories.
Important
This guidance only applies to the new Foundry resource based projects, not hub-based projects. These steps aren't required for hub-based projects.
When running evaluations with user provided datasets, users must connect a Storage Account to their Azure AI Foundry Resource. This is the storage account that is used to store these datasets. However, providing this connection isn't enough, the project must also be given contributor access to the blob storage to allow read and write access to the storage account. These instructions walk you through how to create the storage account, connect it to your project, and give resource permission.
Prerequisites
Note
You must use a Foundry project for this feature. A hub-based project isn't supported. See How do I know which type of project I have? and Create a Foundry project. To migrate your hub-based project to a Foundry project, see Migrate from hub-based to Foundry projects.
Create your blob storage account
If you have already created your blob storage account, you can skip this section.
Azure AI Foundry evaluations use the user's blob storage account to store datasets for use in evaluations. To create the storage account, follow the below steps:
Go to your AI Foundry Project and find your resource group. To find your resource group, select the project name in the top right corner and select your resource group. This takes you to the resource group in Azure portal.
Select Create on the Resource Group page.
Search "Storage Account" and select the Storage Account option that is published by Microsoft.
Create your storage account.
- Storage account name: Give your storage account a meaningful name.
- Region: Recommendation: Create the storage account in the same region you created your project. To find this, go back to Azure AI Foundry, select the project name in the top right corner of the screen (which is the same option you selected earlier to find the link to your resource group), and review the Location of the resource group. Note: it will not default to the same region.
- Primary service: Azure Blob Storage or Azure Data Lake Storage Gen 2.
- Performance: Standard.
- Redundancy: Geo-redundant storage (GRS).
- Select Review+Create.
- Select Create.
Your storage account is now created. Allow time for the resource to be fully provisioned, normally 1-2 minutes.

Connect your blob storage account in Azure AI Foundry
Now that the storage account has been created, it's time to connect the blob storage account to the Azure AI Foundry resource. If you have already completed this step, you can skip to the next section.
- Navigate to your project at ai.azure.com. Ensure you are in the project you're trying to run evaluations for.
- In the lower left corner at the bottom of the menu, select Management Center.
- Select Connected Resources under "Resource (your resource name here)", NOT Project.
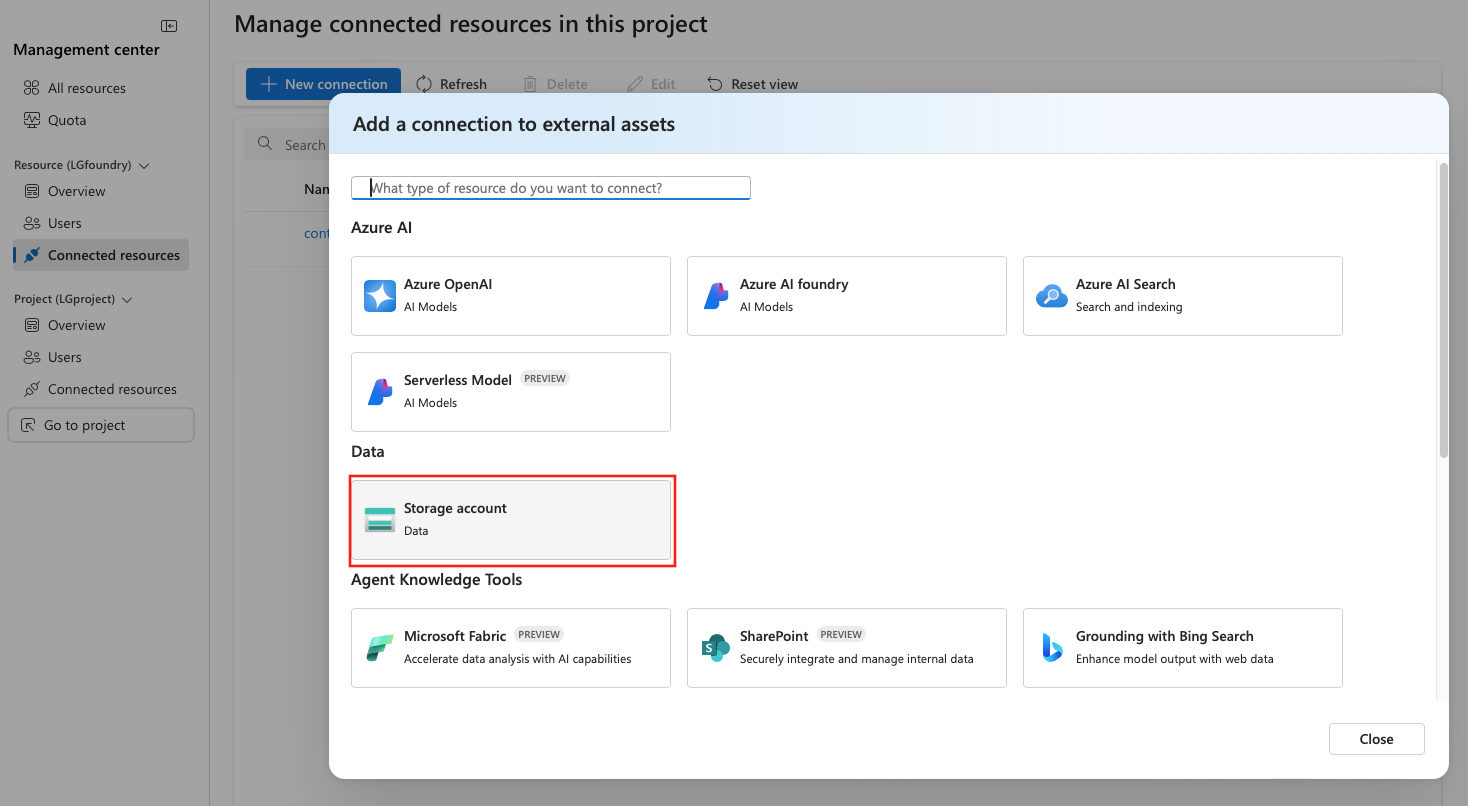
- Select New connection.
- Select Storage account.
- Search for your storage account name that you created.
- Authentication method: Recommended: Microsoft Entra ID.
- Select Add Connection.
- The connection is now created. Continue to the next section to provision permissions for Azure AI Foundry resource to the blob storage account.

Give Azure AI Foundry resource permission to read/write to the storage account
The final step to setting up this storage account to store your datasets for evaluation runs in Azure AI Foundry, you must provide the project permissions to access the storage account. To do so, follow the below steps:
Navigate to your project in Azure AI Foundry.
In the top left corner, select your project name dropdown.
Select the Resource Group link, which will take you to Azure portal for the resource group.
Select the storage account you created under the Resources table.
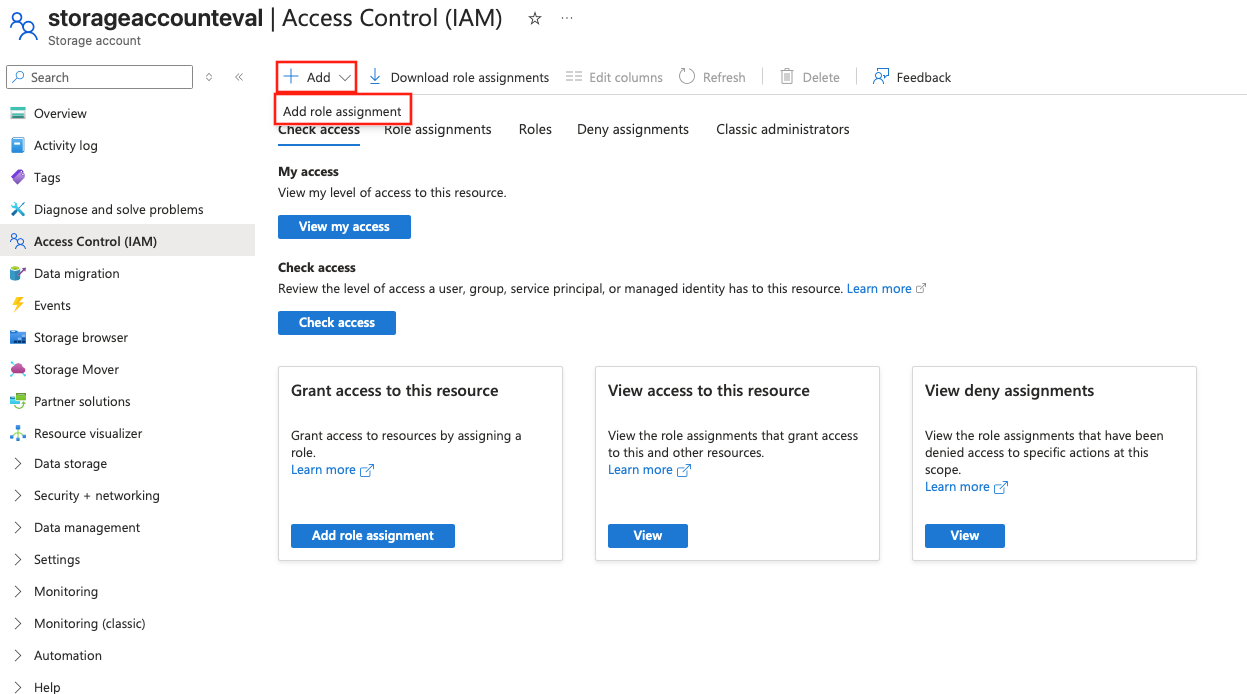
On the right hand side, select Access Control (IAM).
Select +Add -> Add role assignment.
Note
If this is disabled, go to Role assignments and under All, ask an owner to take the next steps.
In the Job function roles table, search for "Storage Blob Data Contributor" and select that option. Then select Next at the bottom of the screen.
In the "Assign access to" option, select Managed identity.
Select + Select members.
- Subscription: Your subscription
- Managed identity: All system-assigned managed identities.
- Select: Search for your project name. Select your project, not the resource. It should be formatted [ResourceName]/[ProjectName]. Don't select the resource name, which doesn't have the "/[ProjectName] after it.
- Select Select button at the bottom.
Select Review + assign twice.

You have now provided your project with write access to your blob storage account. After a few minutes, you'll be able to add data during an evaluation in AI Foundry.