Note
Access to this page requires authorization. You can try signing in or changing directories.
Access to this page requires authorization. You can try changing directories.
Azure File Sync is a new Azure file service for file syncing between On-premises server and Azure Files. With this New feature, Microsoft Azure saves a lot of time from IT staff daily routine.
Prerequisites
We need to complete the following steps before starting :
- Create an Azure Storage Account {File Share} / (details on how to create a Storage Account you can see here)
- Install Windows Management Framework 5.1 (MUST BE, On-Premises Server)
- Install the latest AzureRM Powershell module (MUST BE, On-Premises Server)
Open elevated Powershell and run the following commands :
#Install the PowershellGet Module
Install-Module -Name PowerShellGet -RequiredVersion 1.1.2.0 -Force

#Install the AzureRM Manager
Install-Module -Name AzureRM -AllowClobber

#Import the AzureRM Module
Import-Module -Name AzureRM
Now, we are ready to start.
Deploy Storage Sync Service
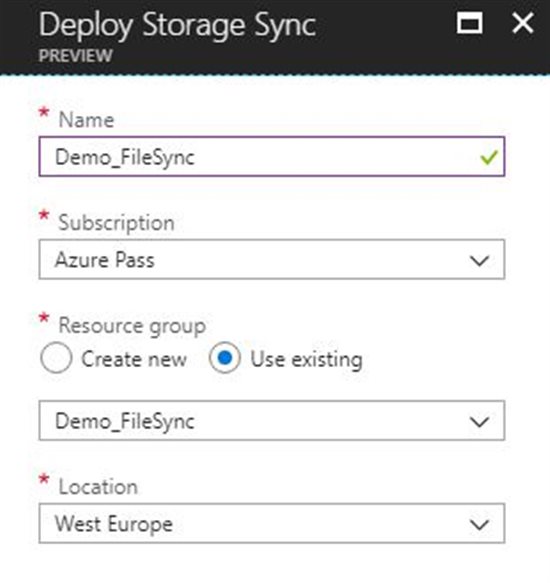
On the Deploy Storage Sync blade, type the parameters:
| Setting | Value |
| Name | Type the Storage Sync service name, e.g Demo_FileSync |
| Subscription | Select the Subscription name, e.g Azure Pass |
| Resource Group | Select or Create a Resource Group, e.g Demo_FileSync |
| Location | Select a Data Center location, e.g West Europe |
Register Server
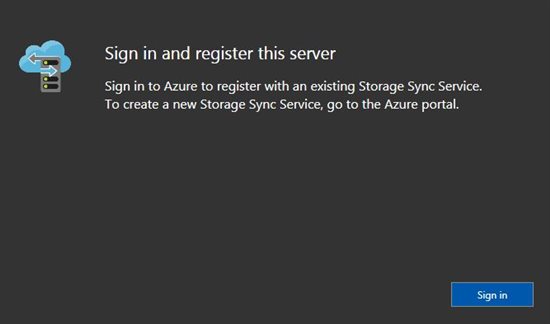
From the Demo_File Sync blade – Sync – Registered servers you must download and install the Azure Storage Sync agent on your on-premise server.
After you installation drive to path C:\Program Files\Azure\StorageSyncAgent, and run AfsUpdater.exe
Sign in with Azure Account ,
register server by typing all the mandatory fields (Azure Subscription, Resource Group, Storage Sync Server) and click Register.
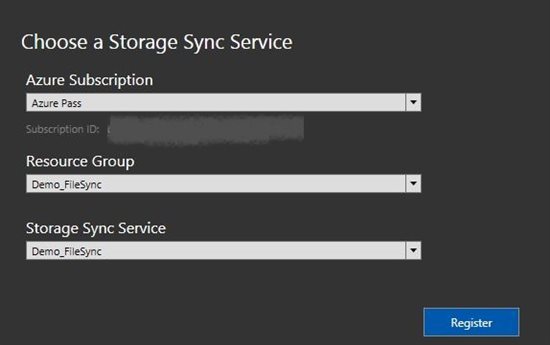
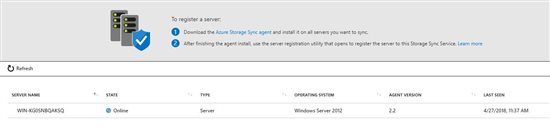
After completion of the above, the server is registered.
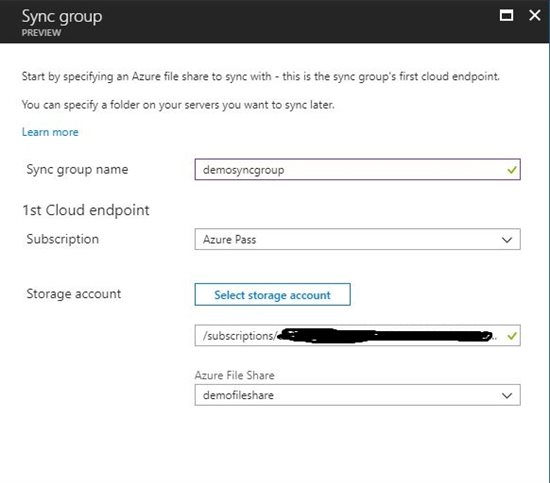
Create Sync group
From the "Storage Sync Service" blade select Overview and click + Sync group

Filled up all the necessary field and click Create.
| Setting | Value |
| Sync group name | Type the Sync group name, e.g demosyncgroup |
| 1st Cloud endpoint – Subscription | Select the Azure Subscription, e.g Azure Pass |
| 1st Cloud endpoint – Storage account | |
| Storage Account – Azure File Share | Select Azure File Share from the Storage Account, e.g demofileshare |
Add server endpoint
The last step is to Add Server endpoint on the Azure Sync Group.
| Setting | Value |
| Registered server | Select the registered server, e.g WIN-KG0SNBQAKSQ |
| Path | Set the path from your on-premises data folder, e.g C:\Demo_Data |
| Cloud Tiering | Enabled this if your path point to a cloud storage / Disabled if your path point a local system storage |

Conclusion
In this post, we talk about Azure File Sync and how to deploy via Azure Portal. This solution gives any customer the ability to sync file between on-premises and Azure Files. With that way solved a problem for IT Pros called "backup".