Note
Access to this page requires authorization. You can try signing in or changing directories.
Access to this page requires authorization. You can try changing directories.
Overview
This article will shows how to configure Microsoft Application Insight on Azure Portal.
Visual Studio Application Insights  monitors our live application to help us detect and diagnose performance issues and exceptions, and discover how our app is used. It can be used with a wide variety of application types. It works for apps that are hosted on our own on-premises IIS servers or on Azure VMs, as well as Azure web apps.
Steps
1. Create Azure Account
We need to get an Azure account. Everyone can create an a Azure account for free.
Check the link below for more information.
http://www.azure.com/en-us/pricing/free-trial/
2. Create a new Application Insight into our Azure Account
After authentication, select new resource, and choose the option Monitoring + Management
A new tab will be open.
Choose the option Application Insight

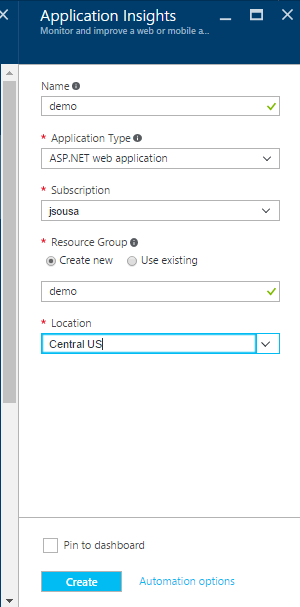
A new configuration window will appear, as shown in the image below.
On the "Name" field set our ApplicationInsights configuration name. In my case, it will be called "Demo". Select the application Type, in our demo it will be ASP.NET Web Application.
3 - Configure Application Insights into our Web Application
Go to the Azure Portal into the Demo Application Insight created and check the settings like on image below:
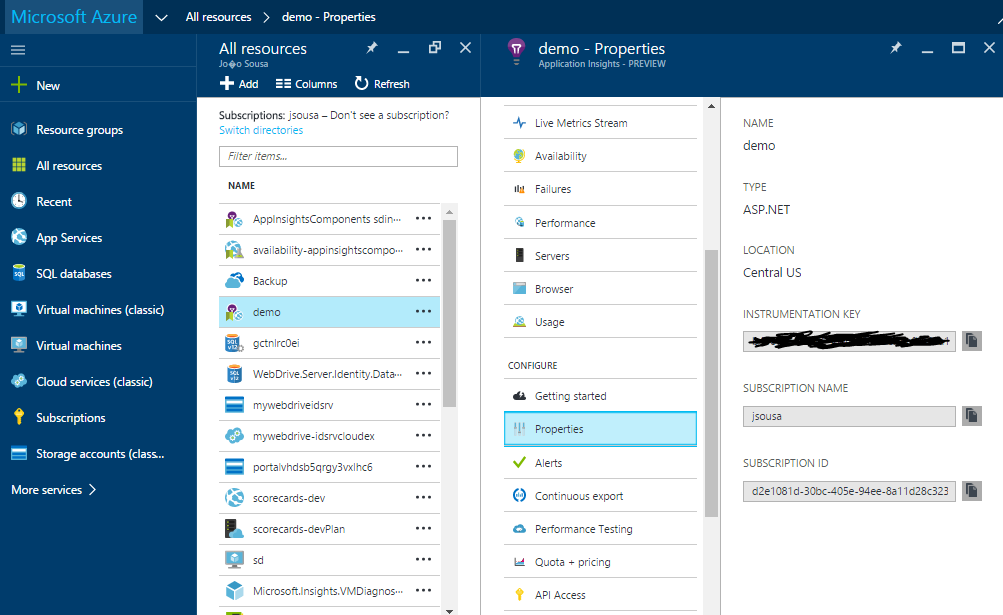
Copy the instrumentation key from Azure portal and configure the web application.
Resources
- Application Insights: https://www.visualstudio.com/products/application-insights-vs
- My personal blog: http://joaoeduardosousa.wordpress.com/