Note
Access to this page requires authorization. You can try signing in or changing directories.
Access to this page requires authorization. You can try changing directories.
To Return to parent article; - Installing a Free Evaluation of SQL Server 2016 Step by Step Installation.
Steps
N.B. The following instructions also work with SQL Server 2016 RTM.
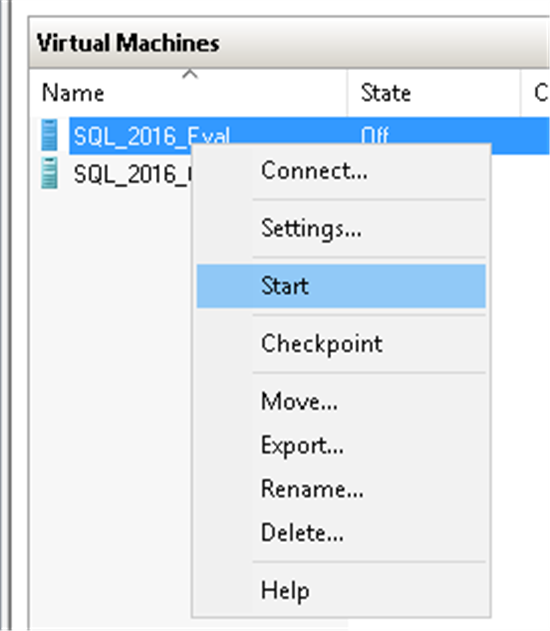
- To start install SQL Server 2016, right click on your new Virtual Server and select “Start”
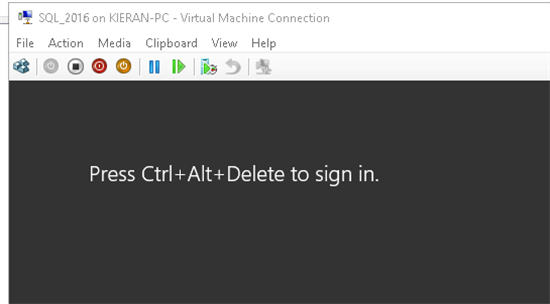
2. Double click on the virtual server preview

3. Enter Ctrl+Alt+End to Sign in. Note you use Ctrl+Alt+Delete to sign into your laptop / host computer
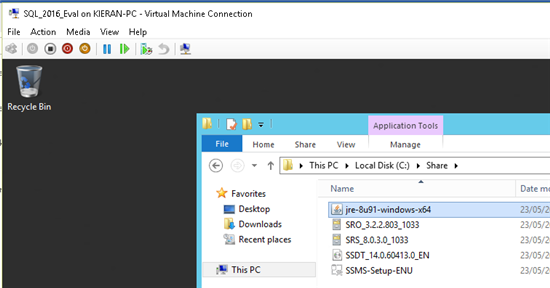
4. To Install Pre-requsite Oracle JRE 7 launch C:\Share\ jre-8u91-windows-x64.exe
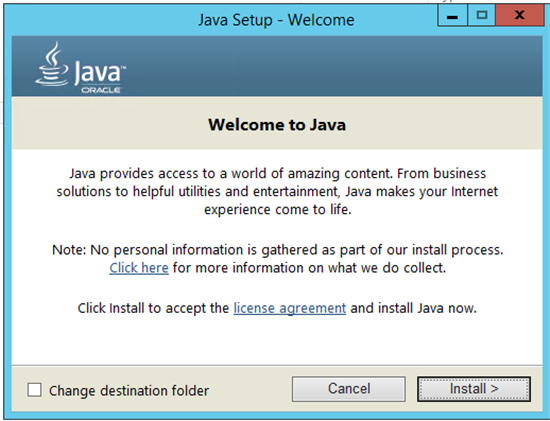
5. Select “Run”

6. Click on “Install”
7. Click on Hyper V Pull down menu “Media” select “Insert” and browse to your SQL Server 2016 iso
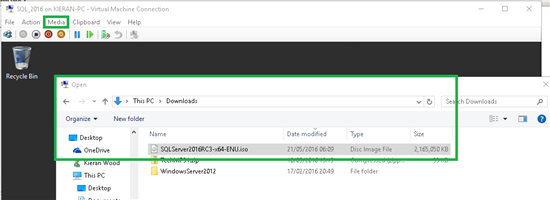
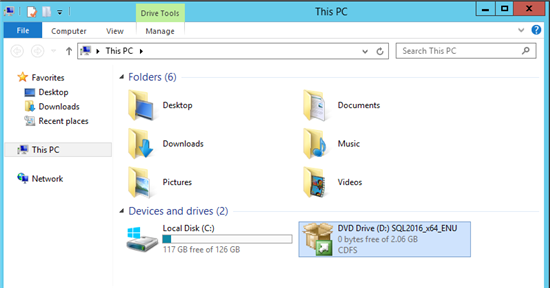
8. Browse to your virtual DVD and select; -
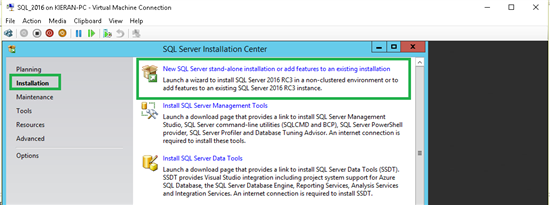
9. Select “Installation” and “New SQL Server stand-alone”..
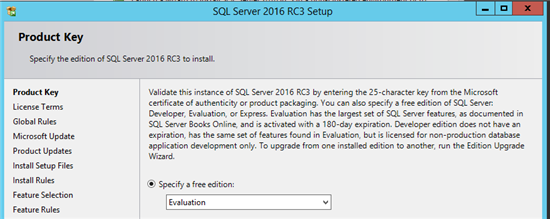
10. Select “Specify a free edition”.
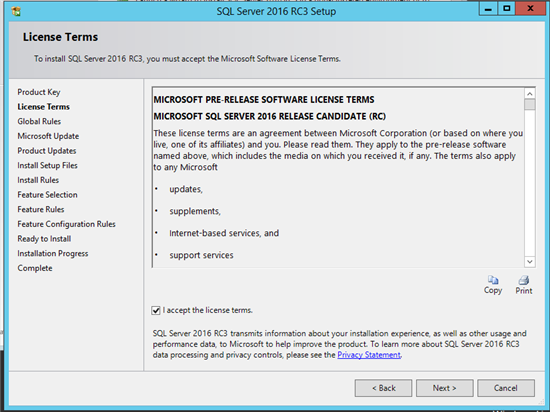
11. Accept the terms and click “Next” * 3
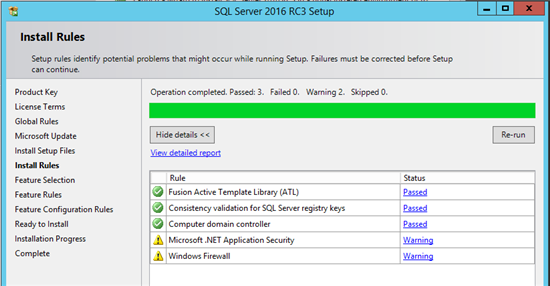
12. Click “Next” again
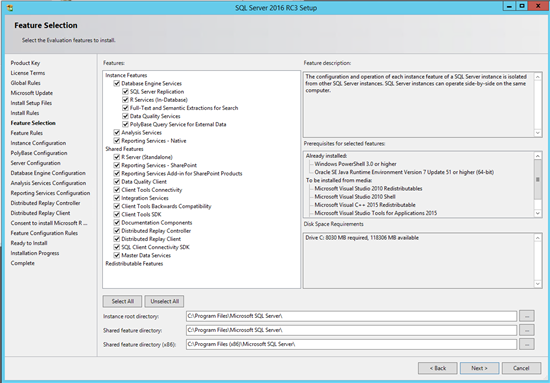
13. Click the “Select All” button, after click “Next”
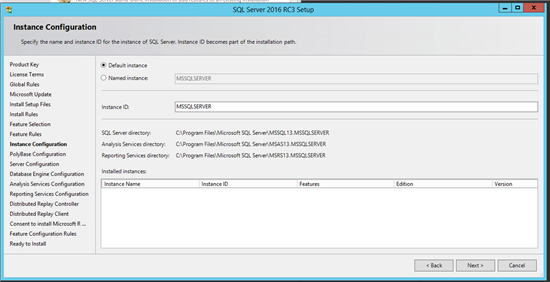
14. Use Default Instance and click “Next”
15. Click “Next”
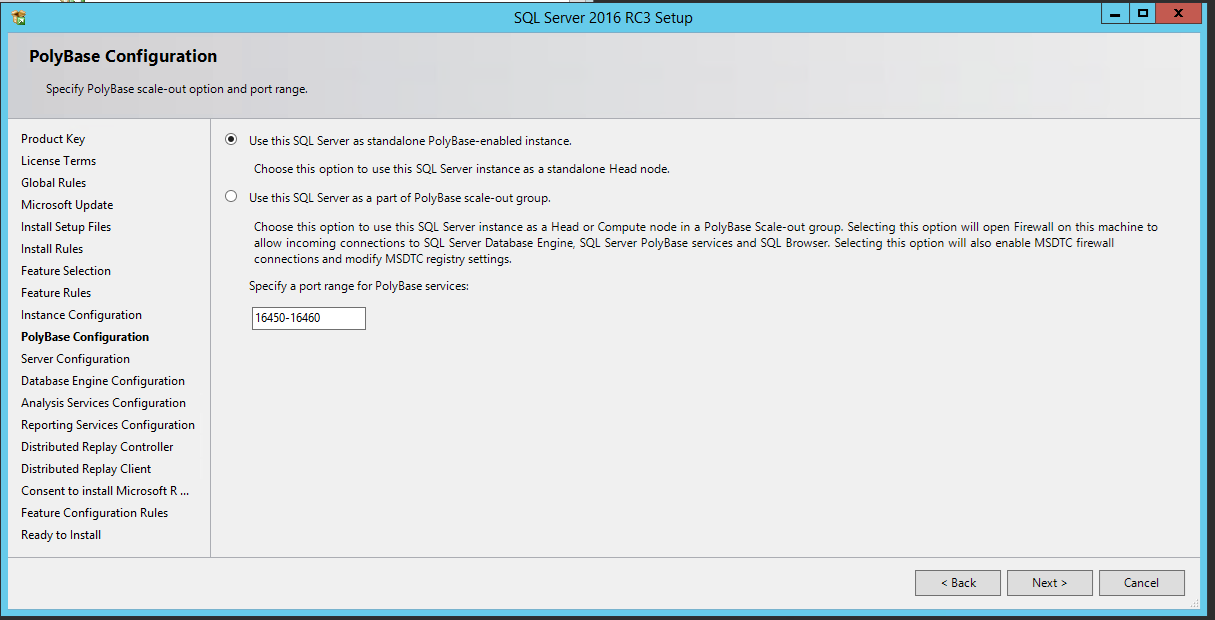
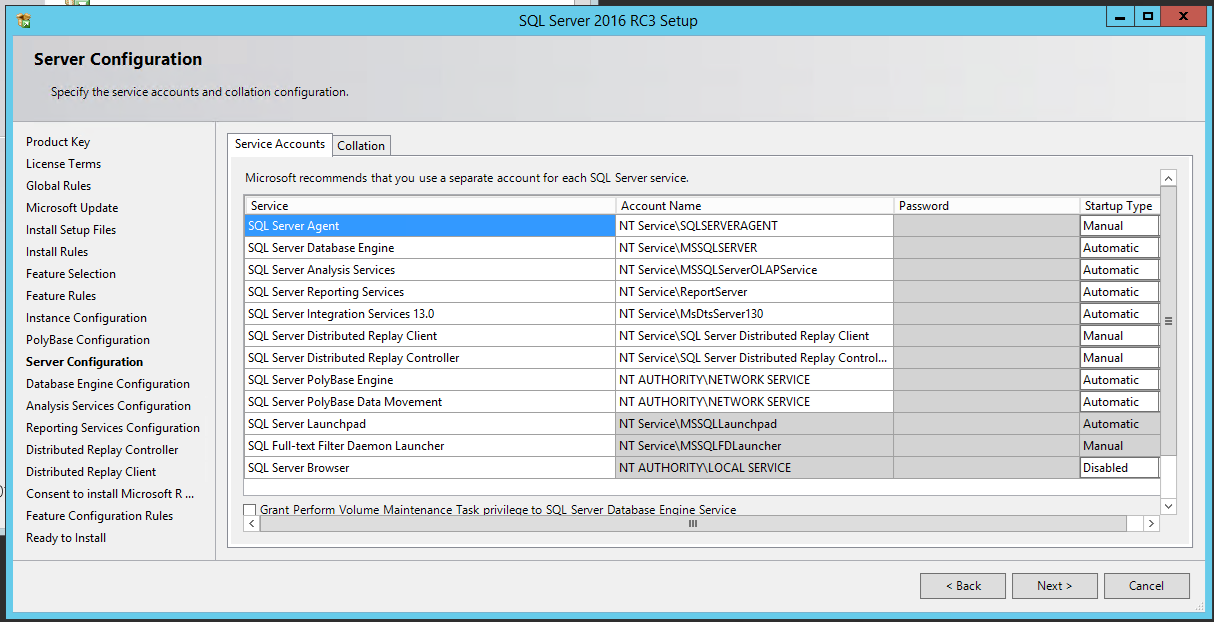
16. Click “Next”
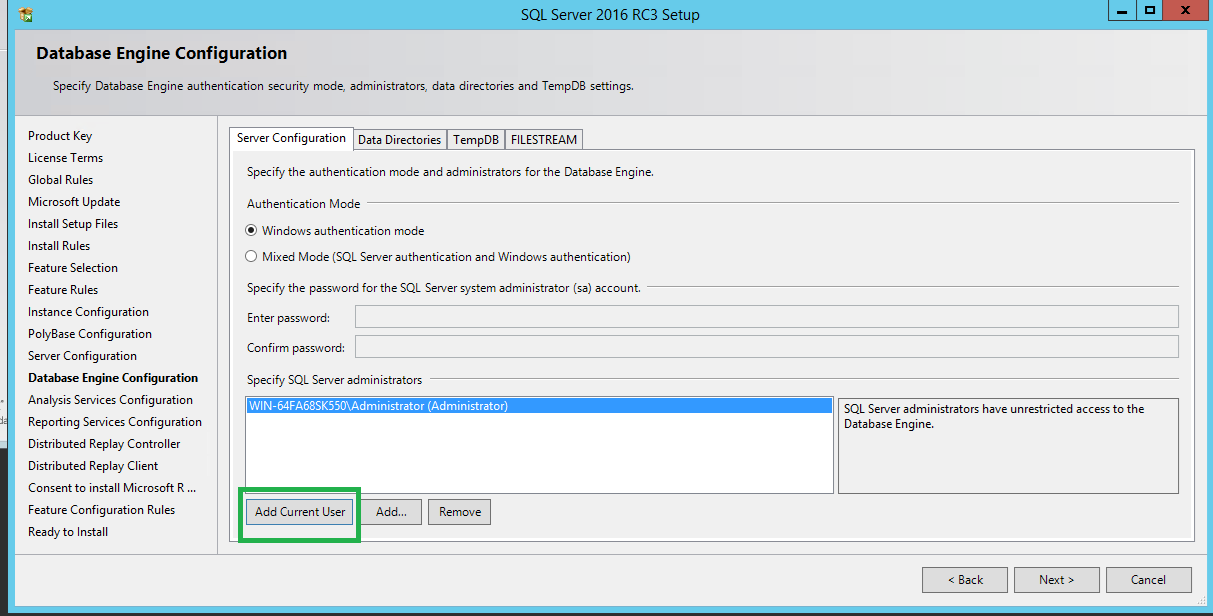
17. Click on “Add Current User” and click “Next”
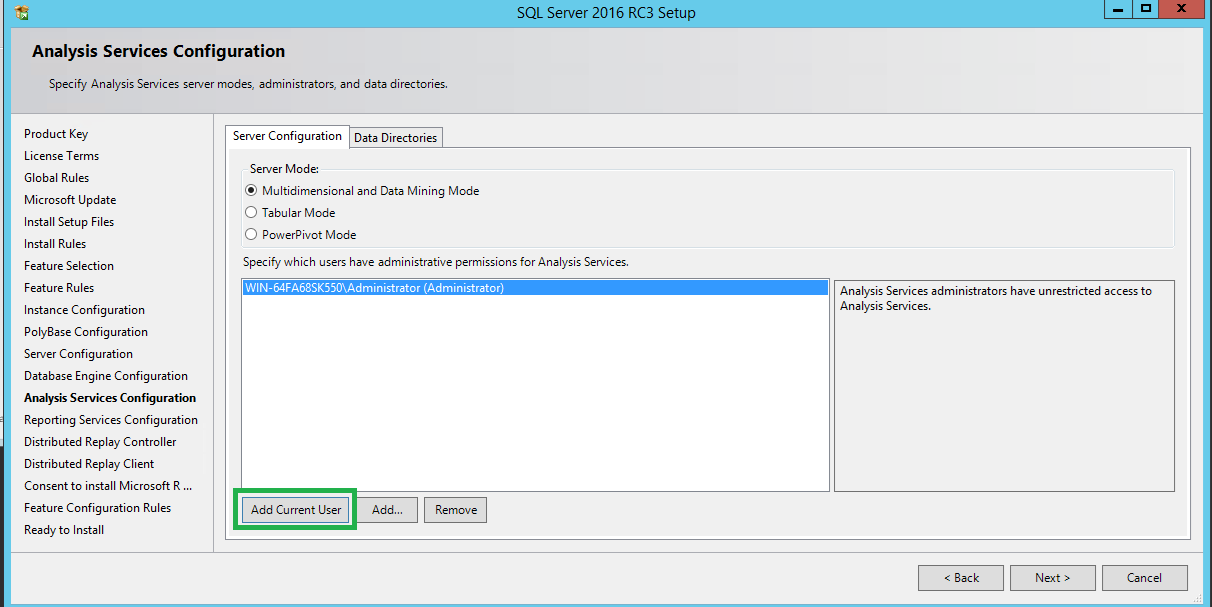
18. Click on “Add Current User” and click “Next”
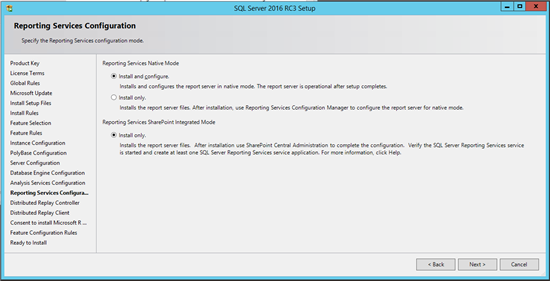
19. Accept default settings and click “Next”
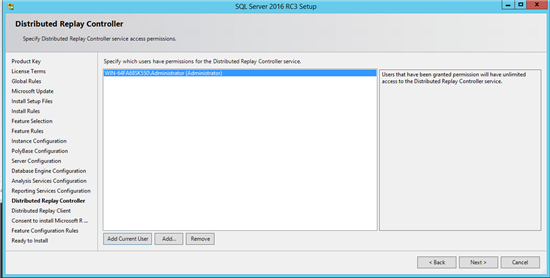
20. Click on “Add Current User” and click “Next”
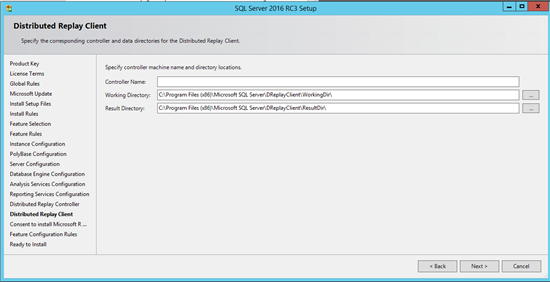
21. Accept Default Settings and Click “Next”
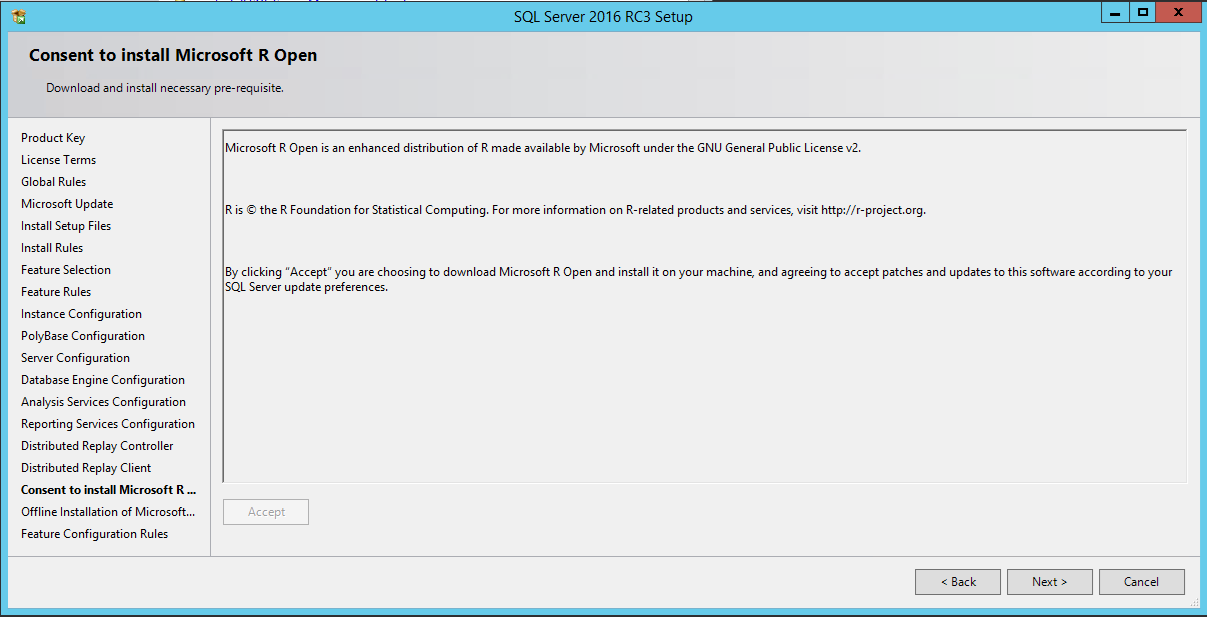
22. Click the “Accept” Button, after click “Next”
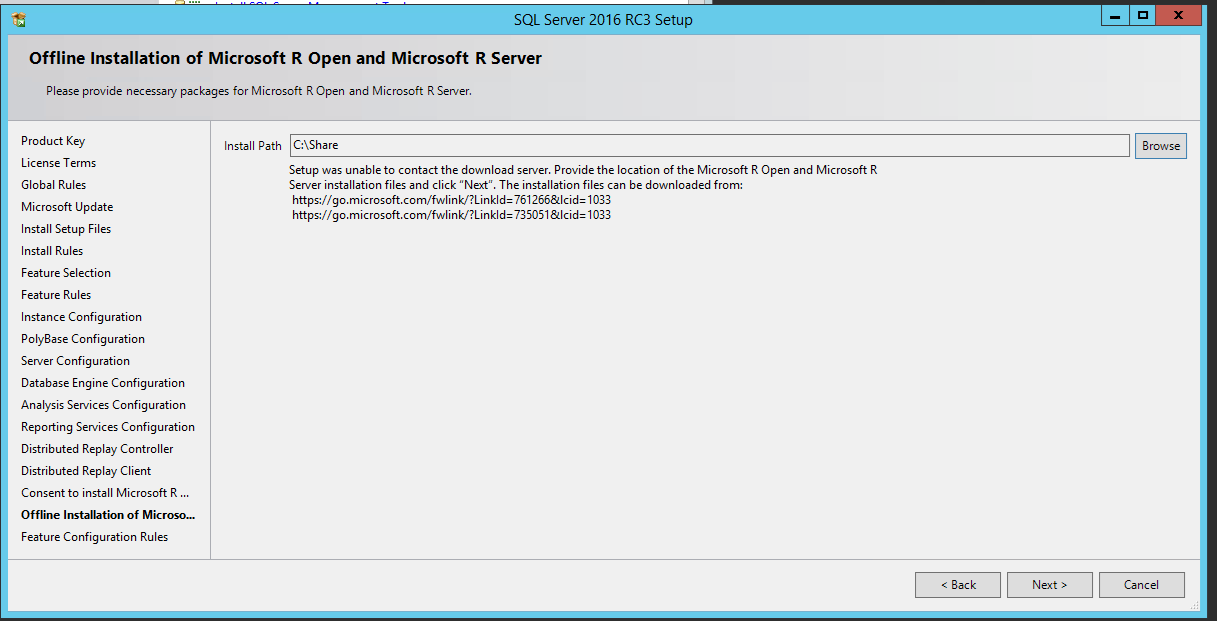
23. Browse to C:\Share where you copied the downloads and click “Next”
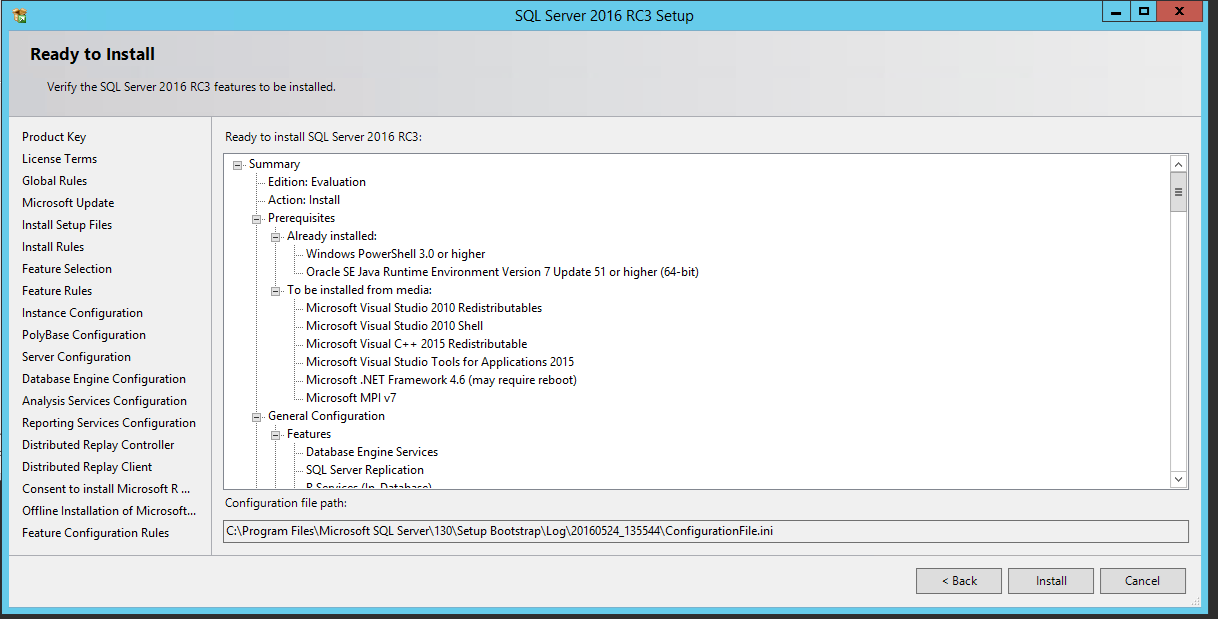
24. Click the “Install” button.
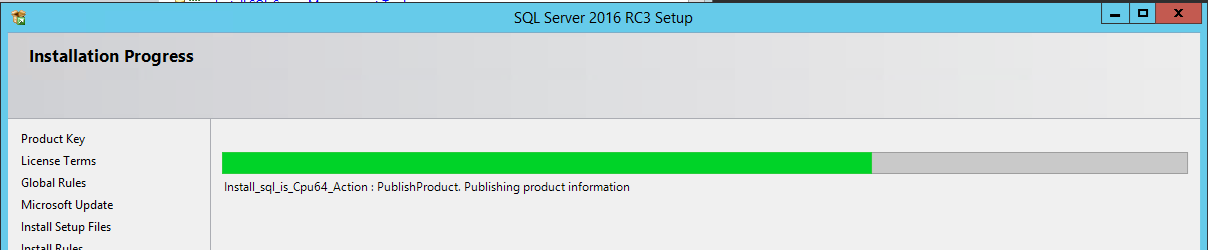
25. Wait several minutes for the installation to complete….
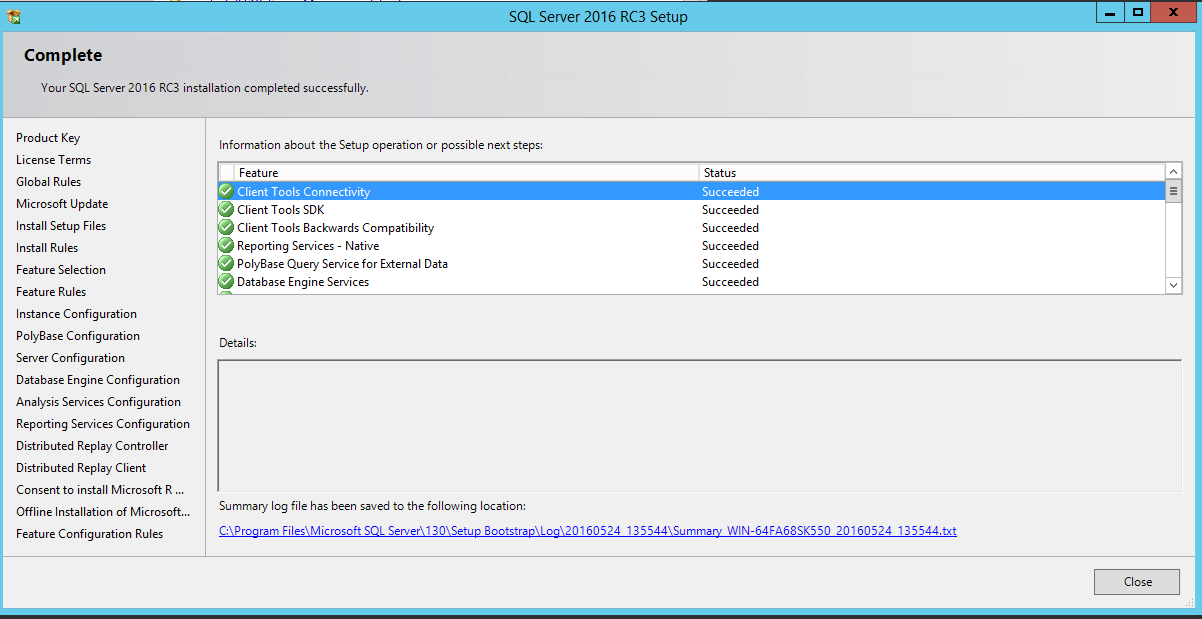
26. Click “Close”
27. Close the installation window
28. Shutdown the server.
See Also
Next article; - SQL Server 2016 Step-by-Step: Installing a Free Evaluation - Part 6 - Set up Tabular Model Service
To Return to parent article; - Installing a Free Evaluation of SQL Server 2016 Step by Step Installation.