Note
Access to this page requires authorization. You can try signing in or changing directories.
Access to this page requires authorization. You can try changing directories.
They have released the Azure batch services addon for Blender: https://github.com/Azure/azure-batch-apps-blender and https://dl.windowsazure.com/batchapps/blender/guide_setup.html#blender
This is just a quick rundown on enabling it
CLIENT SIDE
Download the python libs:
· Batch Apps Python Client
· Keyring
· OAuthLib
· Requests-OAuthLib
COPY FILES TO BLENDER:
C:\Users\spat\Downloads\Blender_Addons\azure\CloudAppComponents\Blender\2.73\python\lib\site-packages
Copy the client code to blender addons dir:
C:\Users\spat\AppData\Roaming\Blender Foundation\Blender\2.73\scripts\addons
Activate the blender addon – make sure the addon shows in the animation tab
SERVER SIDE:
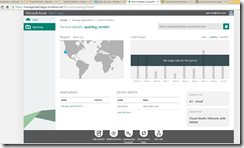
1. Enable batch services: https://account.windowsazure.com/PreviewFeatures, You then need to update the service:
2. Download client and servers apps from here: https://github.com/Azure/azure-batch-apps-blender
3. Compile in VS 2013
4. Download imageMagick
· https://www.imagemagick.org/download/binaries/ImageMagick-6.9.0-4-Q16-x86-windows.zip
5. Download blender or zip up your existing install
6. Zip up the assemblies
7. Zip up blender + imagemagick
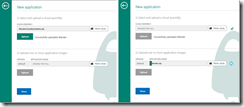
Create the application and upload
When it is done you have this:
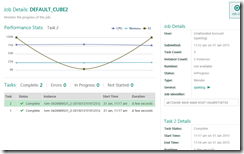
SUBMIT JOB


